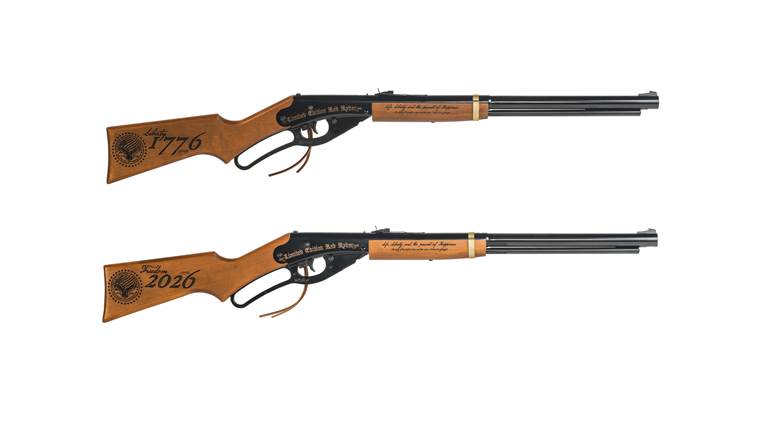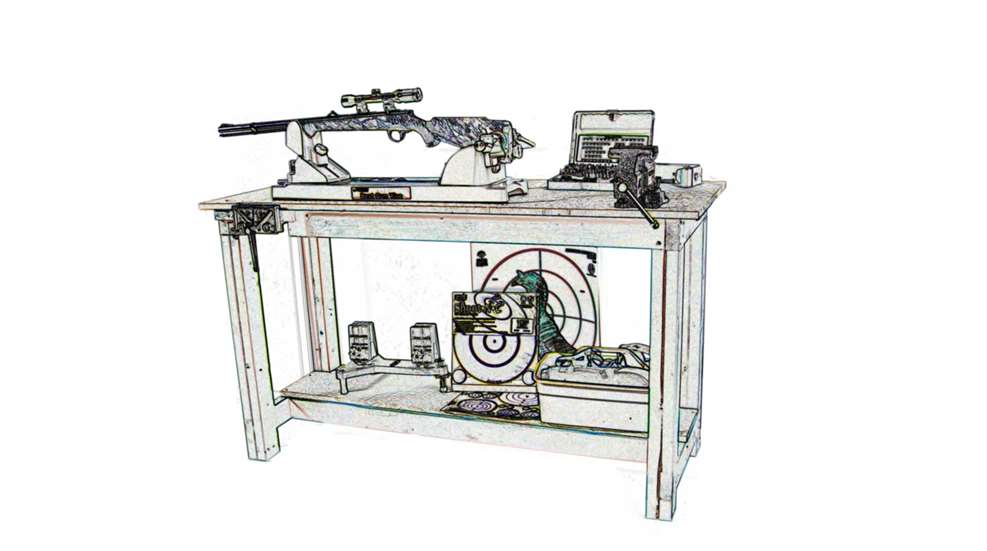
If you do any kind of work on your guns, you need an appropriate place to do it. The bench outlined here has a very smooth top that makes it easy to pick up and manipulate small pieces. A Columbia woodworking vise on one end and a bench vise on the opposite provide a means of holding a variety of parts and guns. Slots in one end of the bench top hold cleaning rods for easy access, and a sturdy shelf on the bottom holds large items.
Many gunsmithing chores require a bench that is sturdy and won’t rock or move when doing vise work. This bench uses doubled 2"x4" legs, which makes it ideal for mounting a reloading press and supplies. It’s made from common, readily available materials and is fairly easy to build. In fact, you can build it with little more than a portable circular saw, saber saw or hand saw, carpenter’s square, tape measure, and cordless drill/driver with Phillips screw bits and a countersinking drill bit. If you’re somewhat handy, you can probably finish this project in a weekend.
STEP 1
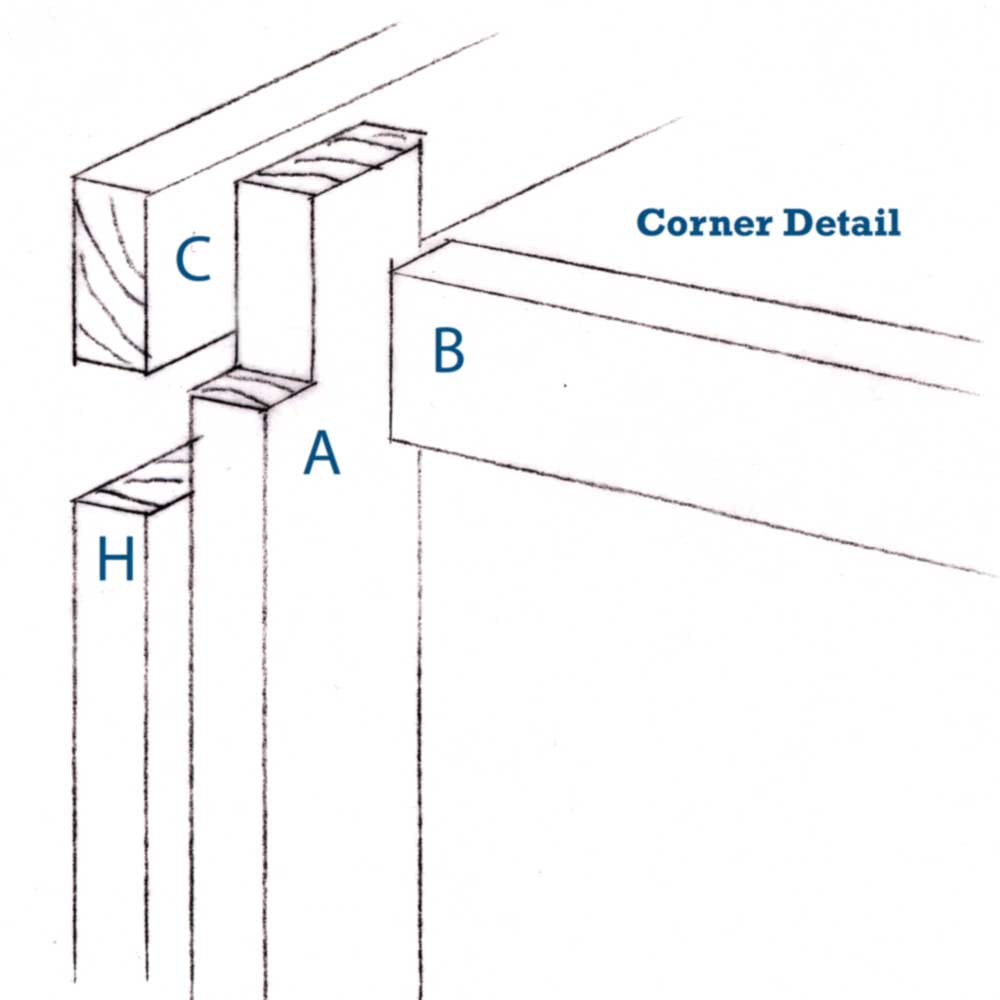
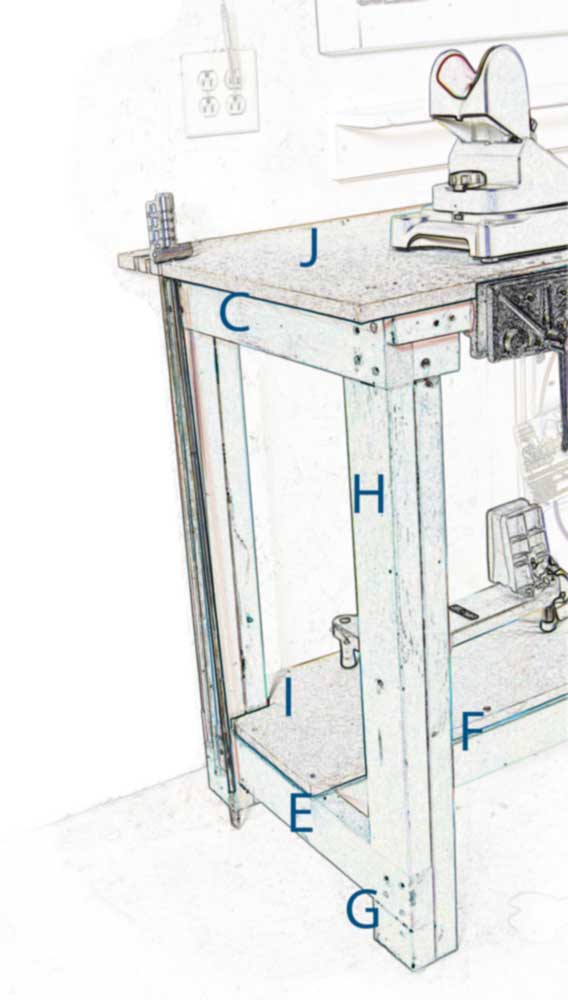
The first step is to cut the inside 2"x4" legs (A). Note the bench shown is designed with a 36" working height, typical for a kitchen counter. Depending on your stature and whether you prefer to stand or sit while working, you may wish to raise or lower this dimension. Cut a 1 1⁄2"x3 1⁄2" notch in the top edge of each of the legs to accept the front and back top supports.
(See Corner Detail drawing.)
STEP 2
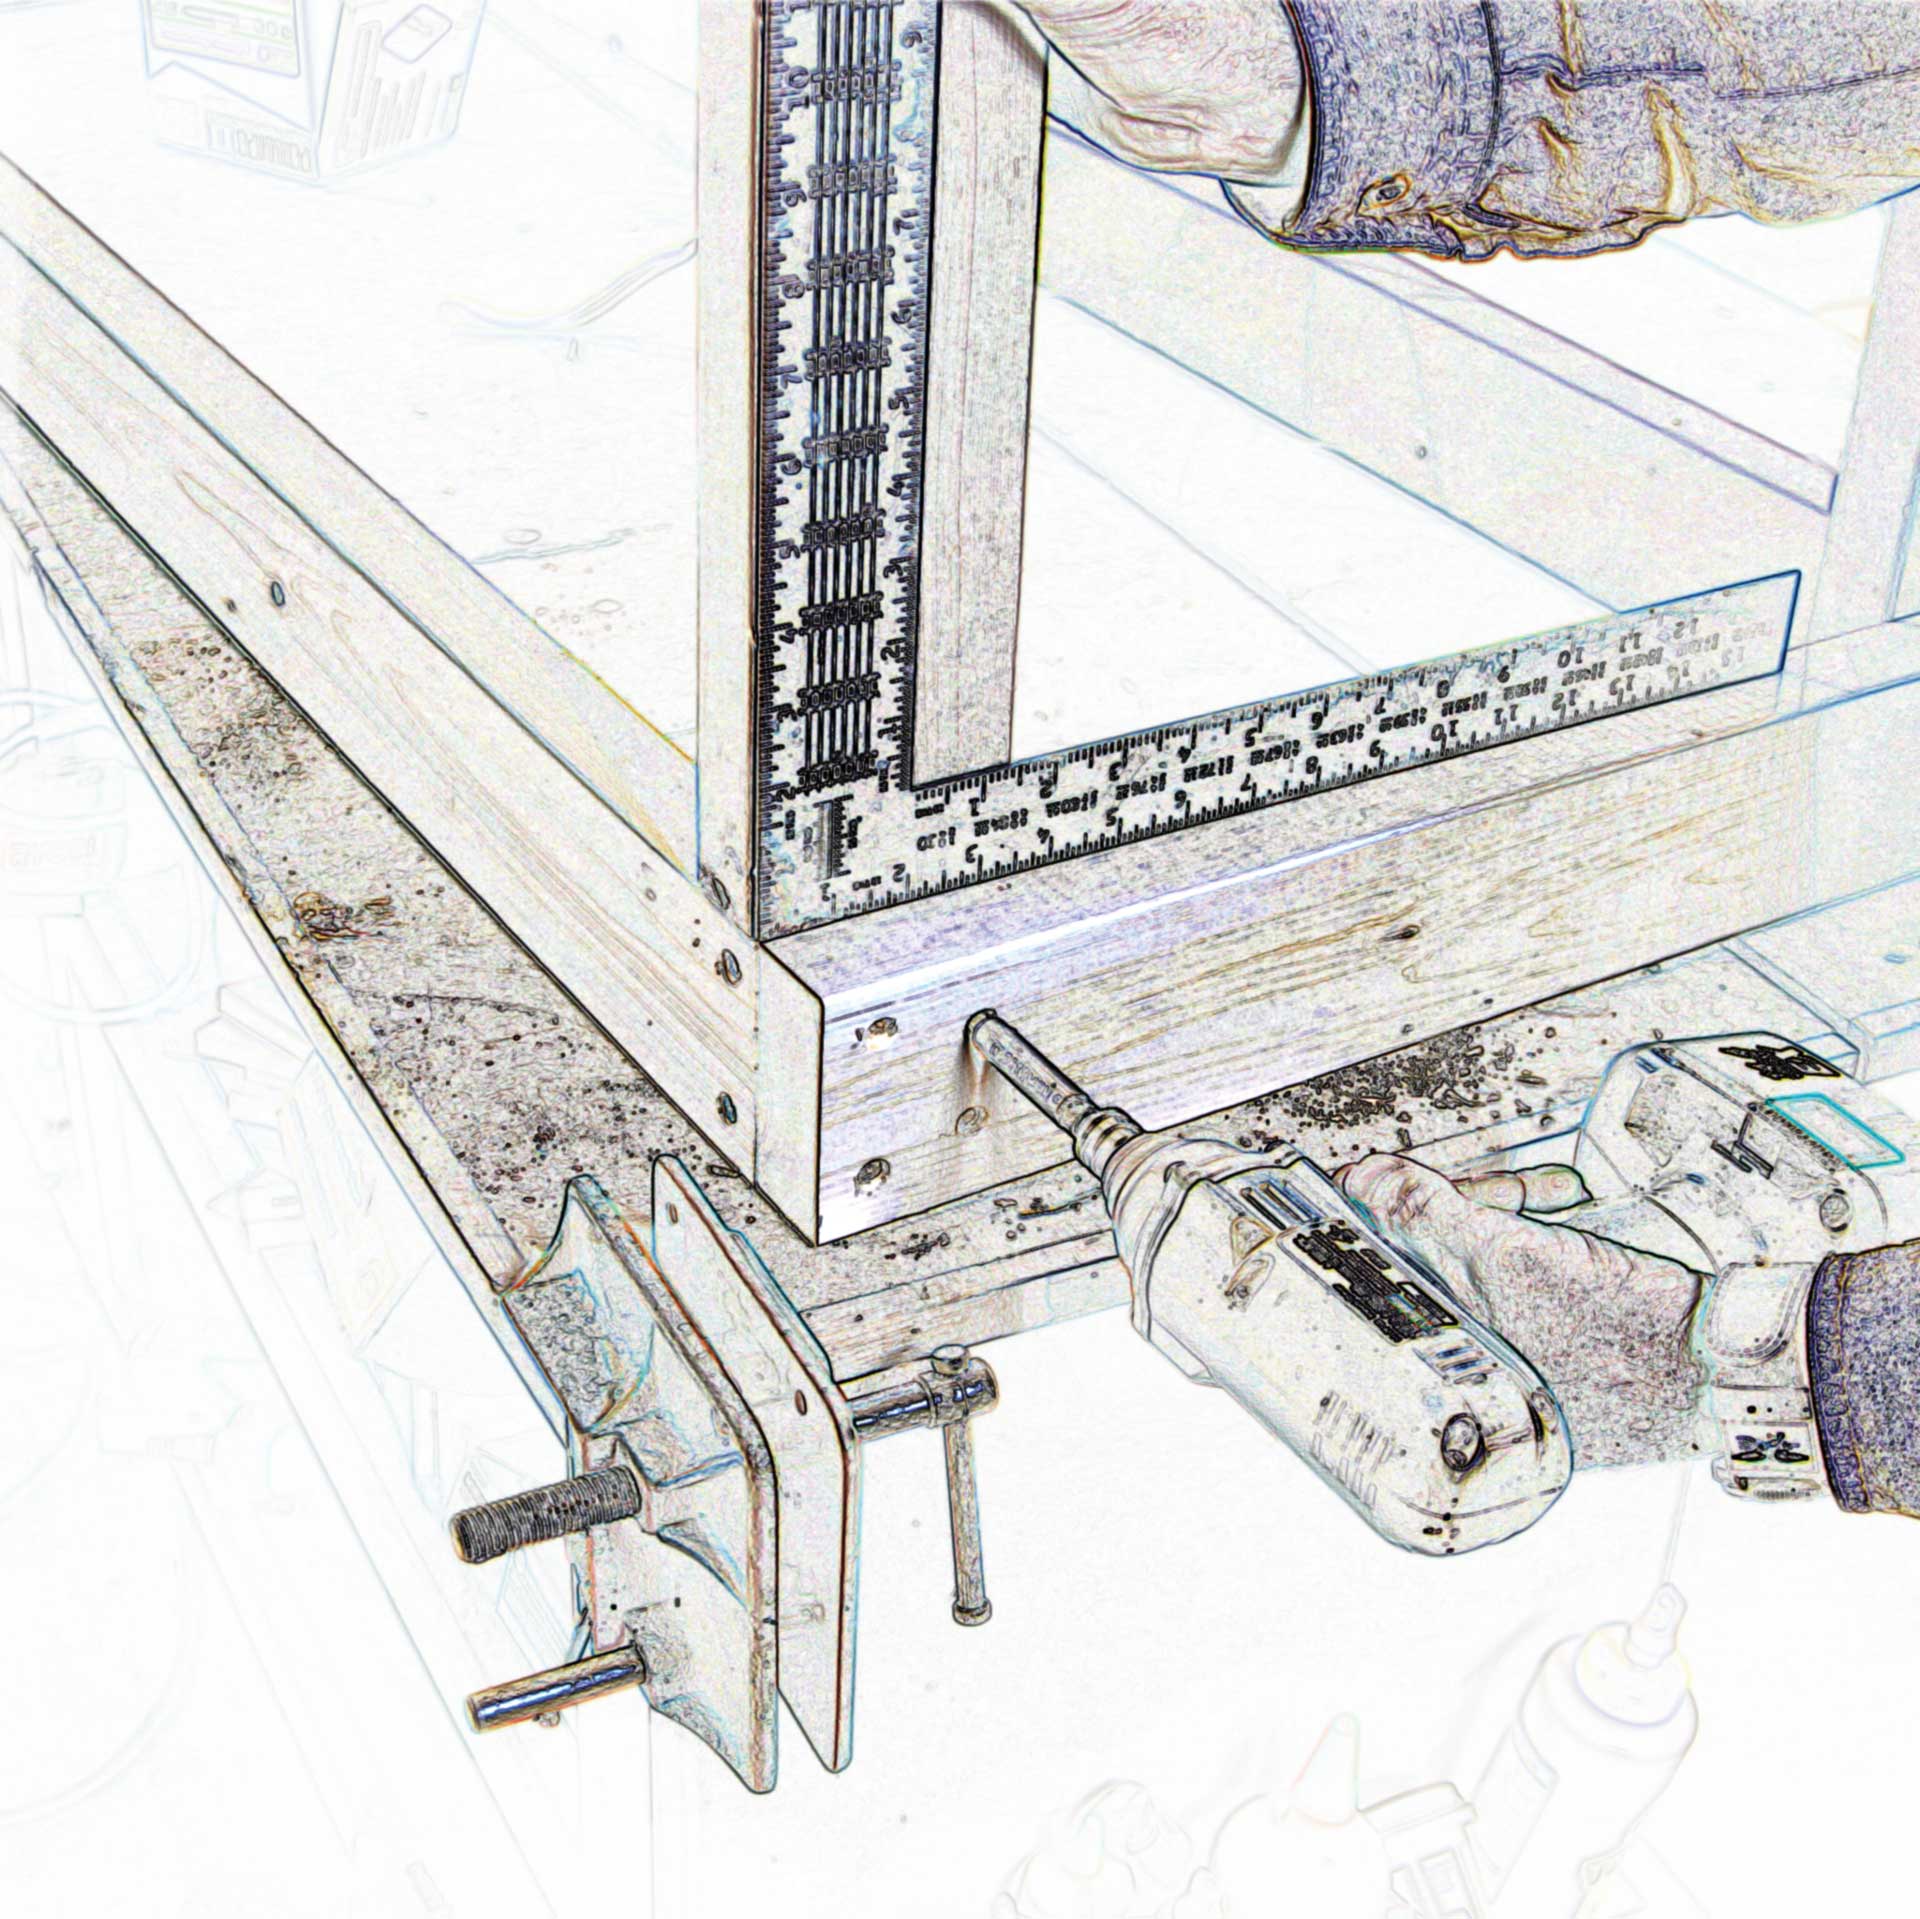
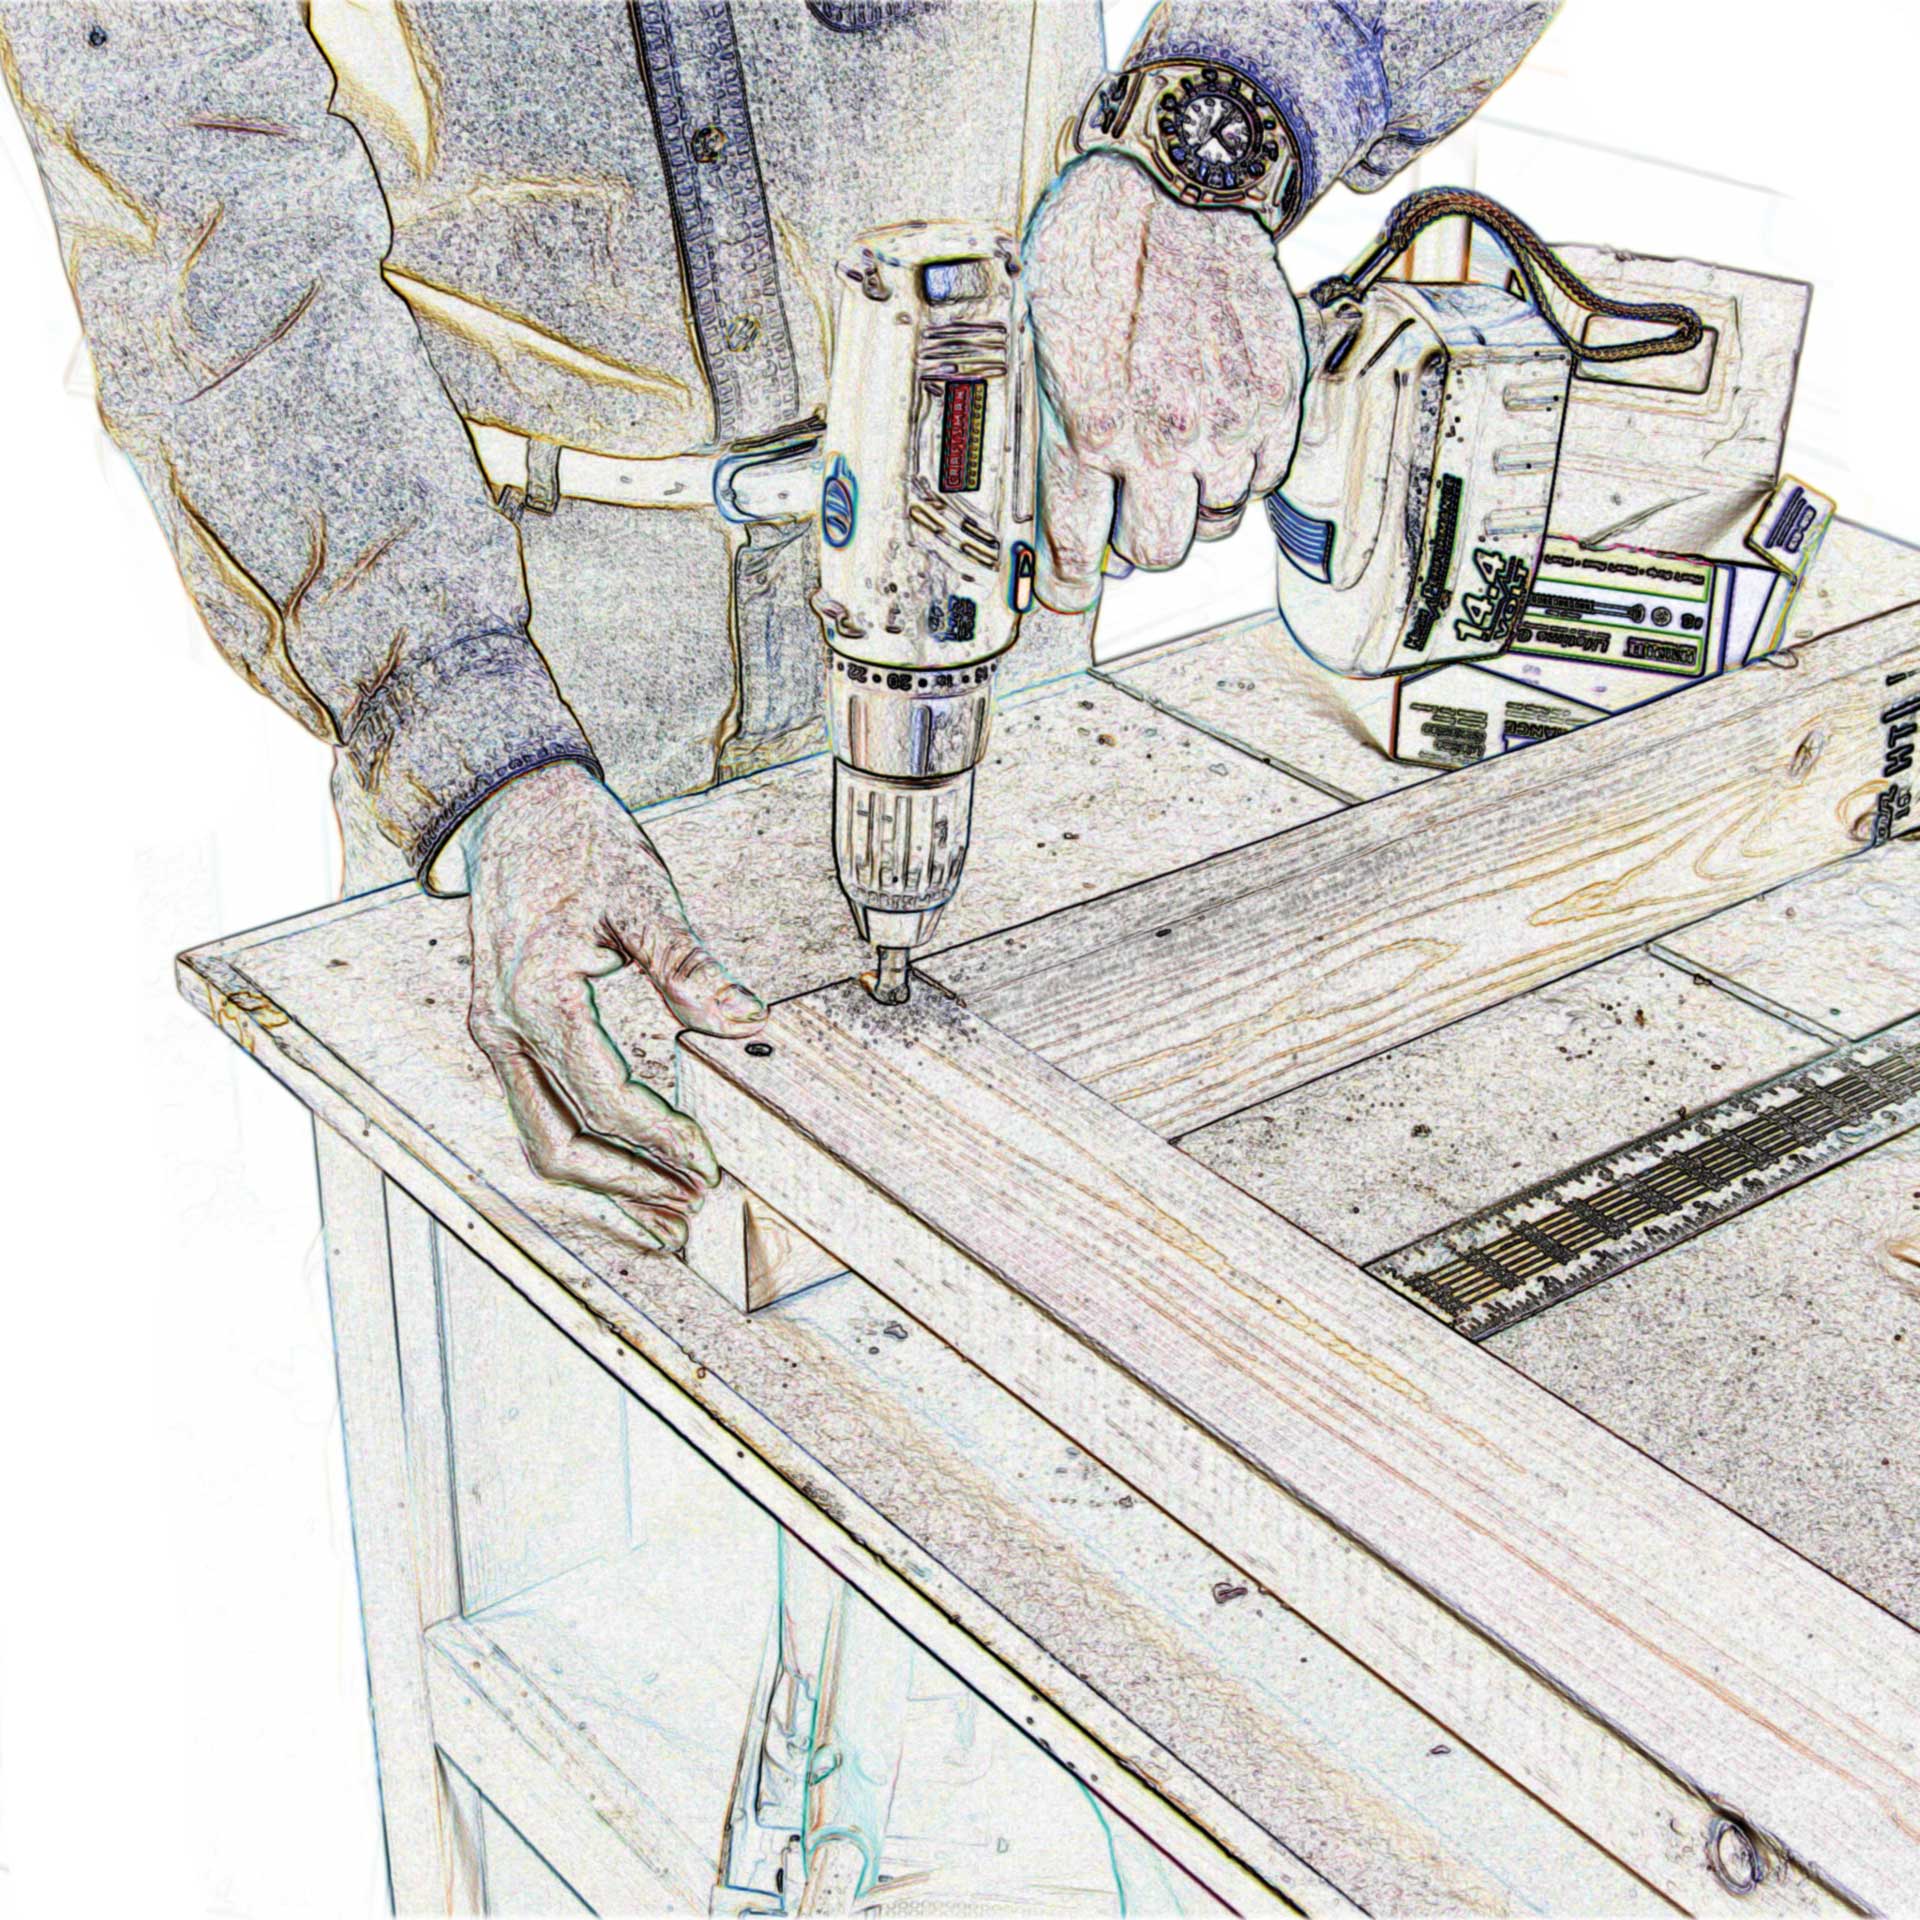
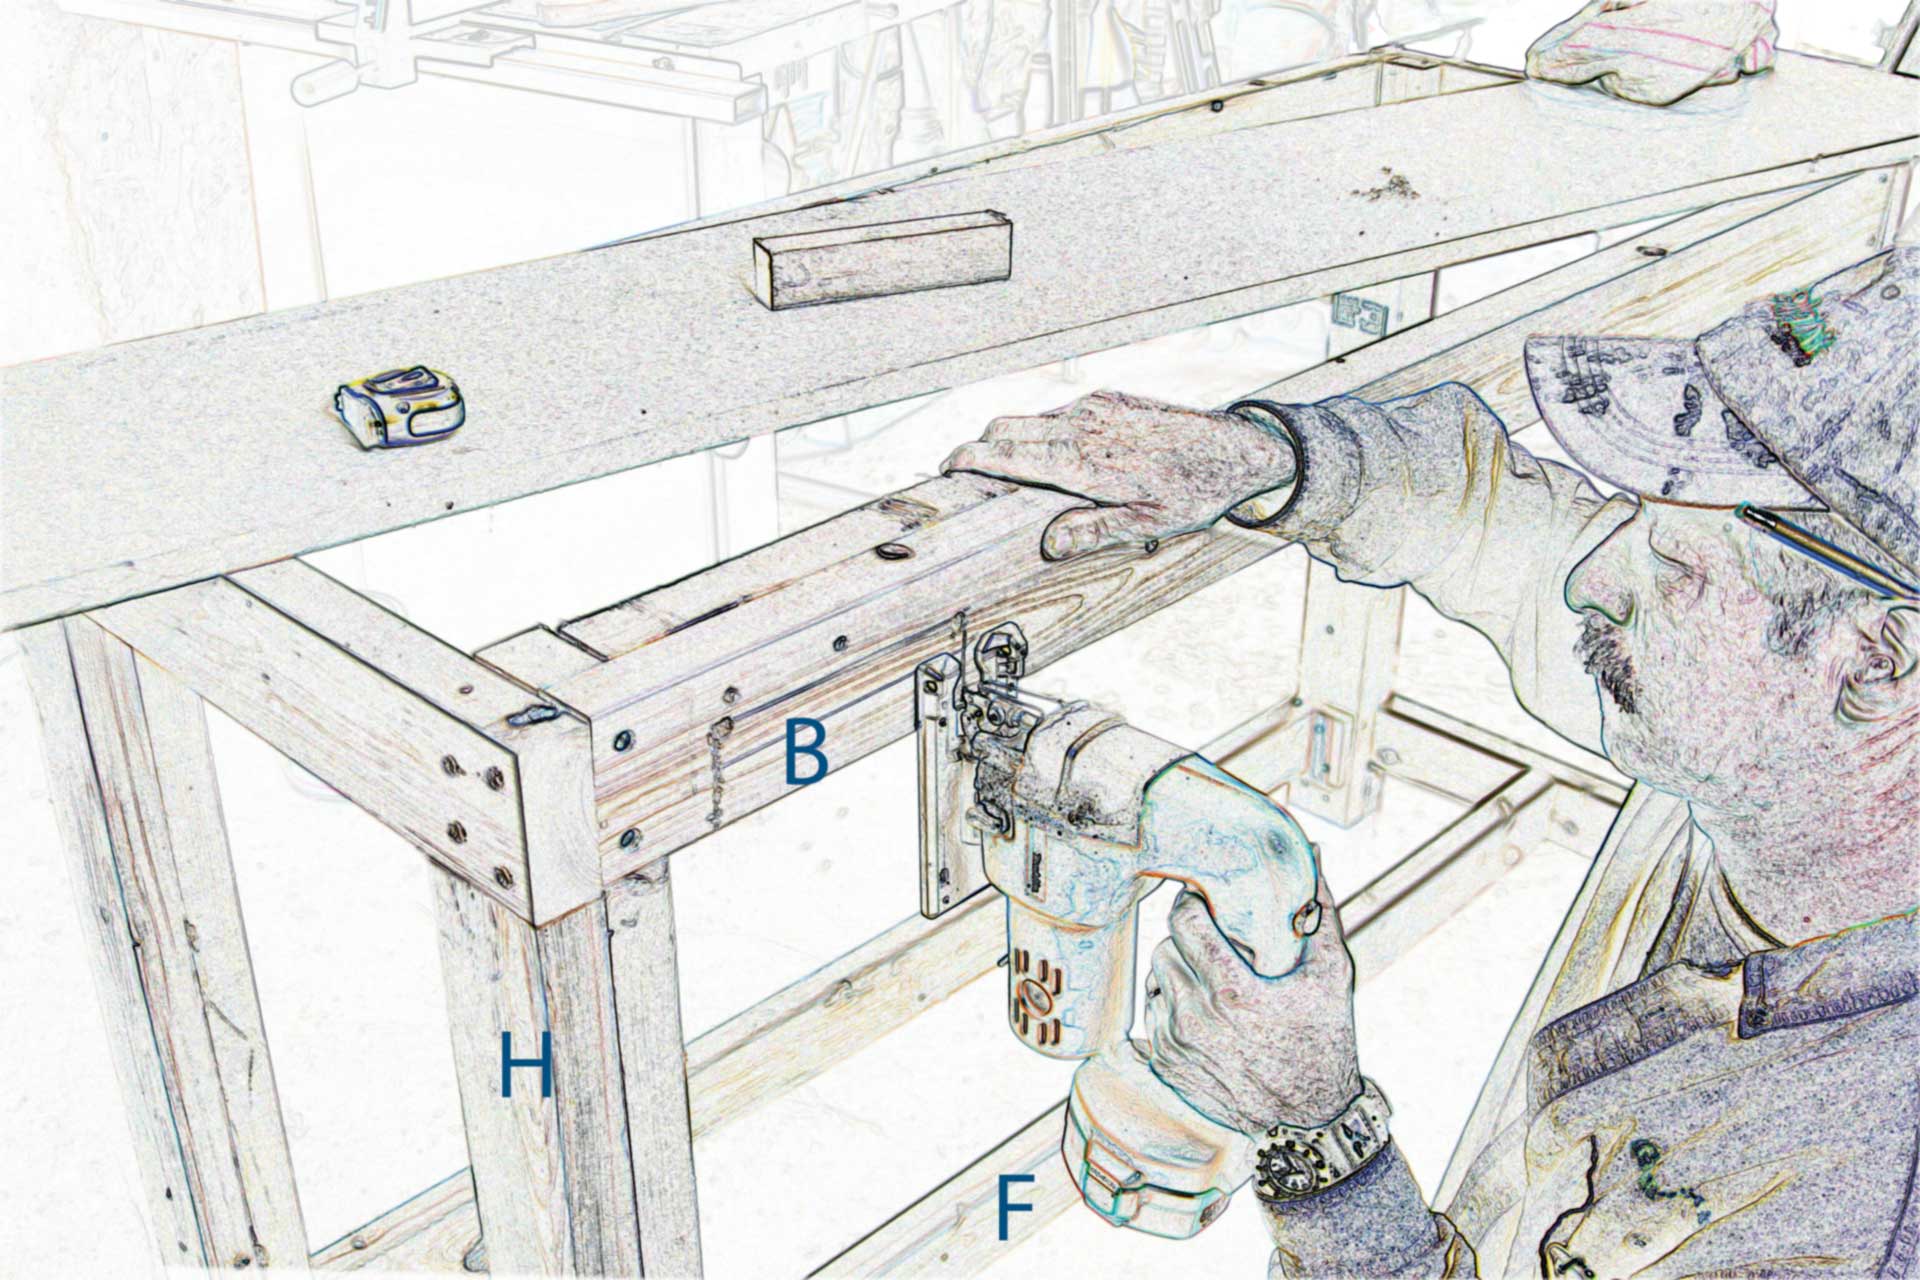
Cut the front and back top supports (B) to length. Fasten the top supports to the front and back of the inside legs with their ends down in the notches. Use 2 1⁄2" self-starting wood screws, countersinking them below the wood surface. Use a combination countersink drill bit to pre-drill all holes. Not only does this set the screw heads below the surface, it also prevents the ends of the wood from splitting when driving screws. Make sure the assembly is square by holding a carpenter’s square against the edge while driving the screws in place.
STEP 3
With both front and back inside leg assemblies constructed, stand them upside down on a smooth, flat surface. Cut the top-end supports (C) and then fasten them in place, again making sure the assembly is square. Cut the back shelf support (D) and fasten it in place between the two back legs with 3" screws driven in from the outside of the inside legs. Stand the assembly upright on a smooth, flat surface and make sure it sits squarely and doesn’t rock. Then cut and fasten the lower end/shelf supports (E) to the outside of the inside legs as well. Note: these must be at the same location on the legs as the back shelf support.
STEP 4
Cut the front shelf support (F) and fasten it in place between the lower end/shelf supports. The legs are strengthened by adding 2"x 4" cleats to the outside of the inside legs. Cut the bottom short cleats (G), drill starting holes using the countersink bit and fasten them in place below the lower end/shelf supports. Cut the upper leg cleats (H) to length and fasten them in place in the same manner. If you are installing a woodworking vise you will need to notch around the vise screws in the front support (B) and add an additional support piece. If you wish to paint the frame now is a good time to do so as you can easily get to all surfaces.
STEP 5
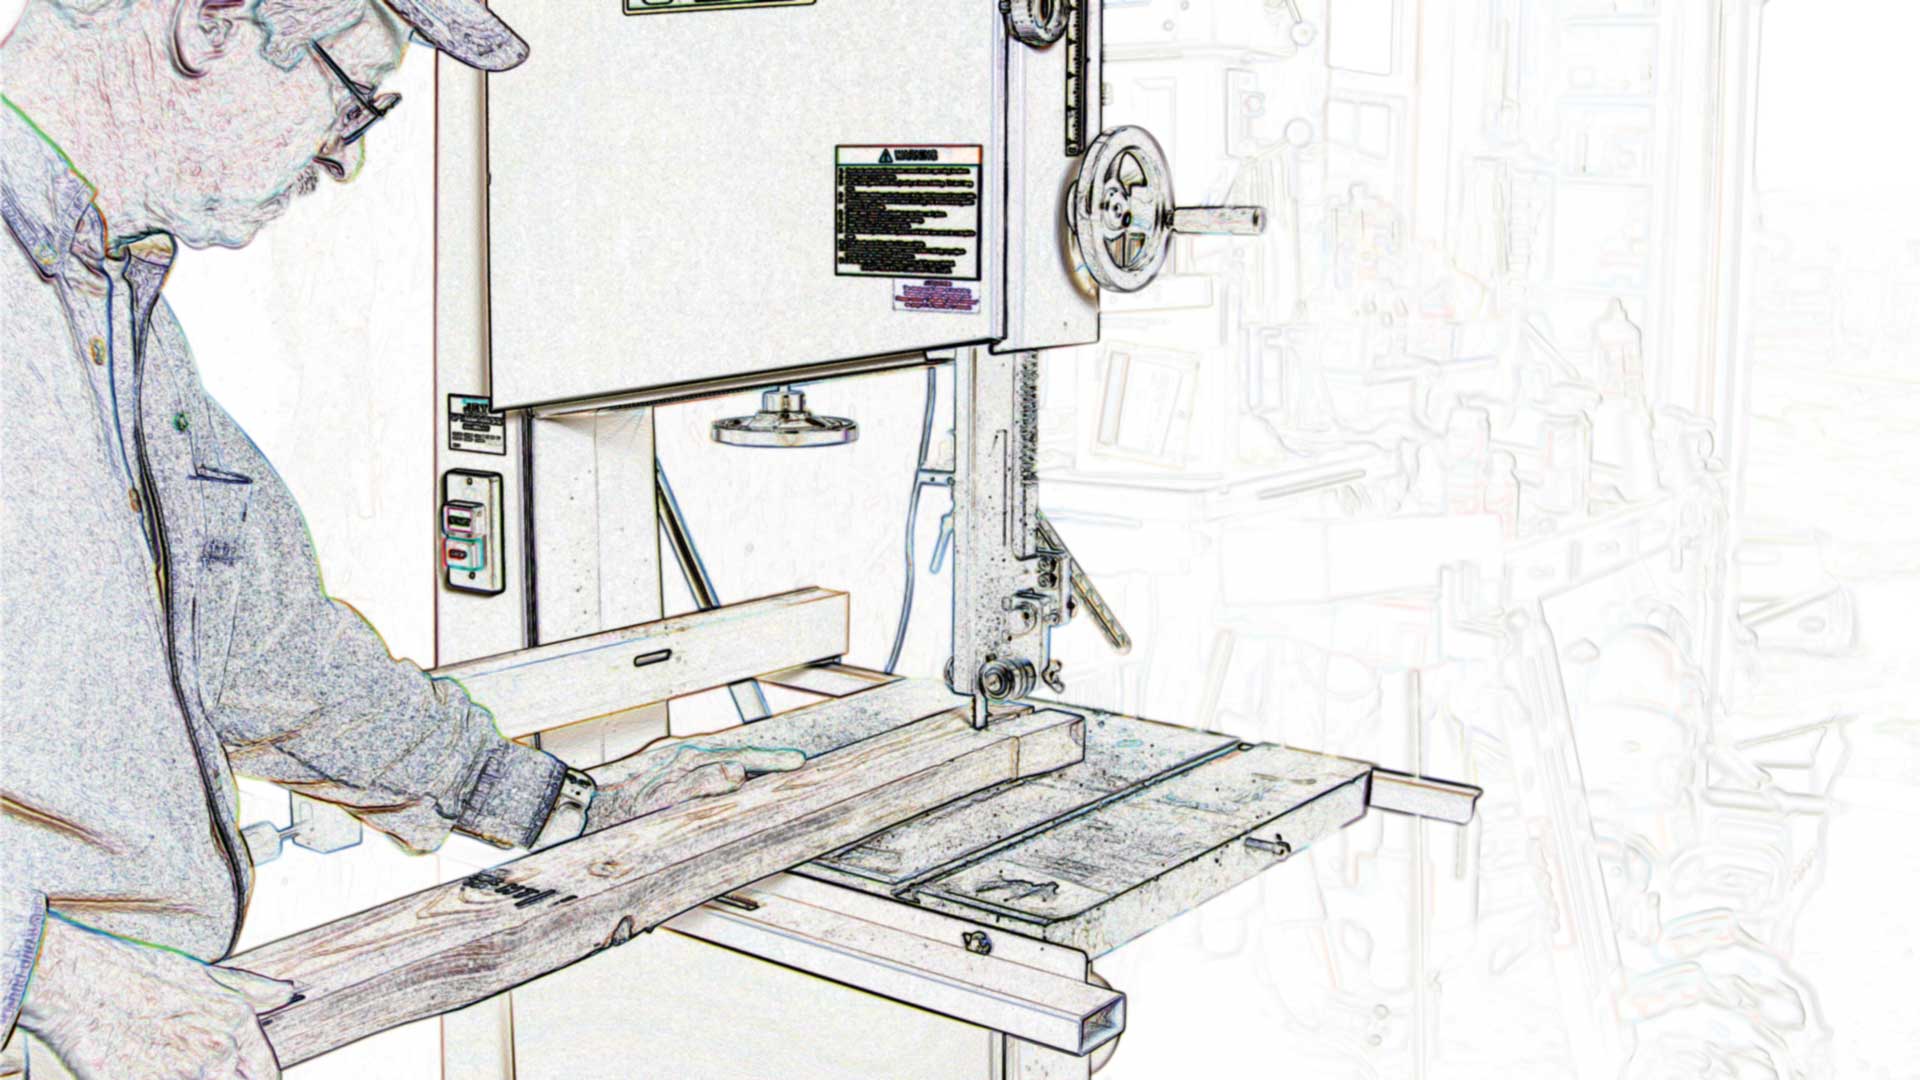
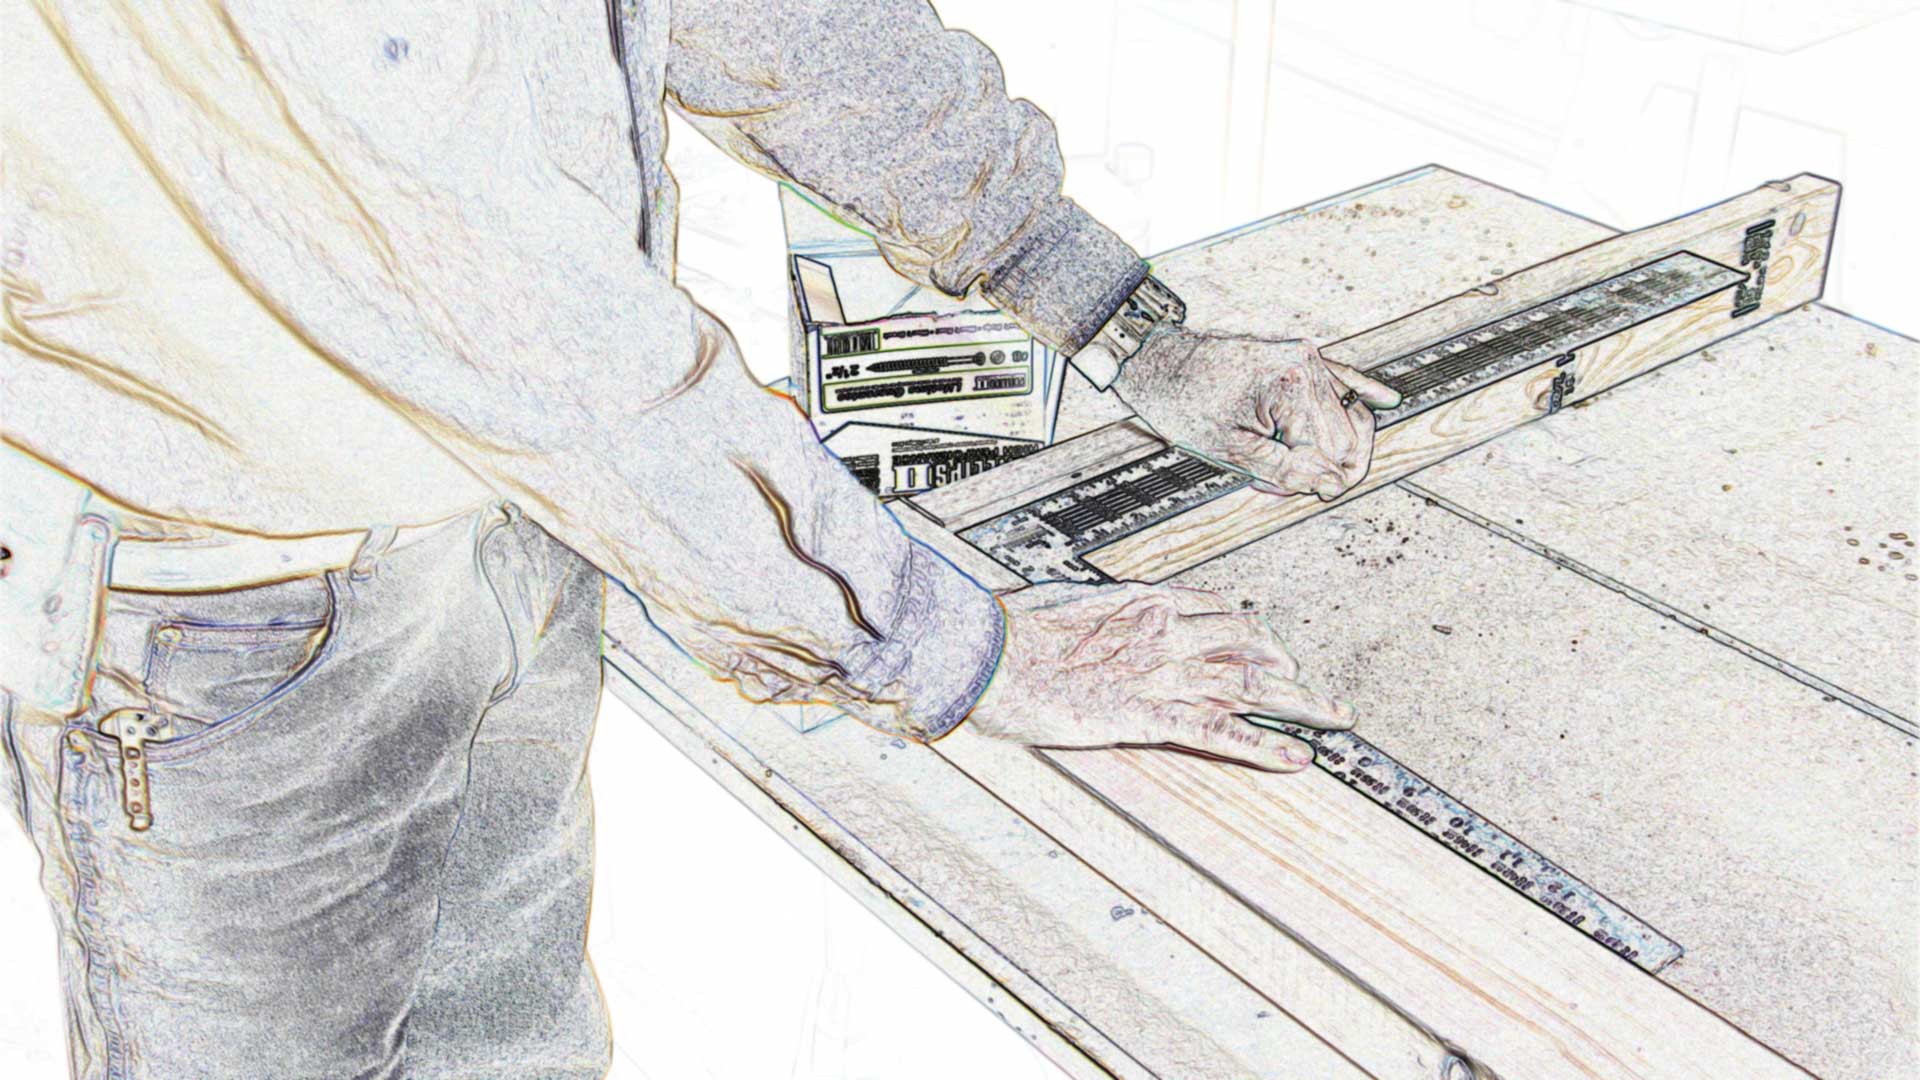
Cut the shelf board (I) to size from medium density fiberboard (MDF) or if you prefer, cut from solid-faced plywood. The MDF provides a much stronger, smoother, more easily cleaned surface. The best method of cutting this heavy material is to lay it on a pair of sawhorses or other flat surface, lay a couple of scrap pieces beneath the board and set a portable circular saw to cut about 1/8" below the wood surface. Use a straight edge to mark the cut, then cut with a portable electric circular saw. Note the back corners will have to be cut to fit around the back legs. Mark these recesses with a square, then cut with a saber saw or hand saw. Next, install the shelf board down on the front and back shelf supports and the lower end/shelf supports. Fasten in place with 1½" countersunk self-starting wood screws.
STEP 6
Cut the top (J) in the same manner. If you are installing a wood vise, such as the one shown, you will need to notch for the vise threads to go through the front top support. The top will also have to be notched to fit around the back side of the wood vise and you should also add a support brace to the area. Make these cuts, then try-fit the vise and top before fastening the bench top securely in place. Note that the top protrudes 1" in front and back and 2" on each end. Position the top in place and fasten securely to the top supports with 1½" self-starting wood screws. Just lightly countersink them so they don’t leave a deep depression. If installing the metal-working vise, locate it in position and mark the anchor holes. Note the front holes are located directly over the front top support. Anchor the front of the vise with 3/8"x3" lag screws. Anchor the rear holes to the top with 3/8"x2" carriage bolts and nuts.
STEP 7
The final step is to cut the notches to accept the cleaning rods. Determine the diameter of your rods and bore a hole for each rod down through the overhanging lip of the bench top near the outside edge of the top support. Then use the square to mark a cut line on either side of the hole out to the top edge. Make these cuts with a saber or hand saw. If you wish, you can add a clear finish to the MDF top and shelf board. Now it’s time to really do some cleaning on that rifle or shotgun you’ve been neglecting.