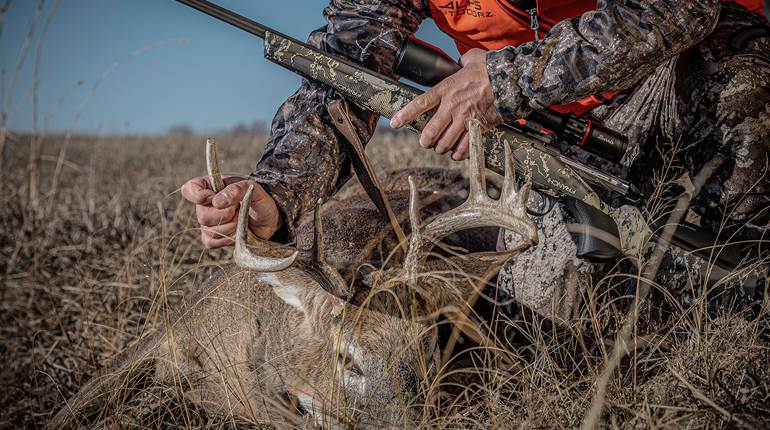
The tiny Torx- or Allen-head screws used on scope mounts have an annoying habit of stripping at just the wrong time. (Not that there is ever a right time.) This is particularly true when removing a scope mount that’s been on a gun for many years. The screws might be a little rusty, and there’s usually a bit of corrosion between the screw and the threads in the receiver. Also, it’s possible that the screws were over-tightened during installation, which can damage the head of the screw. All this adds up to screws that are very tough to remove.
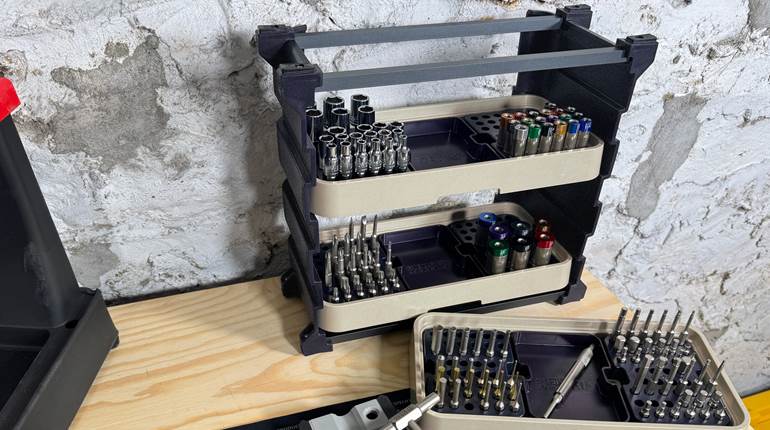
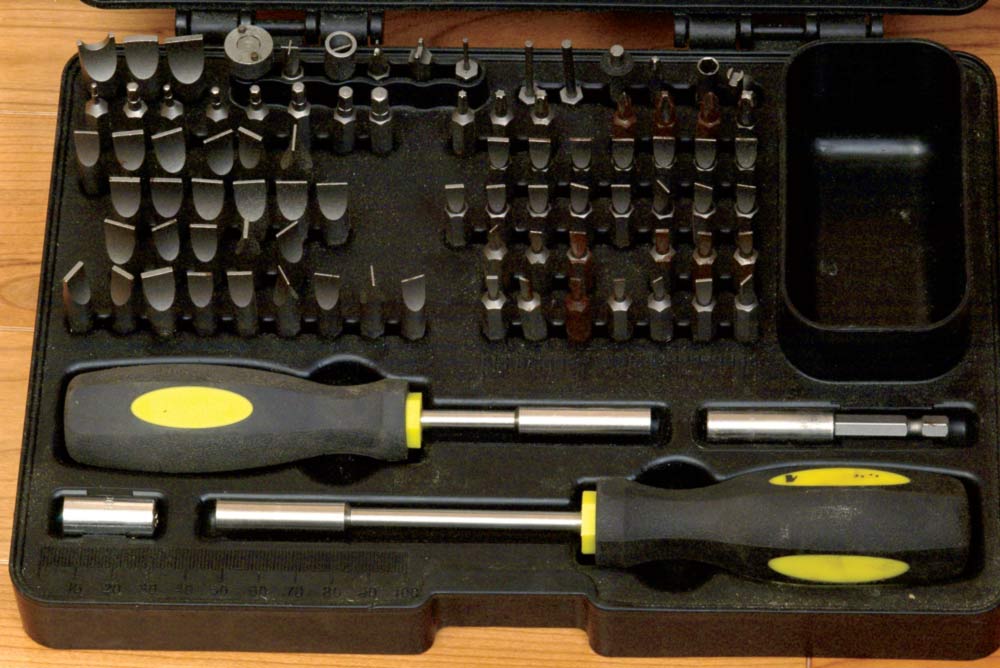
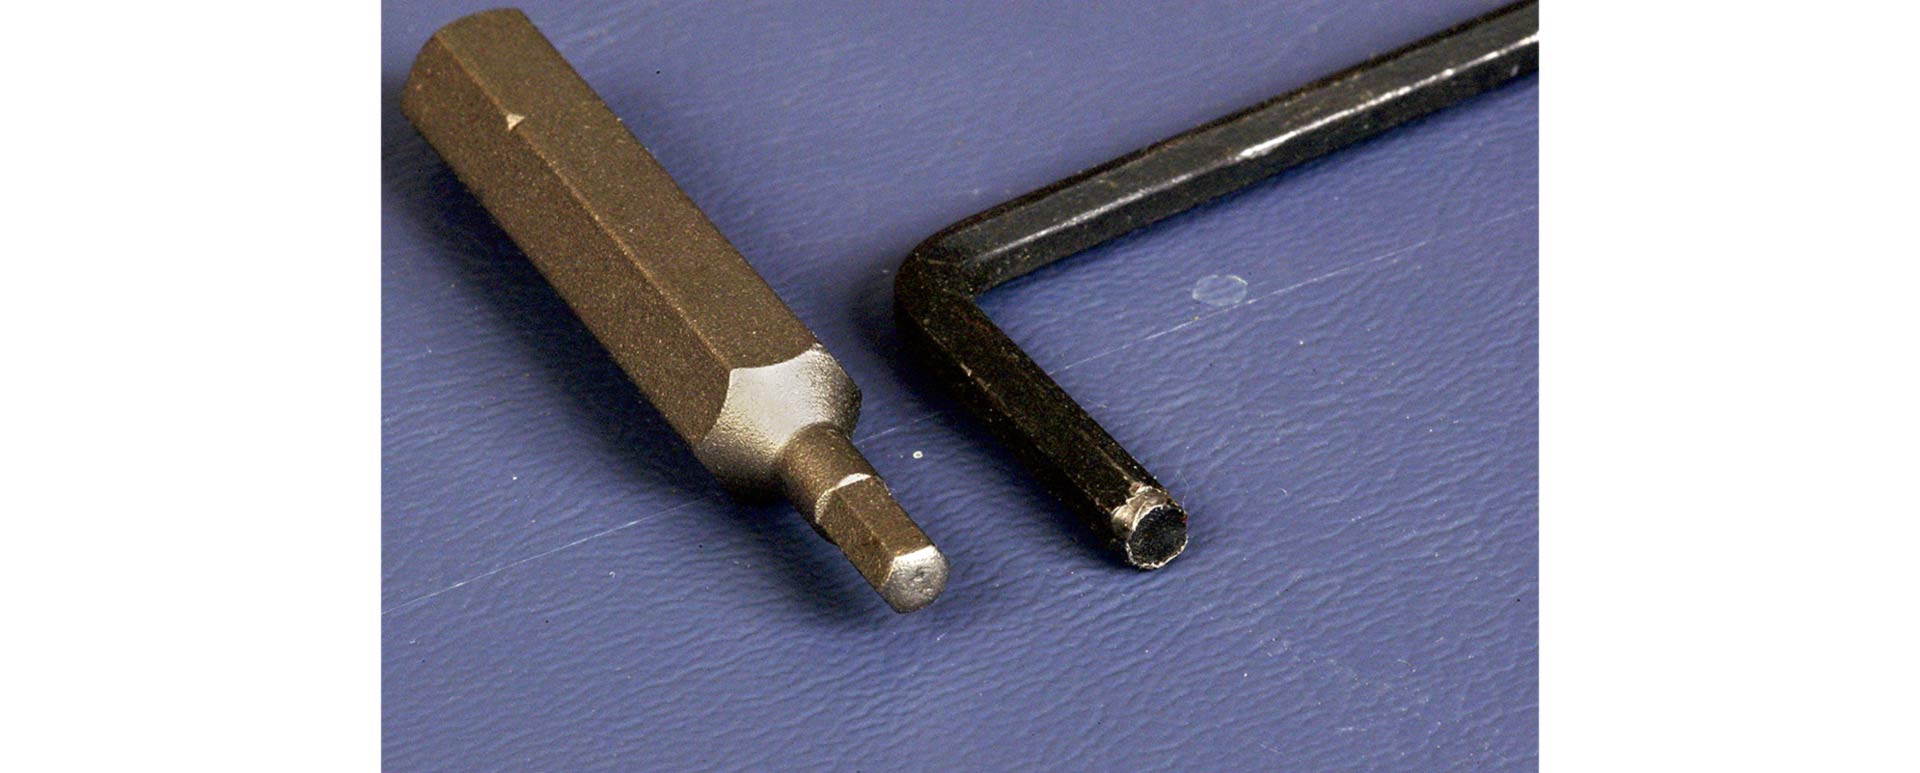
When trying to remove scope mounts, using the Allen wrenches that come with new scope rings is asking for trouble. They are generally of soft steel and may strip and round the edges. They are barely acceptable for new installations when everything is new with clean threads and you are in charge of how much torque will be applied to complete the job. But when removing old screws, all bets are off. These cheap wrenches are a poor choice. Use only a good, high-quality hardened steel bit in a large-diameter screwdriver handle, like those found in the Wheeler Engineering 89-Piece Professional-Plus Gunsmithing Screwdriver Set available from Midway USA. Using a multi-bit screwdriver also allows you to keep the torque centered on the axis of the screw. With the L-shaped Allen wrenches, the tendency is for the torque to be directed off-center, that causes the wrench to tip in the screw, which leads to slipping and stripped screws and rounded wrenches.
You are only going to get one shot at this, so take the time required to get it right. Mount the gun in a gun vise so it won’t slip. Select an Allen bit that is in good shape without rounded or worn edges. Make sure the hex pocket in the screw head is clean and free from debris so the bit can enter all the way to the bottom. Insert the bit into the screw and tap it into place with a plastic-tipped hammer. A few solid whacks with the hammer on the screwdriver handle not only seats the Allen bit in the screw, but may also help loosen the screw. If the fit is at all sloppy, put a little Drive Grip or powdered rosin on the bit. Using two hands, push straight down on the top of the screwdriver with one hand, and turn with the other. Keep the screwdriver perfectly in line with the center of the screw; do not allow it to tip. Be careful about how much torque you apply, as these are small, rather delicate, screws. If the screw doesn’t loosen, back off. Try again while tapping on the screwdriver handle with a plastic hammer and applying constant torque to the handle. This is easier if you have some help. One person taps on the handle with the hammer, while the other keeps the screwdriver straight and applies the torque.
If just one of the screws is a problem, remove the rest of them first. Sometimes there is a misalignment of parts, so that puts pressure on one particular scew when all of them are tight. Removing the rest of them will often relieve that pressure, allowing the last screw to be removed.
If the screw is in a scope base that sits on a flat receiver, you can sometimes use a plastic hammer to tap on the base and turn it on the gun enough to loosen the screw. Remove all the other screws, and then tap the corner of the base so that it will drive the base counter-clockwise. It’s not necessary to turn it very far—just a partial turn will often break the screw free. Sometimes working the base back and forth with the hammer a few times will also break the screw free. Be careful about doing this on rounded receivers like the Remington 700, as tapping the mount will cam it against the receiver, jamming the screw tighter or breaking it off.
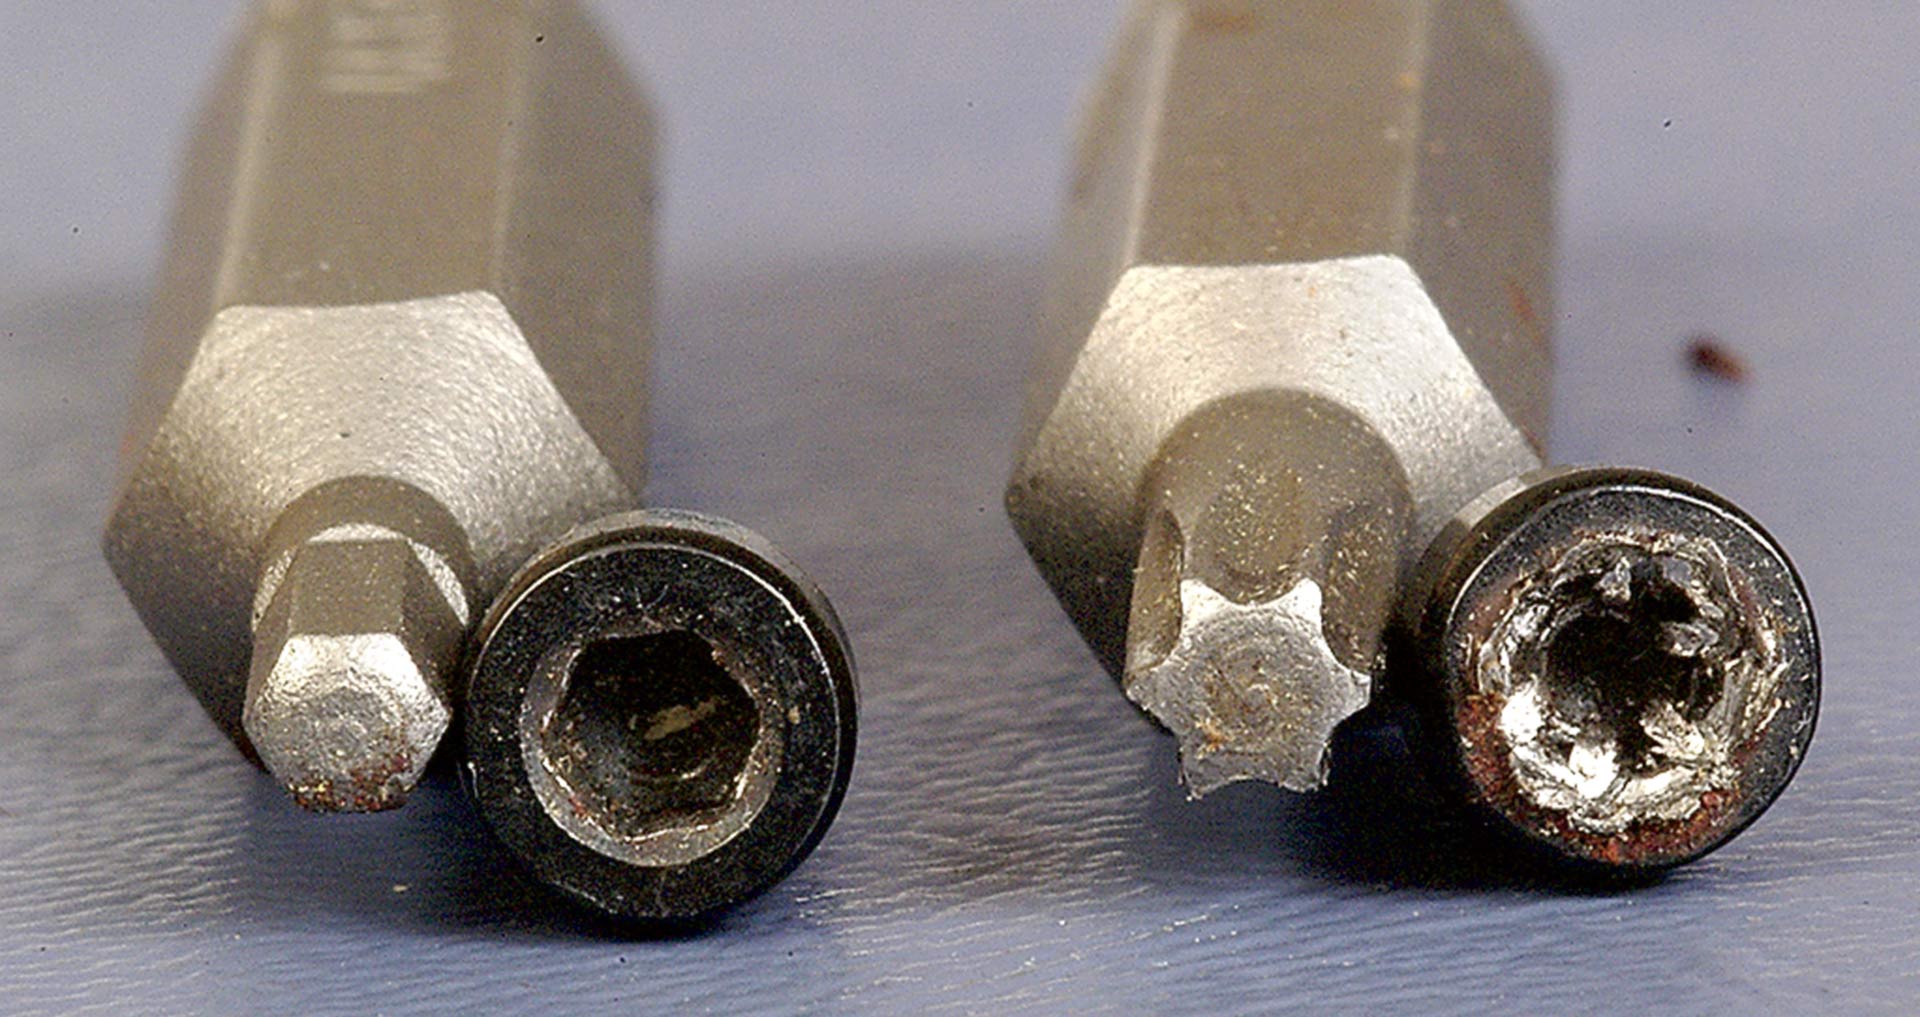
Sometimes you can do everything right, yet the screw still strips. The base I recently removed from a Remington 700 in .35 Whelen is a perfect example. The scope was installed sometime back in the late ’80s. The first three screws came free just fine—a testament to the fact that I use only high-quality bits for this kind of work—but the opening in the head of the last one stripped. I thought it could handle the amount of pressure I was applying, but it had been damaged during installation, and the head stripped.
I switched to a bit designed for a Torx-head screw that was slightly larger than the stripped hole in the screw. Keeping it straight, I tapped the screwdriver with a hammer to drive the Torx bit into the screw, effectively cutting new splines in the metal with the bit. That allowed me to remove the screw. Of course, the screw is no good anymore, and it sometimes damages the Torx bit, but a new bit is only a couple dollars at most, far less than the cost or time necessary to drill out the broken screw and re-tap the hole. I always keep a supply of screws on hand anyway, because it’s very common to need a replacement.
Sometimes nothing will work, and you must drill out the screw. Clamp the gun in a vise and use a drill press, which will give you a lot more control than a hand-held drill. Select a bit that is slightly smaller than the head of the screw. Drill just far enough to remove the head from the screw. Once the drill bit hits the bottom of the opening, it should be centered, as it will drill to the shank of the screw. This removes the head from the shank, freeing up the base. If you are lucky, it will leave a small amount of the screw shank sticking out from the gun. If it still will not come out easily and if you have time, it wouldn’t hurt to keep this screw saturated with penetrating oil for a few days before attempting to remove it.
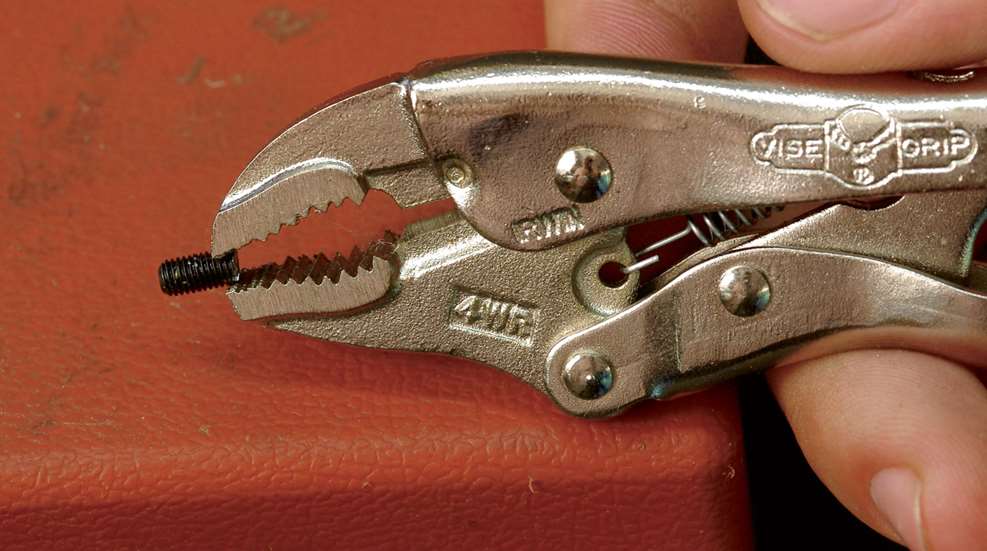
Use a new pair of small and high-quality Vise-Grips to clamp the screw, and try to remove it. Use a new pair, so that the teeth are clean, sharp and the jaws are perfectly aligned. Sometimes you get lucky and this works.
Drilling out the screw and re-tap ping the hole is a last resort. This is a bit tricky, and I don’t recommend that a hobby gunsmith try it on a rifle receiver until he has some experience with less-critical applications. If you lack experience with drilling out broken screws and rethreading the screw holes, a rifle receiver is not the place to learn. Take the rifle to someone who has the knowledge and the proper equipment. I have seen several ruined receivers and more than one hole drilled through the barrel by people who didn’t heed that advice.
Most Popular