This article, "Rifleman Know-How: Installing A Short-Chambered Barrel Without A Lathe," appeared originally in the March 2006 issue of American Rifleman. To subscribe to the magazine, visit the NRA membership page and select American Rifleman as your member magazine.
The barrel is the heart of any good rifle, and the quality of the barrel and its installation are critical to how well your gun will shoot. A custom gunsmith will buy a barrel blank and then outside contour it, cut the threads and shoulder, crown the muzzle, and ream the chamber. Such specialty machining takes years of training to learn. It also requires thousands of dollars worth of tools and equipment. While it is well within the capability of a custom gun builder, it’s beyond the reach of most hobby gunsmiths.
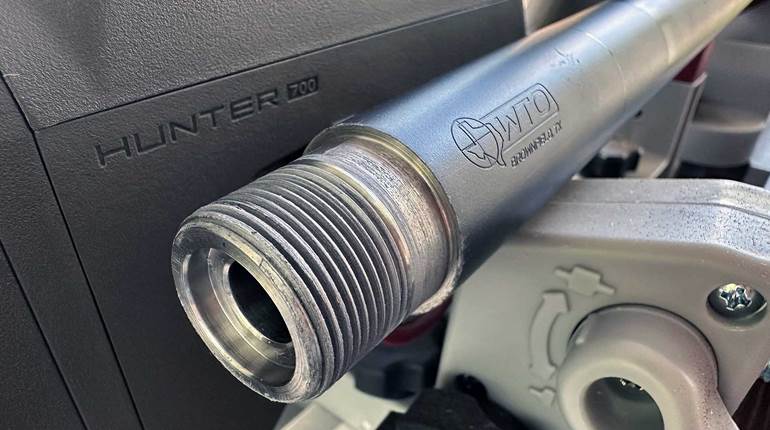
But that doesn’t mean you can’t put a new barrel on your rifle. Actually, it’s easy to install a new barrel, even without a lathe. Simply purchase a short-chambered barrel. These are essentially finished barrels. They have the final contour on the outside, their threads and shoulders are cut, and their chambers are cut short. Short chambered means that the chamber is not reamed to its full length and is left about 0.050" short. That allows you to set the chamber for the exact headspacing needed for your action. Headspacing your rifle will require finish-reaming the chamber to the correct depth.
In addition to a chamber reamer and a wrench to turn it, you will need a set of Go and No-Go gauges to check headspace. Each gauge looks a little bit like a cartridge and is made to a specific length. If the bolt can close on the Go gauge, it indicates that the chamber is long enough to accept a cartridge. The No-Go is slightly longer, and the bolt should not close when that gauge is in the chamber. If the bolt does close, that indicates that the chamber is too long and allows what is commonly called “excessive headspace.”
This may mean you have cut the chamber too deep. If you make a mistake reaming the chamber and go too deep, the barrel must be turned on a lathe. Those of us hobby guys without a lathe should take all possible precautions to avoid getting into that situation. However, if you do go too far with the reamer, it’s not a total disaster. It just means you need to take the barrel to a machine shop and have them turn a little metal off the shoulder and an equal amount off the back of the barrel.
The method described here is for installing a barrel on a Mauser action that has the recoil lug integral to the action. Others, such as the Remington Model 700, will have the recoil lug captured between the barrel and the action, and the thickness of the recoil lug must be taken into account when making measurements in preparation for reaming the chamber. Some other rifle actions may have other special requirements as well. When in doubt, it’s best to research your action style before starting.
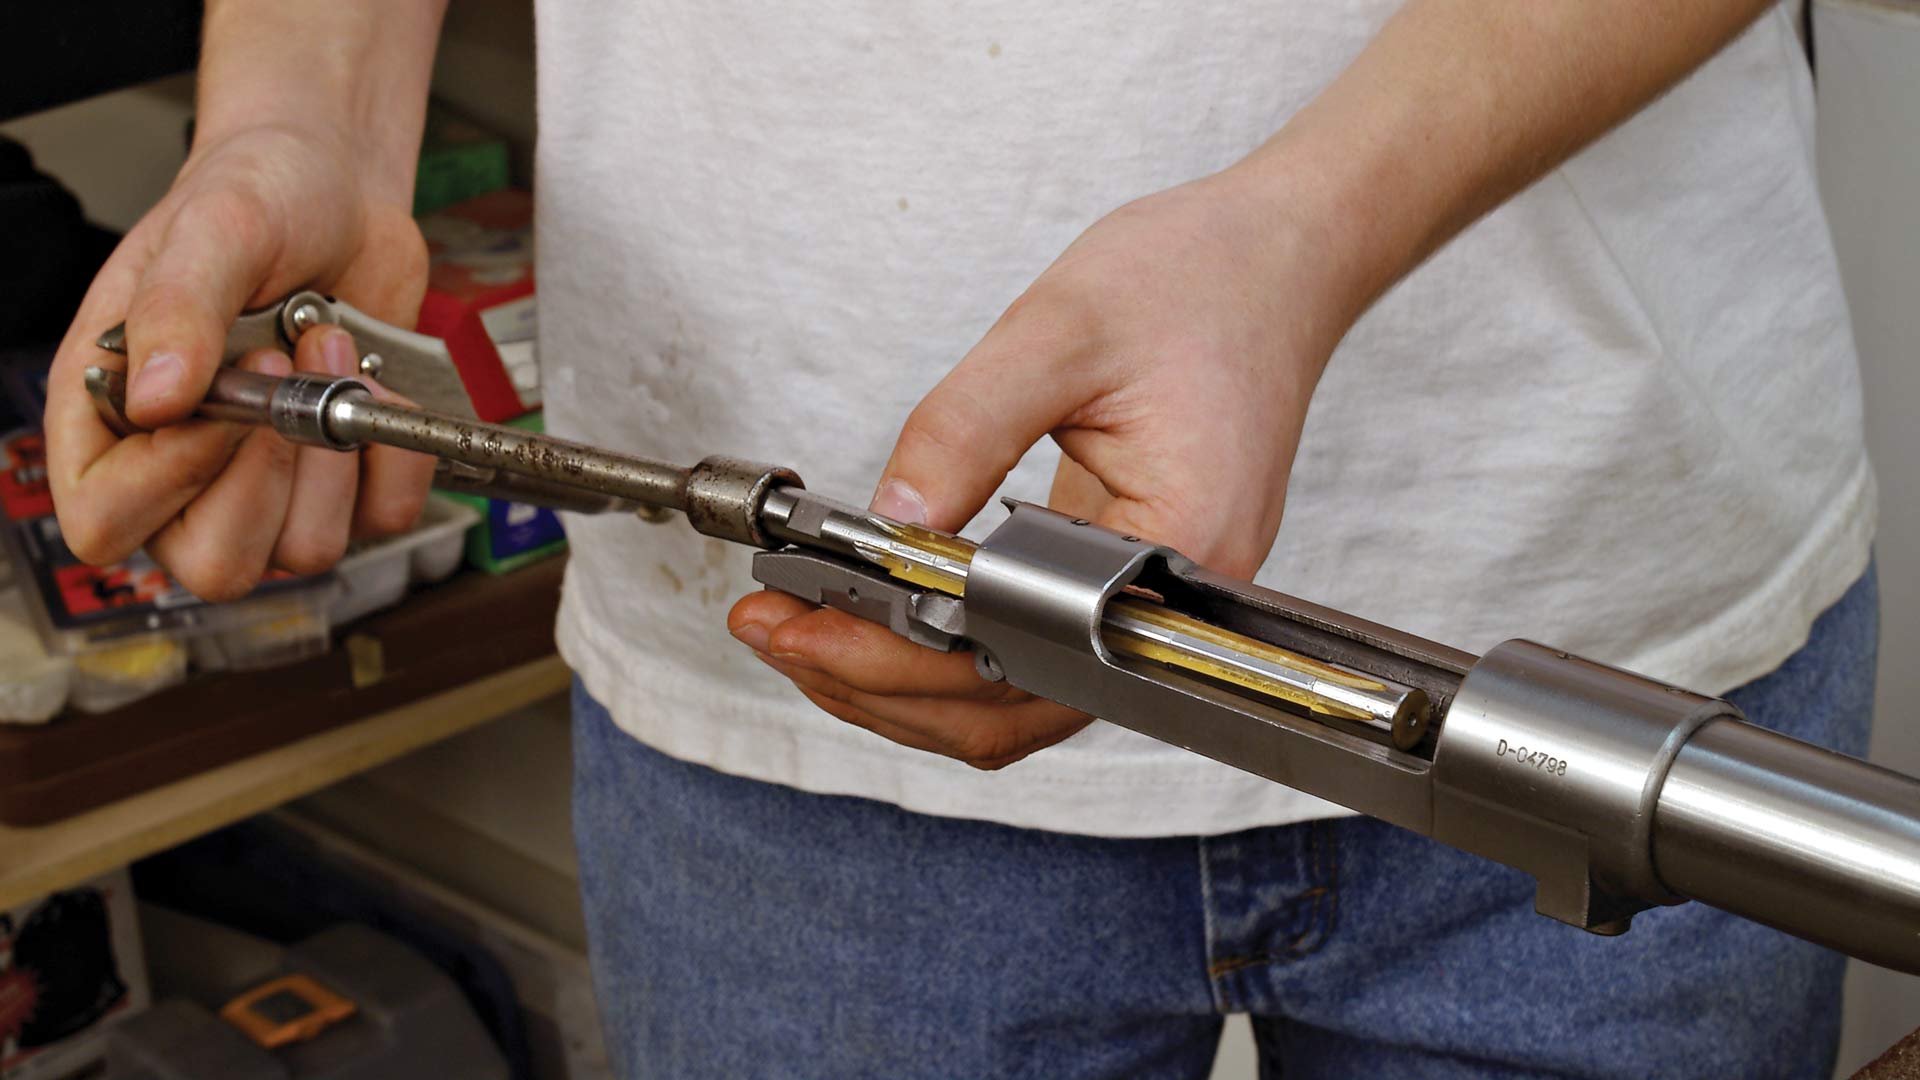
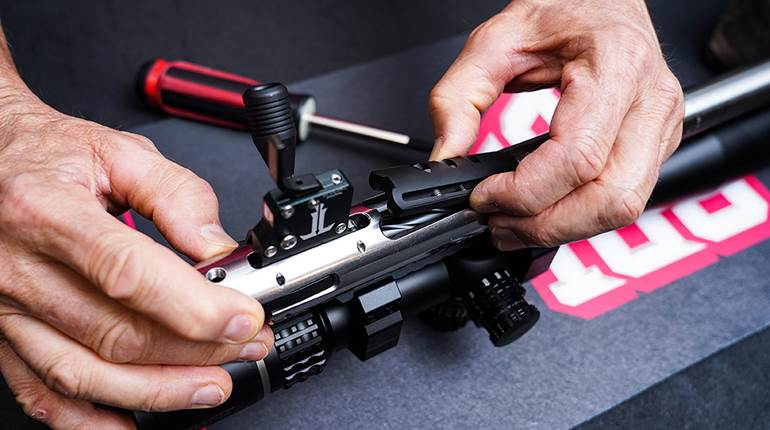
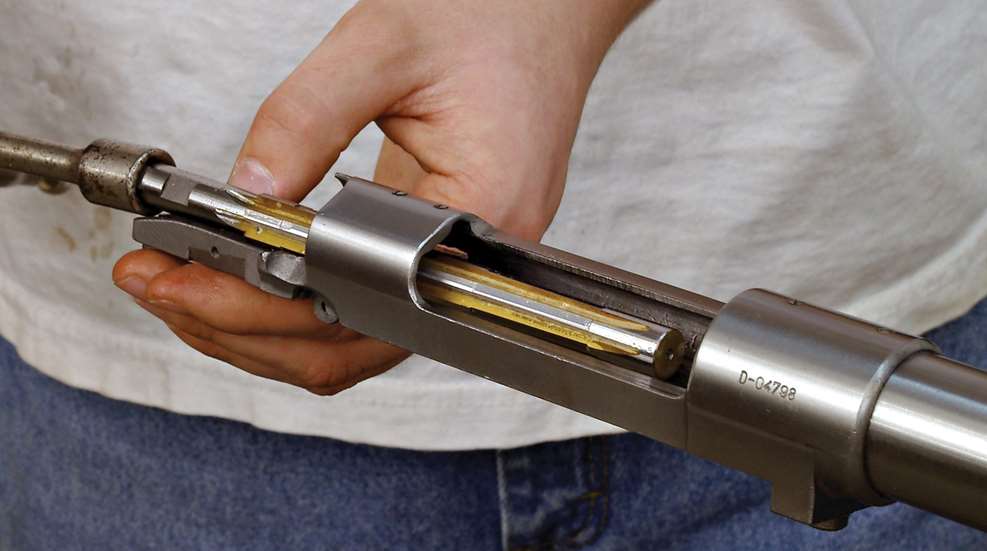
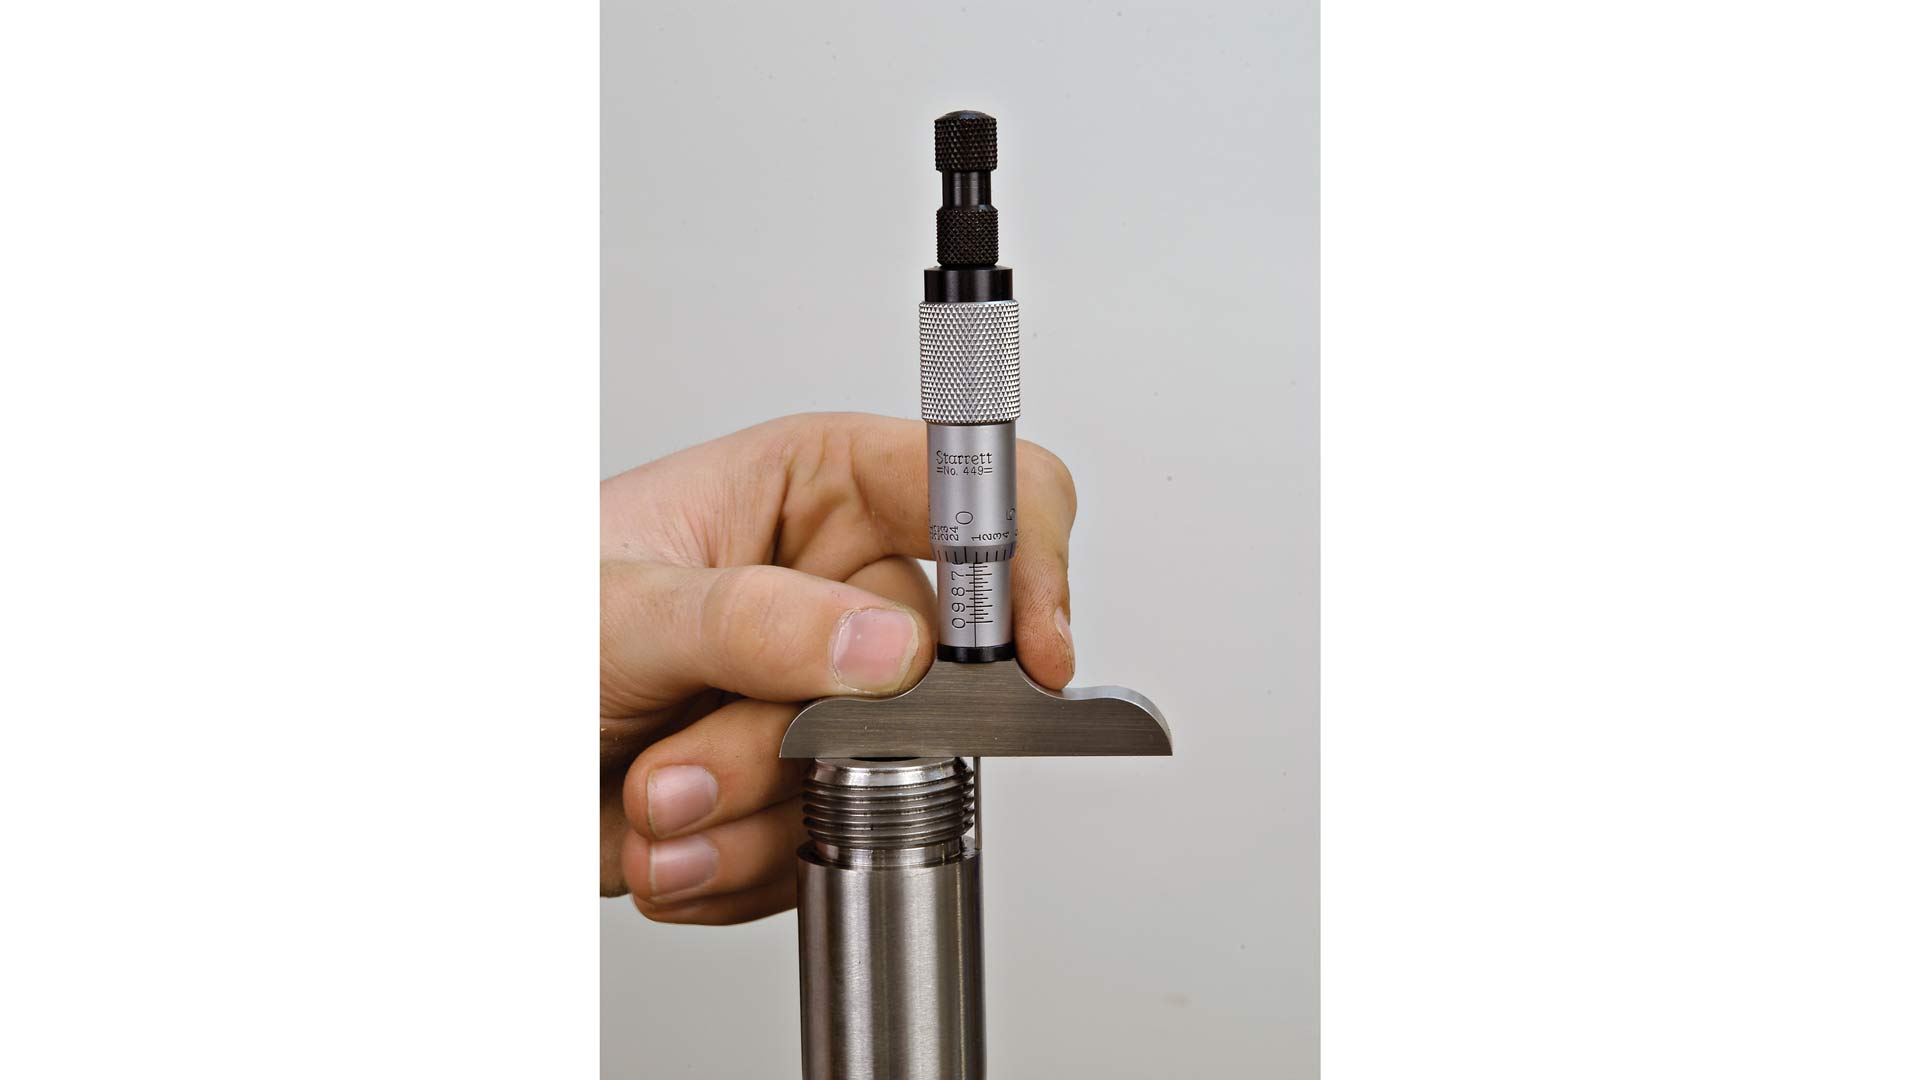
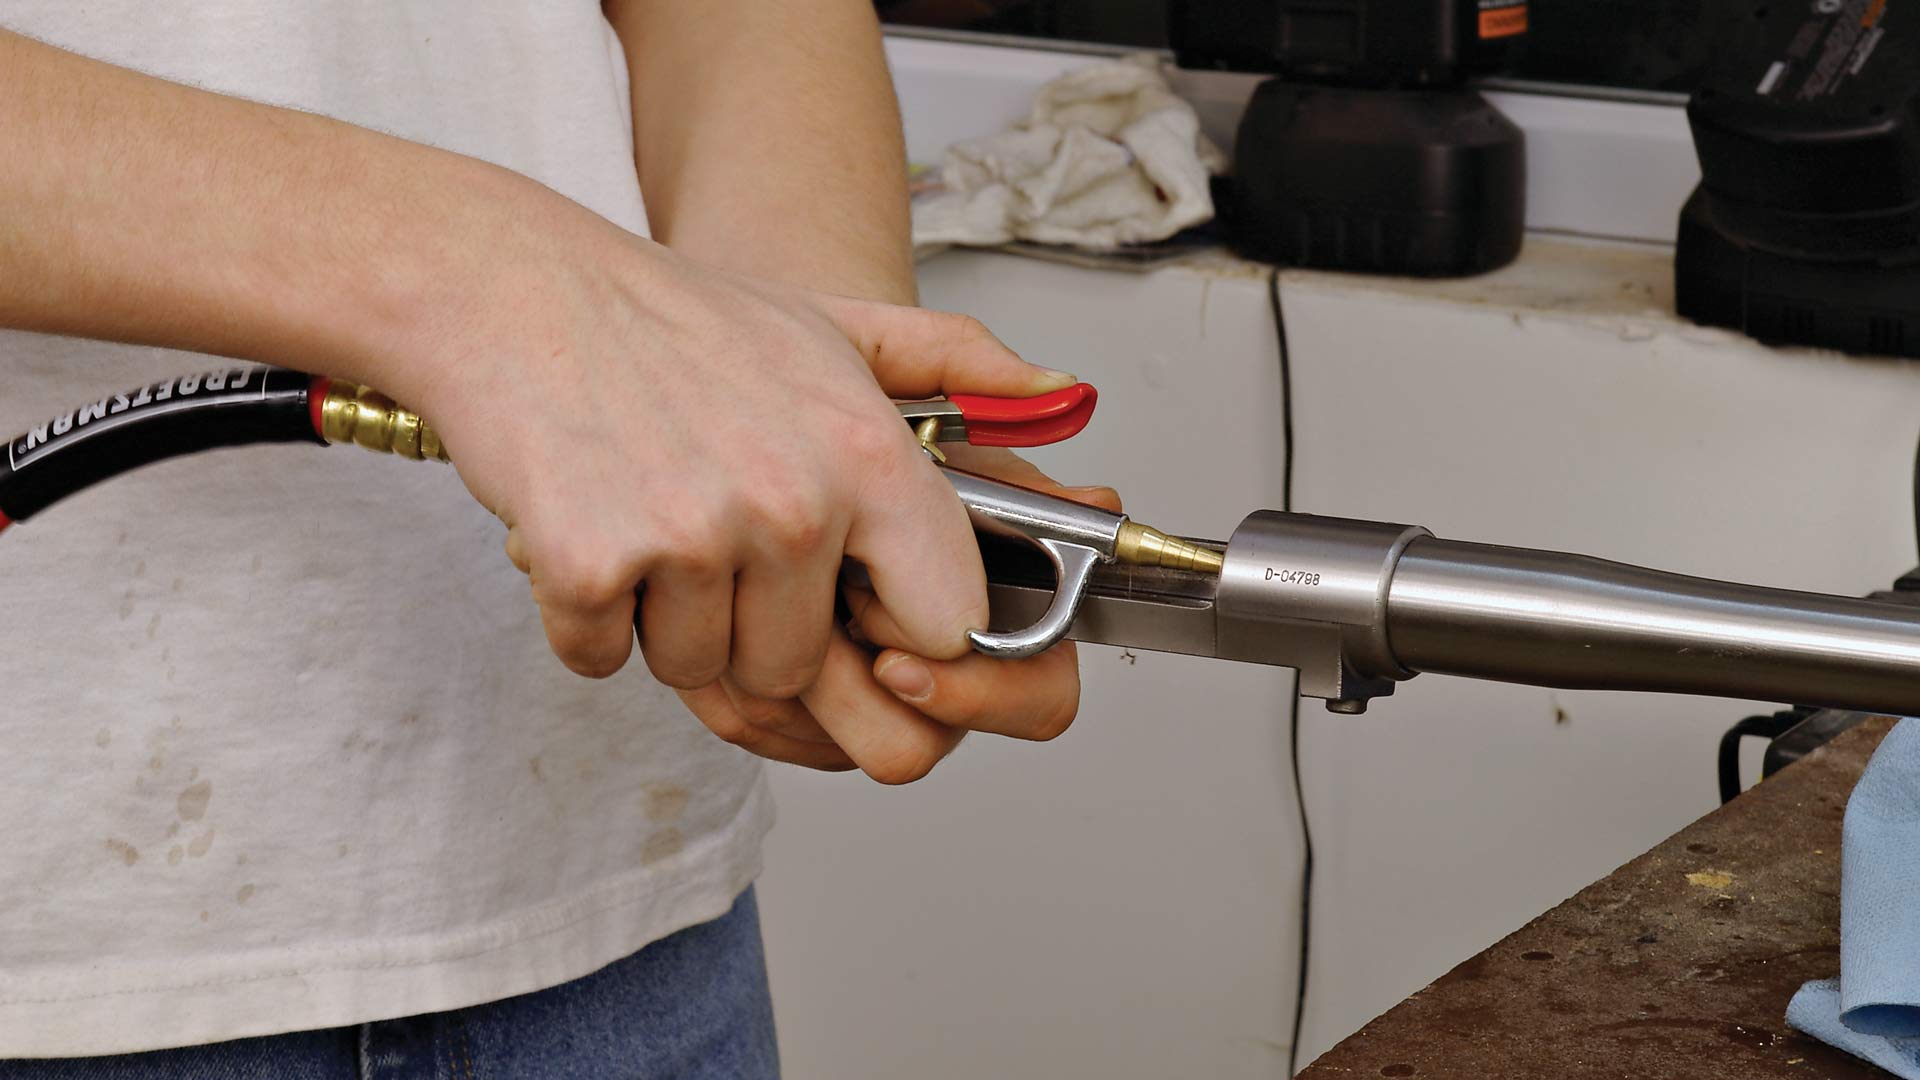
Make sure that the bolt does not have the firing pin or spring installed. Place the bolt in the action and close it fully. Placing a depth micrometer through the receiver’s threaded end, measure the distance from the end of the action to the front of the bolt face. Next, measure the distance from the shoulder on the barrel to the end of the barrel threads. Subtract that barrel thread-shank length from the receiver-to-bolt-face measurement and write it down. Make absolutely sure that the chamber is clean, and then insert a headspacing Go gauge. Measure the distance from the back of the gauge to the back of the barrel. Subtract that number from the first number and the difference is how much you need to lengthen the chamber. The two numbers should match before installing the barrel. Actually, most gunsmiths will add in 0.002" to 0.003" of “crush factor” when installing a new barrel. So the number should be 0.002" or 0.003" less than equal before installing the barrel. That makes the chamber slightly deep, but when the barrel is tightened down into the receiver, the threads will crush and negate the difference. The chamber reamer has a 3/8" square drive end, and it can be turned with a large tap wrench. Use a liberal amount of cutting oil and only turn in the direction in which the reamer cuts. Never back up any reamer or cutter, as that can chip the cutting surface and ruin the reamer.
After reaming the chamber to the correct depth, install the barrel on the action using a barrel vise and an action wrench. Then use the headspacing gauges to verify that the headspace is set correctly. Headspacing is correct when the bolt will close on the Go gauge, but will not close on the No-Go gauge. A lot of shooters like a minimum-headspace chamber. That is one that is on the tight side of the tolerance, which is to say a chamber where the bolt will barely close on a Go gauge. This will usually result in better accuracy from factory loads, although it can make some ammo hard to chamber.

Depth micrometers are a bit pricey, but you can do this job with a dial caliper although it will take longer. Using the dial caliper to get close allows you to do a lot of the cutting with the barrel out of the action where it’s much easier and faster. But it is not precise enough to trust cutting the chamber to the final dimension before installing the barrel, as can be done with a depth micrometer.
Simply cut the chamber to within 0.010", then install the barrel in the action. Verify that the bolt will not close on the Go gauge. Then insert the reamer (with plenty of cutting oil) and remove a small amount of metal. Reaching through the action to turn the reamer will require a ratchet extension. Clean the chamber and try the Go gauge again. If the bolt still will not close, repeat the cycle. Go very slowly and take a small amount of material out of the chamber each time before checking with the Go gauge. It’s extremely important not to go too far, which is easy to do if you are not cautious. It’s also important to make sure the chamber is clean and free from chips or oil each time you try the Go gauge. Anything in the chamber at all can affect the readings.
Once the headspacing is set correctly, and the bore and chamber are cleaned, you are done with this operation. The barrel may need finishing, and you may be required to make some adjustments to the stock and the stock’s bedding around the barrel to allow for any differences in the barrel diameter or contour.