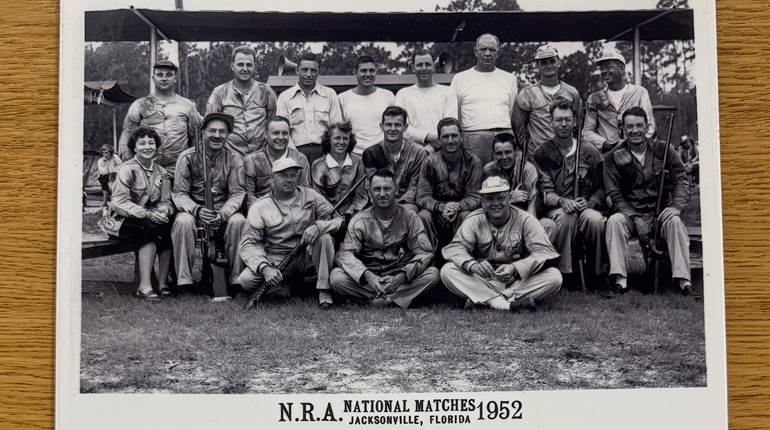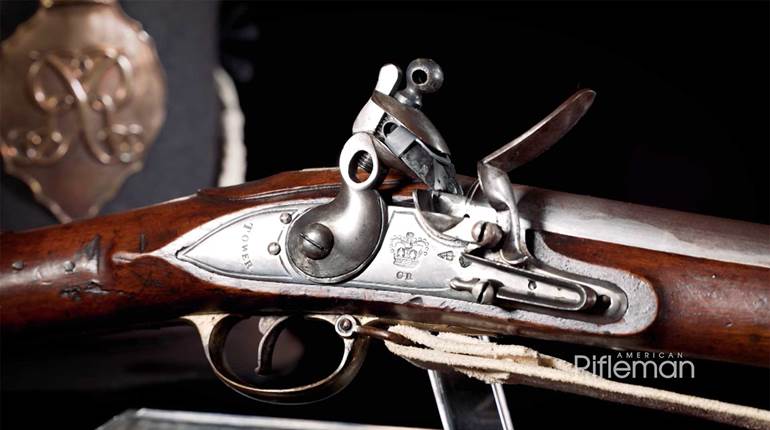
This how-to story, "A Simple Chronograph," appeared originally in the February 1940 issue of American Rifleman. To subscribe to the magazine, visit the NRA membership page here and select American Rifleman as your member magazine.
Almost every gunman who loads his own shells gets the urge to find out how fast his bullets travel. But by the time he actually gets under way he is ready to give up. Too many unnecessary complications loom in his way simply because he thinks he must use no end of gadgets and expensive equipment in order to achieve results.
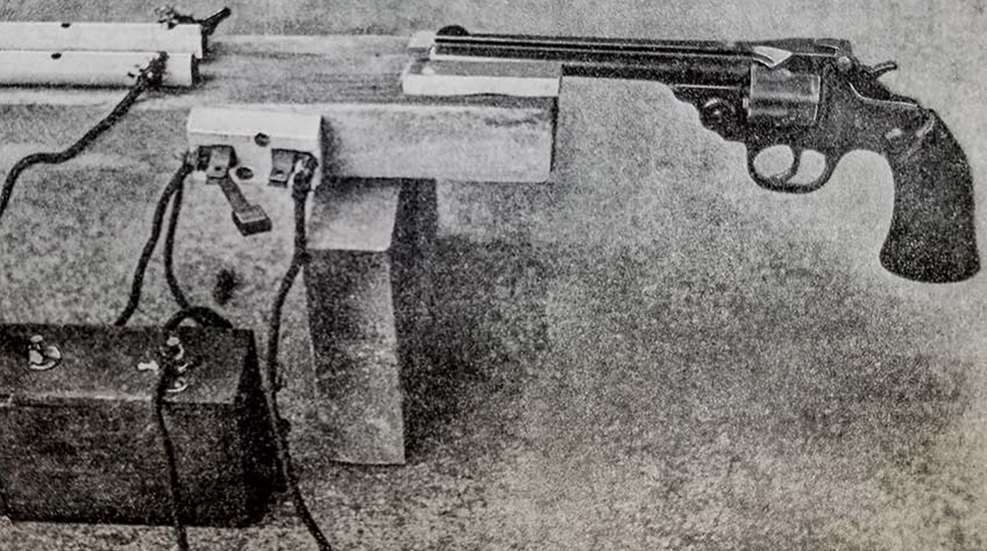
Measuring the speed of a bullet is easy, and the outlay for equipment is almost negligible. To begin with, it is necessary to have a fairly good Model T Ford coil, an electric switch, two pieces of gas pipe from eight to ten feet in length and not more than 1 1/2-inch in diameter—3/4 inch being the best; also paper, wax, and your car battery.
In operation, you shoot the projectile between the two lengths of pipe, as shown in the illustration. The spark from the Ford coil jumps from one pipe to the projectile, and from the projectile through the wax paper to the other pipe, to complete its circuit. Then, knowing the number of sparks the coil emits per second, you can take that number and multiply it by the distance in feet between the holes punctured in the wax paper by the spark, and get the exact number of feet per second the projectile was traveling.
In assembling the apparatus, you first mount the two pipes parallel to each other on a heavy board or 2 x 4, making sure that they are fastened securely and in perfect alignment. To do this it is best to drill holes every foot or so, and screw them down. The distance apart you set the pipes depends entirely upon the size of projectile you are going to test. A Ford coil will throw a spark approximately a half-inch long, so to be on the safe side, allow 1/8-inch on each side of the projectile between the pipes. In this way you will be sure the spark will be there when you want it. This doesn’t give much room for inaccurate shooting, but if you arc any kind of shot you should have no trouble for such a short distance.

This test can be made outside or in your basement—but if you intend doing it in crowded quarters, be sure your backstop is strong enough to do the work. The stop can be made in the form of a target to aid shooting; otherwise it is only a safety feature.
Assuming that you have the pipes securely fastened, and everything lined up, you now take a piece of wax paper and glue it tightly (if you don’t the vacuum created by the projectile may tear it loose) to one of the pipes, so that the sparks will have to jump through it in order to complete the circuit. If you haven’t wax paper at your disposal, use any white paper and paint one side of it with molten wax, using an ordinary paint brush. (To remove the wax from the brush, hold the latter in hot water. The water will melt the wax and let it float to the surface.)
When mounting your gun to shoot between the pipes, it is necessary to keep the muzzle several inches, or even feet, from the beginning of the pipes, the reason being that the burning powder escaping from the barrel will spoil the test by burning holes in the wax paper the same as the spark will do. The distance the two must be separated will depend upon your gun and the type of powder you use. One or two shots will indicate the proper distance.
You should now be ready to try the apparatus. The only essential thing left to do is to determine the number of sparks per second the Ford coil emits. The mere mention of it sounds difficult, but in reality it is the simplest part of the business—if you have an ear for music. Take the coil in near your piano, or your neighbor’s piano, and start it buzzing. Then strike middle C on the piano, and tune the coil's buzzer, by means of the adjusting nut, until it sounds middle C. Middle C has 256 vibrations per second, which means that the coil will now give 256 sparks per second, because it throws a spark every time it vibrates.
You now connect the coil to your apparatus in the manner shown in the wiring diagram. Then turn on the switch and fire the shot. After firing, turn off the switch and measure the distance between the holes punctured in the paper—and start figuring.
For example: suppose the spark punctured a hole every four feet. You then multiply 4 x 256, and get 1,024, which means that your projectile was traveling at the rate of 1,024 feet per second. Or suppose the distance between holes happened to be, say, 4 feet 8 inches, and you had the coil sounding the C three octaves above middle C on the piano, or vibrating at the rate of 1,024 times per second. Four feet eight inches is 4 2/3 feet, so you multiply 4 2/3 x 1,024 and get 4,778 2/3 feet, so the speed of the projectile was 4,778 2/3 feet per second. The 2/3 foot is equal to 8 inches, so this also reads 4,778 feet 8 inches per second. Remember always to read the distance between the holes punctured by the sparks, in feet.
You may think four feet is a long distance between sparks. If so, take a higher note on the piano, and tune the coil to that. The different vibrations per second are given in the table herewith, and you can take any note you wish, and get the exact number of sparks the coil is emitting.
Be careful not to touch any of the apparatus when the coil is buzzing, or you will get a terrific shock. And be sure to use wax paper, for holes punctured by a spark through ordinary paper are invisible. Also, if you haven’t an ear for music, ask someone else to tune your coil. At least every other person you meet can do it.
Vibrations per second of notes on a piano, going up from Middle C:
C—256
d—288
e—320
f—341.3
g—384
a—426.6
b—480
c—5 12
d—576
e—640
f—682.6
g—768
a—853.3
b—960
c—1024