This article, "Sight In Your Hunting Rifle," appeared originally in the May 2006 issue of American Rifleman. To subscribe to the magazine, visit the NRA membership page and select American Rifleman as your member magazine.
Zeroing a hunting rifle may well be one of the most critical, yet controllable, aspects of hunting. Incredibly, though, a great number of hunters ignore the chore—or worse yet, do it incorrectly. Properly sighting-in a rifle before embarking on a big-game hunt is as fundamentally important as buying a license. If you forget or choose to ignore the process, you simply deserve to miss.
A lot of hunters shoot offhand at gallon milk jugs 50 yards away; and if they hit the jugs or even strike close enough to make them jump, they proclaim the gun just fine. Worse yet are the guys who don’t check the sights at all before hunting. Time and again, I have been in camps with hunters who didn’t bother to check the zero on their rifles. Some were proud of the fact. Others were argumentative. “It was fine last year. What can change?” they’ve asked with barely concealed hostility.
More than one of those guys found out what could change when he missed the chance of a lifetime. I could tell you I was gracious and didn’t gloat by pointing out that I had told them they were making a mistake. But, I’d be lying. There are enough things that can go wrong on any hunt, why gamble on something so easily controlled?
Firm Foundations
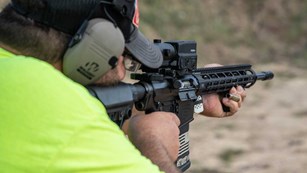
The only way to sight-in a rifle is to shoot from a solid rest. It’s not a test of your shooting ability; it’s an adjustment process for a precision instrument. You must eliminate all human error, and your skill—or lack thereof—should not affect the outcome. A properly constructed shooting bench is by far the best tool for the job.
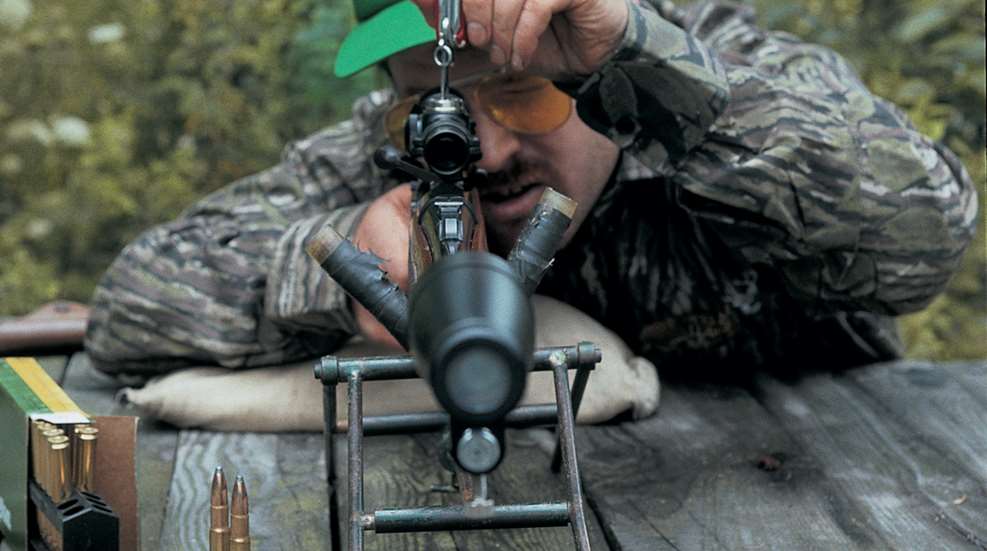
To do it right, use a solid shooting bench and sand bags or another solid rest that will support both the fore-end of the rifle and the toe of the buttstock. The support should be firm, but not hard as it has to hold the rifle perfectly still. Pillows, rolled-up blankets or a jacket usually fail to do that. They are too flexible and soft, and the rifle can move on them too easily. It will be difficult to hold the gun still against wind or the forces of your body’s movements such as breathing or heartbeat. At the same time, the support can’t be hard, and it must be able to “give” a little when the gun fires. Otherwise, accuracy will be poor, and the zero may not be correct for field shooting.
Use a solid shooting bench with sandbags or another solid rest that will support both the fore-end of the rifle and the toe of the buttstock.
Sandbags are the best supports. You can buy commercially made leather bags, which are best, or you can make your own. Commercial rests with dense foam between the gun and the rest are also good because the foam provides a solid, but flexible, rest. Regardless of what you use, you must support the fore-end—never the barrel of the rifle. You must also support the toe of the stock near the butt. You will find that the front support must be higher than the rear. To achieve that, simply boost the front sandbag with a couple of boards or whatever else is handy, as long as it’s stable. Also, always try to keep the gun as low to the bench as possible.
The bench should be shaped so that there is a “wing” along the right side (for right-handed shooters). That allows you to support the rear of the rifle while your body is positioned correctly for shooting. Snug yourself into the bench so your chest pushes against it both in the front and on the side wing. That will wedge you into a “corner” and make you more stable, helping eliminate movement.
Seeing Straight
If your scope or sights have been moved since you last fired your rifle, the gun should be bore-sighted before you start. The simplest way to do that is with an optical boresighter. While such devices represent a significant expense for the average hunter, they should be a standard tool in any gun shop that mounts scopes. A couple of bucks paid to the shop to align the sights with the rifle’s bore are worth the ammunition savings alone. Optical boresighters are really the only option for many action styles.
With a bolt-action, you can remove the bolt and look through the bore. Settle the gun into the rest, look through the bore at the target, and center the bullseye in the bore. Then, keeping the rifle perfectly still, look through the scope, and adjust the crosshairs until they are also centered on the bullseye.
You should never consider hunting with a rifle that has been bore-sighted only. Bore-sighting is intended to get you on the target, but you should finish sighting-in by shooting.
If you simply have no way to bore-sight your rifle, the other option is to put a really big target at 25 yards then shoot to find the exact point of impact.
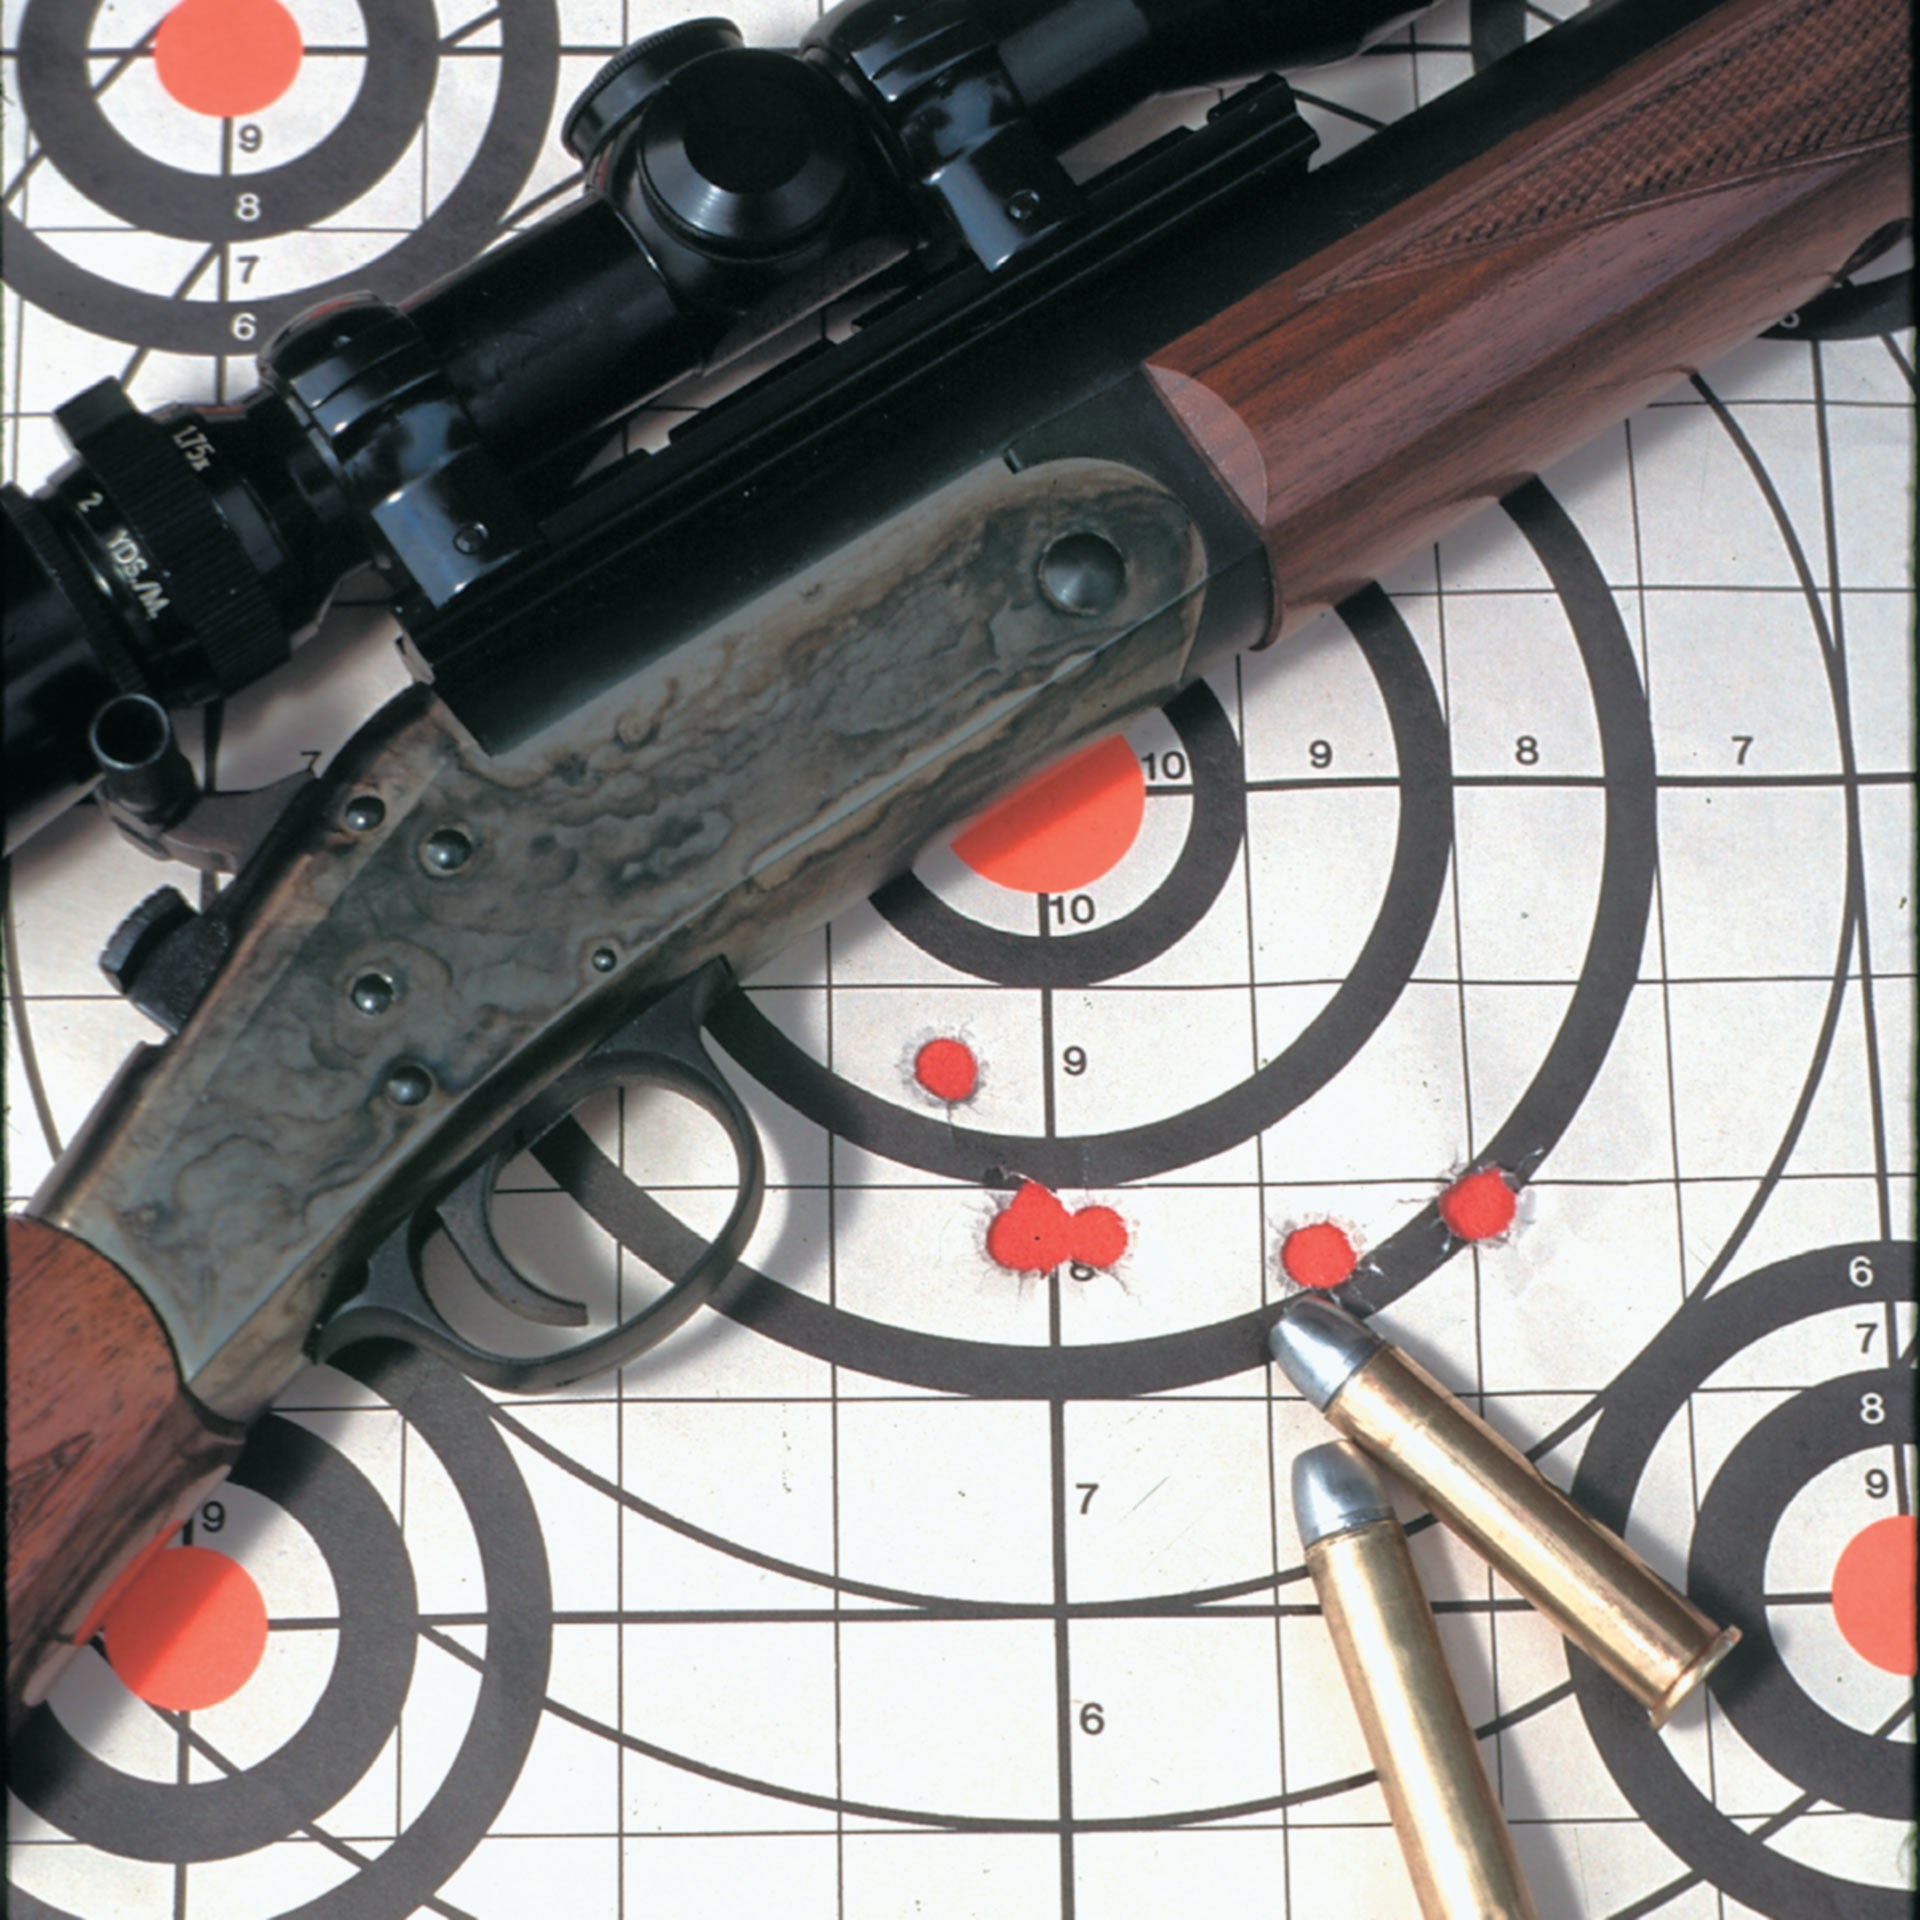
Buy some quality targets designed for sighting-in rifles; they are far better than anything homemade. Most have high-
visibility aiming points and 1" grids to ease the zeroing process. What you pin them to is unimportant as long as it holds the target steady and as long as the impact area for the rounds downrange is safe.
Targeting Techniques
Place a target at 25 yards and carefully fire a shot at the center. You should be able to see the bullet hole through the scope. If you miss, use a bigger target or move the target closer until bullet holes start appearing when you shoot. If you can’t physically see the bullet hole from the bench, mark it with a piece of tape or a black marker so that you can. Lock the rifle into the sandbags and center the crosshairs on the bullseye. Without moving the rifle, adjust the scope until the crosshairs move from the bullseye and are centered on the bullet hole.
Adjusting scopes is pretty easy. If you turn the windage adjustment dial in the direction marked “R” (right) the point of impact will shift right. The opposite direction moves it left. The same straightforward logic applies to elevation adjustments on the other dial.
Fire another shot at the center of the target. The bullet should strike pretty close to dead on at 25 yards. If not, repeat the process. Remember that at 25 yards, all adjustments are 1/4 what they are at 100 yards. So if four clicks equals 1" of movement at 100 yards it will take 16 clicks to move 1" at 25 yards.
Do not regard sighting-in as a test of marksmanship skill. It is an adjustment process for a mechanical instrument and should be performed from a solid rest.
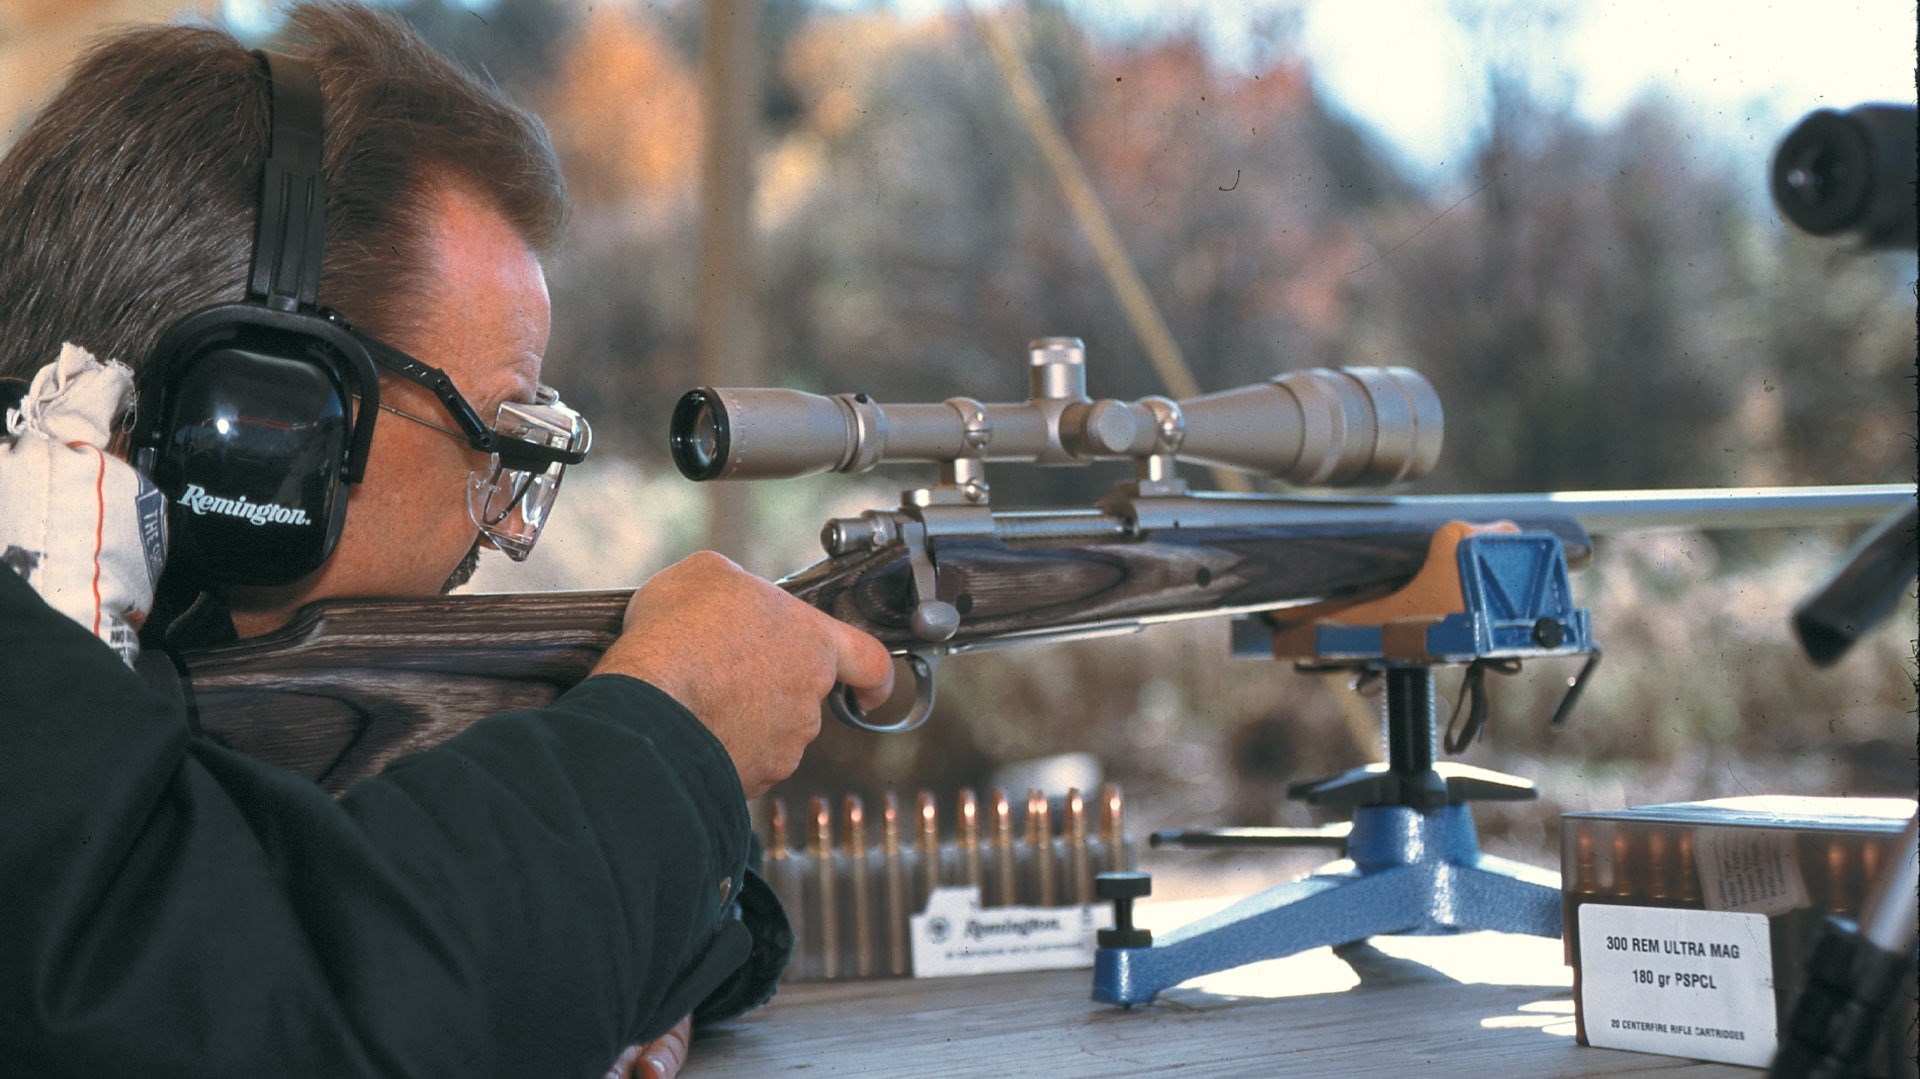
After centering the point of impact at 25 yards, move the target to 100 yards. Set any variable scope on its highest power and be careful to make sure the rifle is rock-steady. Do not try to hold the rifle as you would when hunting—placing your left hand under the fore-end will induce movement. Instead use your left hand to move and adjust the rear sandbag until the crosshairs are on the bullseye. You should not be supporting the gun’s weight at all, let the sandbags do that. When you try to hold the gun, you induce movement. The only reason you are touching the rifle is to pull the trigger and to avoid being hit by the scope when the gun recoils.
At this point, you and the rifle should be rock-steady and the crosshairs should not be moving. If you are not steady, the crosshairs are moving, and you need to re-evaluate your rest and your position at the bench until everything is stable. You should feel like you are “locked in” to the bench and the rifle—almost like you are all one structure.
With the gun empty, aim at the bullseye and slowly squeeze the trigger until the gun dry fires. That will not damage most modern center-fire rifles. The crosshairs should not waver off the bullseye. Continue to practice dry firing until you can do it every time without the crosshairs moving when the firing pin falls.
If the gun has any degree of recoil, it’s a good idea to have a pad of some kind between it and your shoulder when you are ready to fire live ammo from the bench. Again, this is not a test of how tough you are and how much recoil you can absorb.
Getting Groups
Load the rifle and carefully fire a group of three shots. Always fire at least a three-shot group before making adjustments. If you fire one shot and adjust from that, you can spend all your time and ammo chasing bullet holes. A group will indicate if you are flinching or experiencing other shooting problems or if the rifle has accuracy problems; one shot will not reveal any of those deficiencies.
Find the center of the group and make adjustments from there according to the instructions with the scope. If the target doesn’t have grid lines, mark a cross with the intersection of the lines on the center of the bullseye. Find the center of the three-shot group and measure straight over to the vertical line. That will indicate the amount of left or right adjustment you need to make in the scope. Now measure up or down to the horizontal line and make the adjustment for that. Don’t guess; use a ruler.
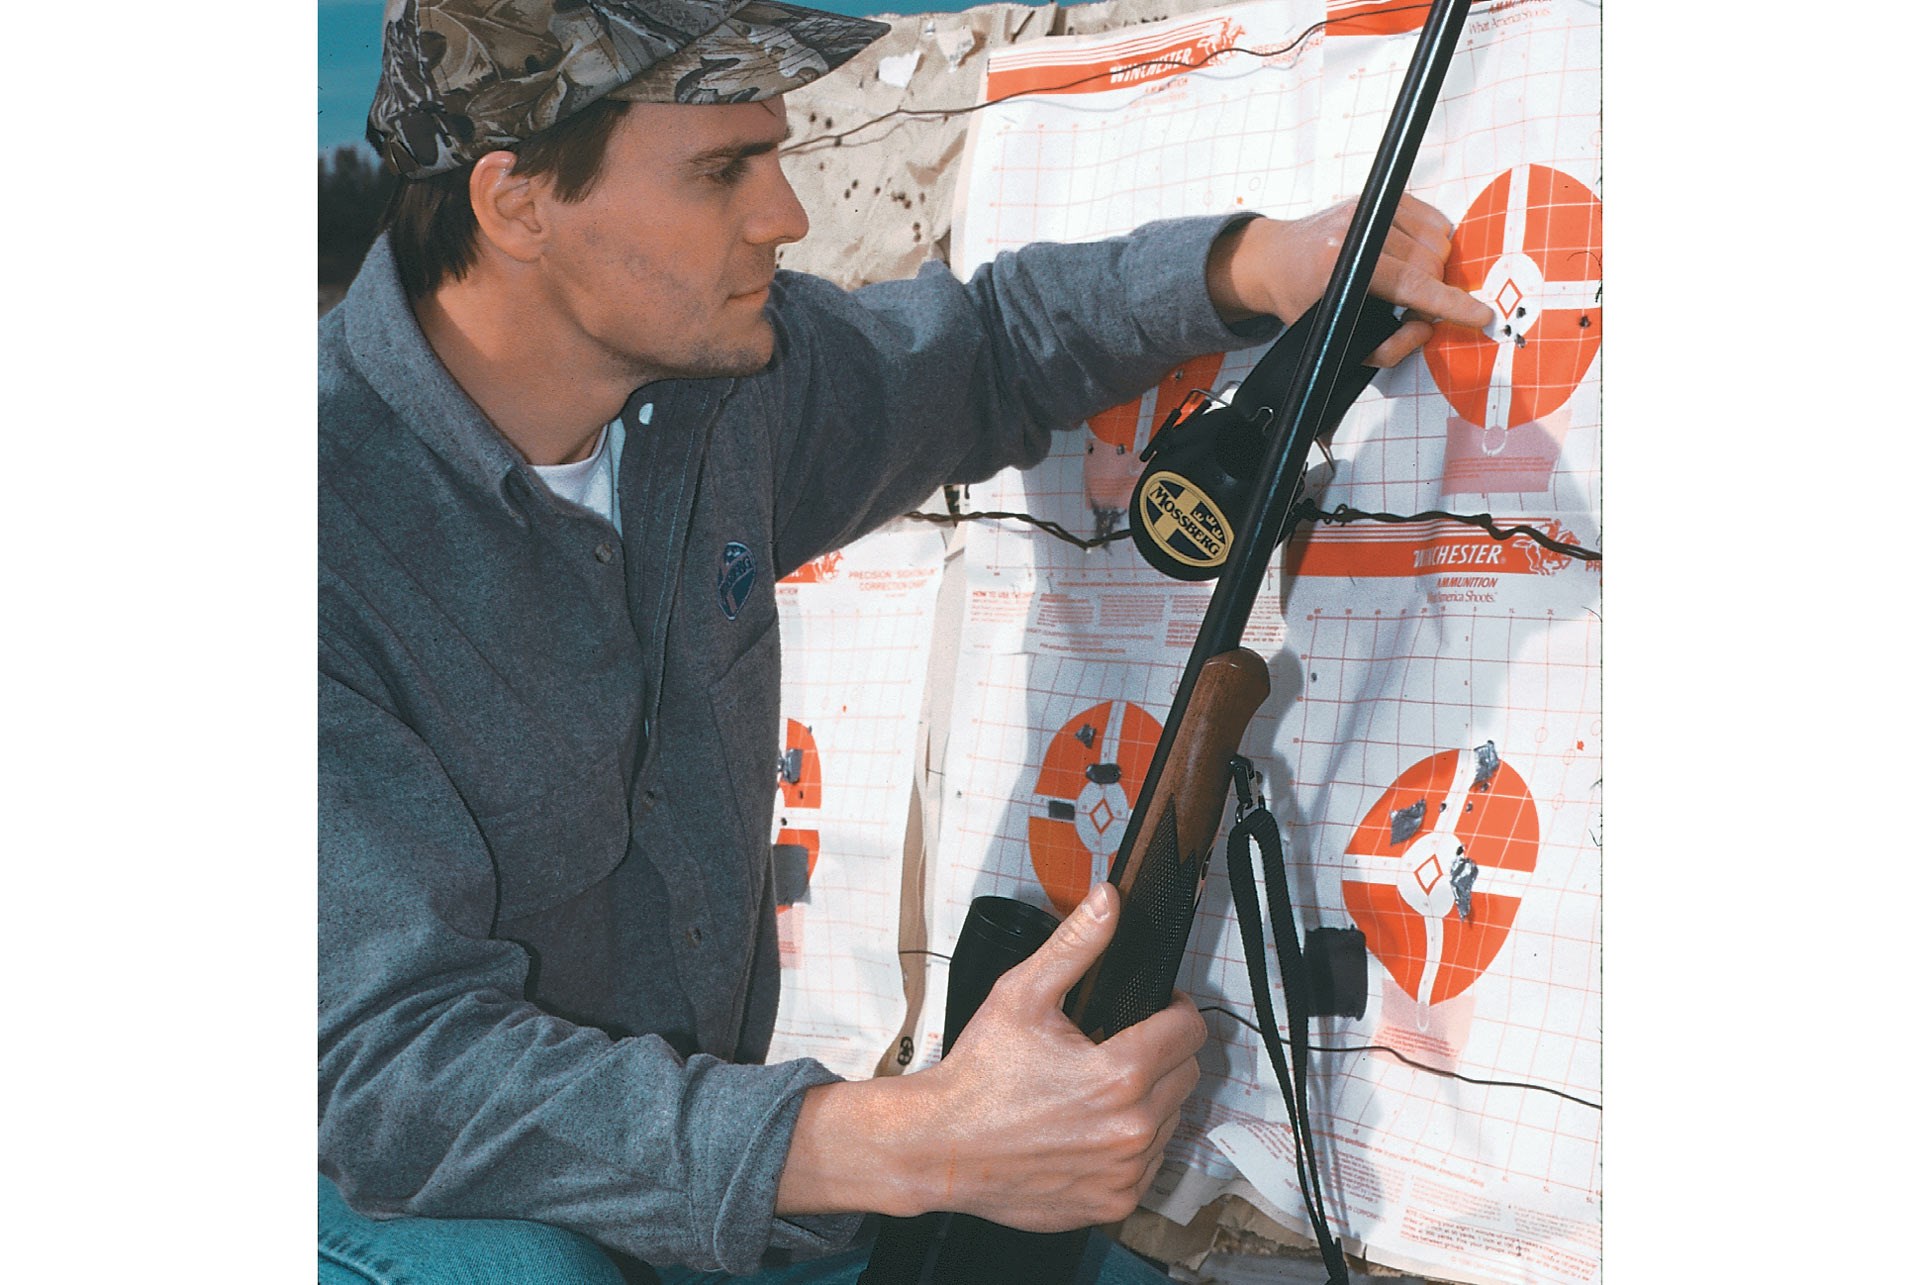
When sighting in a rifle, it is best to use targets with high-visibility aiming points rather than anything homemade. Quality targets printed with 1" grid squares help you establish the exact distance between your aiming point and the center of your group.
If you lack the instructions, most American-designed scopes move 1/4" per click at 100 yards. Be aware though, some are 1/2" and a few scopes are 1/3" per click. After making the scope adjustments, gently tap on the scope’s adjustment turrets. Often, the internal adjustments will stick a little, and tapping on the scope will help to seat them. If you don’t do that, the scope may not move until you fire the rifle again; so the next shot will not reflect the changes you made, which can be confusing.
Adjust so the point of impact will be in the proper location for the type of zero that you have selected for your rifle and hunting style. Allow the rifle to cool down a bit and then fire three more carefully aimed shots. The group should now be centered on the location you selected on the target. If for some reason it is not, repeat the process until it is.
Let the rifle completely cool off before firing the final group to see if there is a point of impact change from a hot barrel. Remember you will always fire the first shot at big game from a cold barrel. Check the location of each shot before shooting again to see if there is a point of impact shift as the barrel heats up. Make certain that you adjust the final point of impact from a cold barrel.
It’s a good idea to fire several “cold-barrel” groups over several days to see exactly what your rifle is doing. Don’t make adjustments each time, but watch for a trend and if necessary fine-tune the sight adjustment from that. This shooting will also help to build familiarity with and confidence in your rifle.
It is often written that shooting from a bench rest has no practical benefit in building field shooting skills. That’s pure bunk likely written by somebody who doesn’t shoot much. Shooting from a bench not only helps confirm the rifle’s zero, but also builds important shooting skills. The shooter is able to concentrate on the basics such as trigger and breath control without worrying about sight wobble on the target. Unless you master those, you will never become a good shot. Shooting from a bench also helps identify problems such as flinching or target panic, which may not show up when shooting from other positions. Of course, you should still practice from field positions, but don’t neglect the bench.
Basic Ballistics
Remember when selecting a point of impact that the law of gravity has not yet been “interpreted” by the federal courts, so it still dictates that a bullet will begin to drop toward the earth from the moment it leaves the rifle barrel. If it were simply fired with the bore of the rifle pointed at the target it would hit below the target every time. It is necessary to elevate the rifle’s bore slightly above the line of sight so that, upon firing, the bullet’s path rises in a curve that crosses the line of sight twice.
The line of sight is a straight line from the sights to the target. Vision is not subject to gravity, so your eye and the bullet take different paths to the target. While your eye’s path is as straight as a laser, the bullet’s path will be in the shape of an arc to compensate for the effects of gravity and air resistance.

The first time the bullet crosses the line of sight will be close to the rifle. The exact distance will depend on several factors such as how high the sights or scope are above the bore, the distance to the zeroed point of impact and the relative flatness of the trajectory for the bullet. It is usually somewhere around 25 to 50 yards. The next time the bullet crosses your line of sight will be at the distance for which you have selected to zero the rifle, assuming a dead-center zero. At any point in the bullet’s path other than these two, the bullet will always be above or below your line of sight.
By shooting at a known distance such as 100 yards and adjusting the zero so the bullet strikes at the desired point at that distance, we are able to predict where the bullet will strike at other distances. While today’s charts and computer programs are excellent at making such calculations, it’s still always best to shoot a rifle at as many distances as possible. Where possible, shoot at targets in 50-yard increments from 50 to 300 yards. Fire several three-shot groups at each location for an average. By recording the results you will have a good idea of the point of impact for each distance for your rifle and ammo selection.
Armed with this knowledge and the improved skills all this shooting helped to build, you should be ready when the big-game trophy of a lifetime suddenly appears.
Always Recheck Zero After Travel
Always check your rifle’s zero after any kind of travel. That advice is particularly important to heed following airline travel, as the vibration from airplanes can move any scope’s adjustments. Also, airline baggage handlers have been known to treat gun cases as a challenge to their baser inclinations. Such battery can knock even the best scopes out of zero.
If there is no obvious damage to the rifle or the case, most of the time your gun will be shooting fine. But I can guarantee you that the one time you fail to check the rifle before hunting will be the time your zero will wander. I know this from hard experience, and trust me, it’s not worth missing the trophy you spent all that money and traveled all that way to hunt.
It’s a good idea to recheck the rifle’s zero periodically during the hunt. That’s even more important if the hunting includes a lot of time in vehicles or boats where the engine’s vibration can affect it. Also, keep an eye on the zero when hunting from horses. They have a nasty habit of banging your scabbard on trees when you aren’t there to notice. In fact, it’s a bad idea to ever leave a rifle in a scabbard on a horse when you are not mounted and ready to ride. You may come back to find it in pieces. Check your zero every time you fall or bump the rifle hard.
Obviously, you can’t find a shooting bench and sandbags in most field situations. Improvise as best as you can, but don’t waste time and ammo shooting, until you are confident that the rifle and you are both steady. Also bear in mind that you may not be shooting as well as from a quality bench; and think twice before you move your scope’s adjustments.
—Bryce M. Towsley
Most Popular