** When you buy products through the links on our site, we may earn a commission that supports NRA's mission to protect, preserve and defend the Second Amendment. **

Gallery

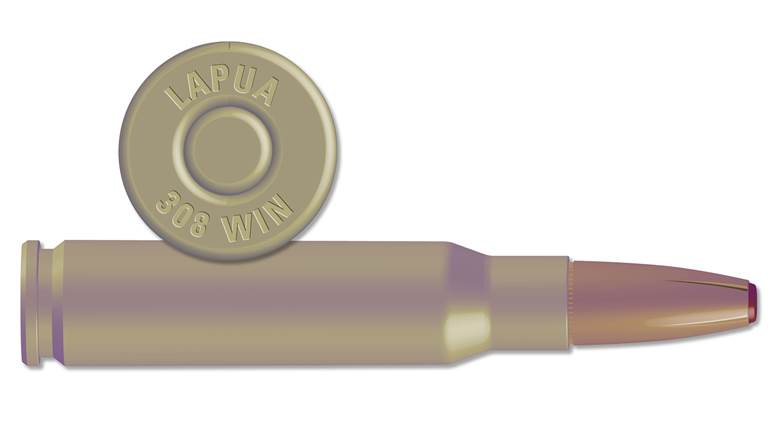
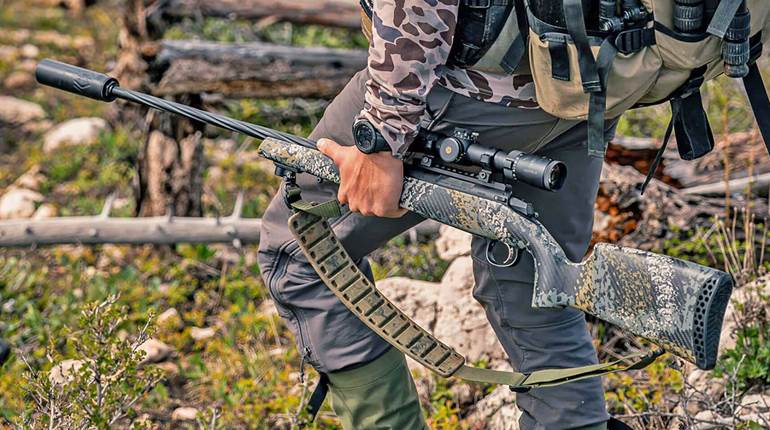
Of the many commercial .308 Winchester loads, few, if any, are designed for barrels shorter than 16". The one that follows helps address this gap while remaining simple to suppress and light on the wrists.
Watchtower Firearms was granted final approval for debtor-in-possession (DIP) financing by the U.S. Bankruptcy Court for the Northern District of Texas in late June.


Following the success of its .45 ACP-chambered LC Carbine, Ruger realized that this platform would go a long way toward making the 10 mm Auto more controllable and fun to shoot, and a new 10 mm version was released in 2024.


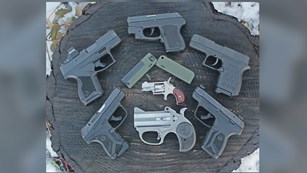
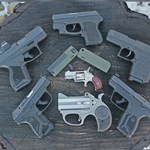
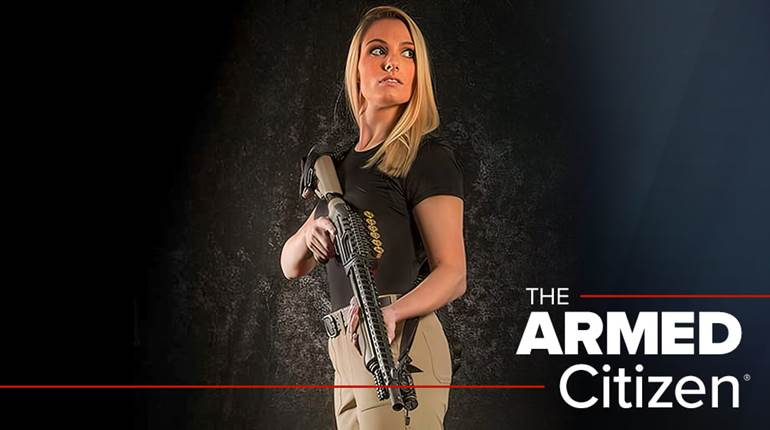
Read today's "The Armed Citizen" entry for real stories of law-abiding citizens, past and present, who used their firearms to save lives.


"Over the next five or six years, and before I went off to college, I fired hundreds and hundreds of rounds of .22 BB Caps, CB Caps, Shorts and Longs through this rifle."


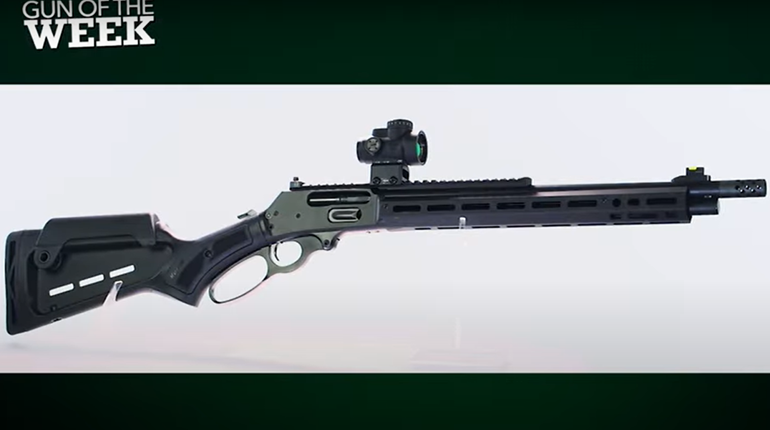
The T-Bone from Strike Industries is an ideal fit for suppressed applications, as it can be configured by the user to redirect gas blowback entirely to either side ...