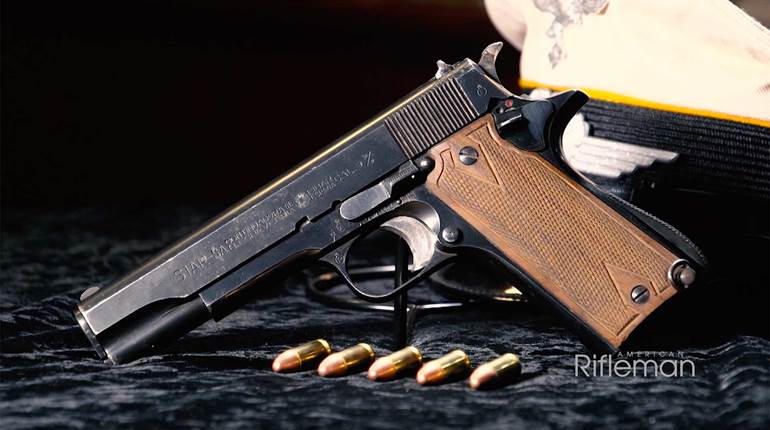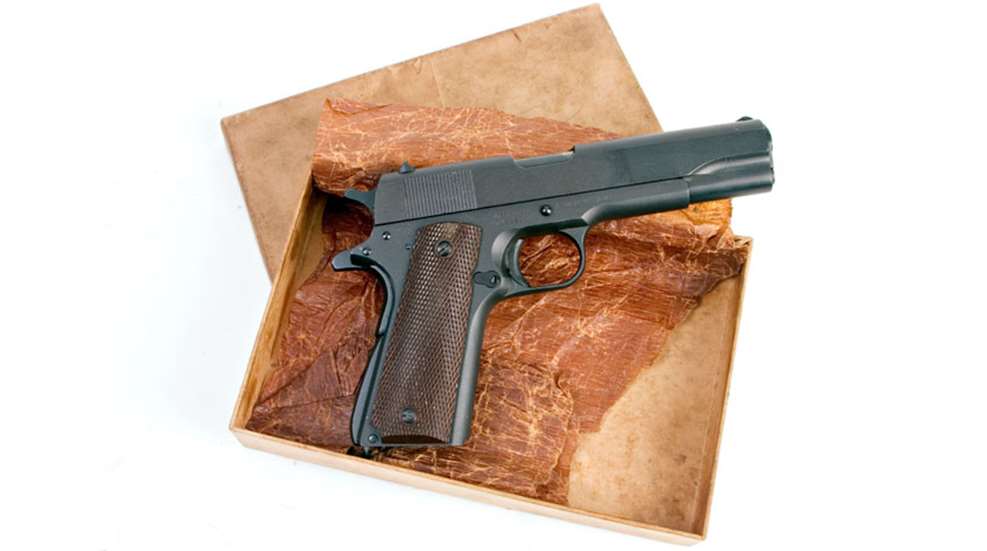
John M. Browning’s Model of 1911 in .45 ACP has established an unprecedented place in history owing to its service as the official U.S. service pistol for nearly three-quarters of a century and to the seminal nature of its design, which has been the basis for innumerable spin-offs.
The final report of the military selection board convened in 1906-1907 for the purpose of choosing a new U.S.-issue sidearm remarked of the Colt-made Browning design and of its last surviving competitor, a Savage entry:
“Of the two pistols, the board was of the opinion that the Colt is superior, because it is more reliable, more enduring, more easily disassembled when there are broken parts to be replaced, and the more accurate.” Since then, the “forty-five” and its descendants have achieved a worldwide reputation for serviceability.
The Model of 1911 was updated during the early 1920s with several minor changes designed to improve its handling qualities. They included frame scallops near the trigger, an arched mainspring housing, a shorter hammer spur, better sights, a short trigger and an elongated grip safety.
The improved model was designated the U.S. Model 1911A1, and was adopted in 1924. Popular, modern-day variations of the basic Browning-Colt design have led to both small-frame and smaller-caliber variants along with double-stack models from foreign and domestic armsmakers. Even so, the pistol’s basic lockwork remains much as Browning originally designed it.
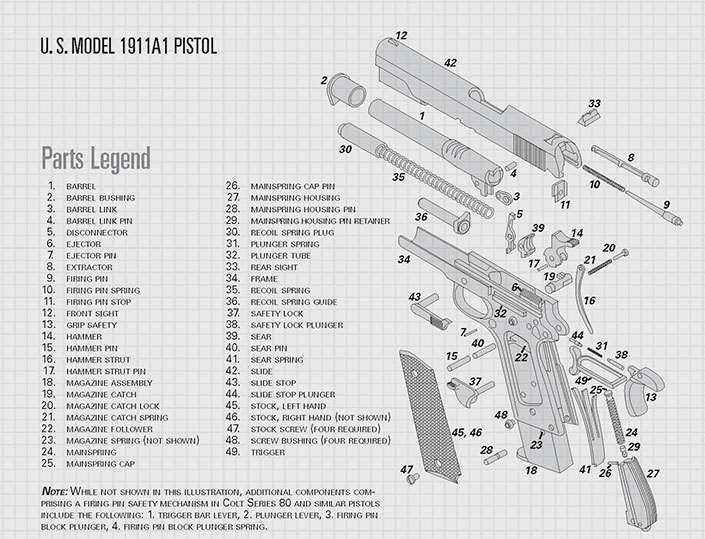
The accompanying disassembly instructions are for basic U.S. Model 1911A1-type pistols, but should prove helpful with the disassembly of other M1911-based pistols as well. Be aware that additional takedown steps are required for Colt Series 80- and 90-type pistols, and that specialized parts and features found on many custom and competition pistols require specific tools or knowledge not covered here.
Instructions
To ensure that the pistol is unloaded, point the muzzle in a safe direction then remove the magazine and retract the slide. Visually inspect the chamber to confirm it is empty.
Start by resting the heel of the gun on a table so both hands may be used. With the thumb, press inward on the knurled end of the recoil spring plug (30) while at the same time rotating the barrel bushing (2) one-quarter of a turn clockwise to free the plug and recoil spring (35) assembly (Fig. 1). Be careful, as the spring is under considerable tension.
Next, withdraw the plug and recoil spring from the slide (42) (Fig. 2). If the spring does not come free easily, rotate the plug in the counterclockwise direction to separate it from the spring. Rotate the barrel bushing counterclockwise until it is disengaged from the slide and remove it.

Pull the slide rearward until the small clearance notch is aligned with the slide stop (43) lug. Push the slide stop right to left, and pull it out of the frame (Fig. 3). Pull the frame to the rear and off the slide. Push the barrel link (3) forward and slide the barrel (1), link and link pin (4) out of the slide’s front.

With the hammer cocked, rotate the safety lock (37) nearly to the “on” position. It may now be pulled to the left and away from the frame (Fig. 4). Next, remove the hammer pin (15) from the frame (Fig. 5). Then lift out the hammer assembly, which includes the hammer (14), hammer strut (16) and hammer strut pin (17) (Fig. 6).
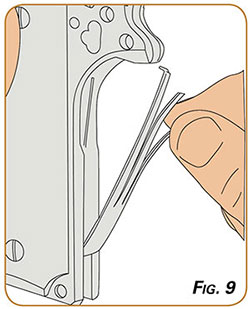 Using the hammer strut pin as a punch, drift out the mainspring housing pin (28) (Fig. 7). Slide the mainspring housing (27) downward and off the frame, (Fig. 8). The grip safety (13) may now be lifted out. Next, lift out the sear spring (41), and remove the sear pin (40) (Fig. 9).
Lift out the sear (39) and disconnector (5), noting the relationship between these parts to facilitate reassembly. Depress the magazine catch (19) from the left side while rotating the catch lock (20) one-quarter turn counter-clockwise using the lip of the sear spring as a screwdriver. The catch assembly may then be lifted out of the frame.
Remove the trigger (49) through the rear of the frame. Using the tail of the hammer strut, push out the barrel link pin, freeing the link from the barrel. Again using the hammer strut, depress the firing pin (9) while pushing the firing pin stop (11) downward. This frees the stop for removal downward and off the slide. The firing pin may now be pulled out and separated from its spring (10). With the hammer strut, pry out and remove the extractor (8) rearward and out of the back of the slide. Reassembly is in the reverse order.
