To paraphrase Mick Jagger, “I see a black gun and I want to paint it green.”
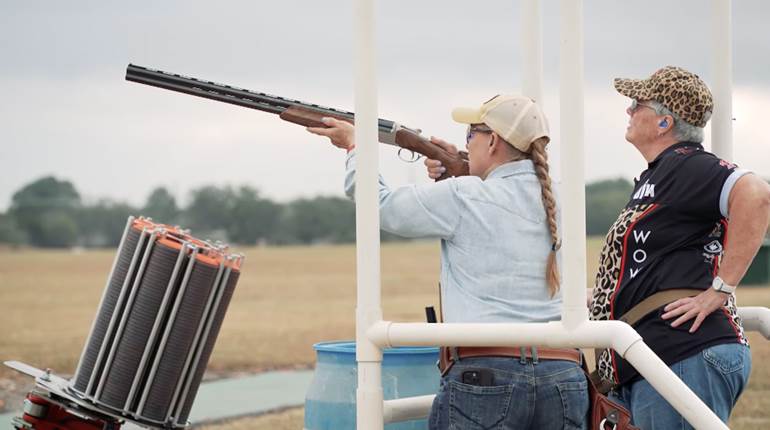
Camouflage is essential for many, from turkey hunters in Georgia to Special Forces in Kandahar, and while we all recognize the benefits of wearing Mossy Oak, RealTree or MultiCam, we blithely traipse into the woods with a shiny black pole.
Painting your rifle is an easy DIY project that makes for a great off-season activity. Unlike glass-bedding your rifle or adjusting its trigger, spray painting a gun is virtually impossible to foul up for the simple reason that there’s no such thing as a right or wrong way to camo a gun. As long as you don’t use fluorescent pink, you really can’t mess it up.
The tools needed are easy and cheap: a roll of blue tape, found in the paint section of Home Depot; a leafy branch for an overlay and two or three cans of camouflage spray paint. Total cost: less than 10 bucks.
Gun Painting “Rules”
The first rule is that there aren’t any rules. There are, however, some guidelines. The main thing to keep in mind is that the purpose of camouflage is to break up an object’s shape. Blending into the surroundings is a matter of color primarily, but breaking up shape is a matter of highlights and shadows, or light and dark coloration.
Your color choices are limited by what’s available in spray paint. The basic colors are dark brown, tan, dark green, light green, black and a sort of “primer red” color. Spray paint comes in special “camouflage” formulation, meaning a flat-matte sheen. I’ve discovered another property of designated “camouflage” spray paint that’s extremely helpful—it’s very fast drying. The can says 20 minutes, but I’ve re-sprayed with another color in as little as five minutes.
A second guideline is to apply one or, at most, two base colors and then to accent the pattern with an overlay. An overlay is an object—a leaf, net or branch—that you hold over your rifle, perhaps 6 to 10 inches away, and spray “over” the blocking item to create an overlay effect.
Basically, the overlay is a reverse pattern—the paint goes where the overlay isn’t. If it’s a leafy branch, the paint goes in all the gaps and holes around the leaves so that the “leaf” shape is not what you’re spraying, but the color of the base coat underneath.
Another guiding principle that took me several guns to learn is “less is more.” Go gently into that painted night. You can achieve excellent results with only two colors. If your rifle starts out in a matte black finish, you can use the black as a third color. I’ve used three colors, but the only time I tried four, it was “too much of a good thing.”
Even with a mistake like over-doing the camouflage, you can fix it all by starting over. This is the really great thing about spray paint—if you don’t like it, wait until it dries and re-do it.
Being able to fix mistakes comes into its own after a hunt. I’ve found that spray paint doesn’t really stick too well to scopes. For some reason, the anodized finish on aluminum scope tubes is too “slick” for paint to stick well. No matter. After a hunt, simply touch up any scratches. Pssssss with the can… done.
How To Paint
Perhaps this should be obvious or maybe I should’ve mentioned it earlier, but the only suitable candidates for a camo paint job are synthetically stocked rifles. I would never deface a nice piece of walnut with spray paint, but there’s no aesthetic beauty inherent in fiberglass or plastic, so I have no remorse on these modern wonders.
Like any painting job, the first thing is prep. Make sure the gun is clean and free of oil. Then, you need a roll of “blue tape” (masking tape made for painters that lifts off easily) available at any hardware store in the paint section. Tear off pieces of blue tape to cover whatever you don’t want painted. Remove the bolt. Tape it off. Your option whether to tape the bolt handle or not—I’ve done it both ways. Cover the ejection port where the bolt sits with blue tape. I often have to use several small pieces of tape to cover the “hole,” paying special attention to the chamber.
A word of warning here. To cover the chamber, you’ll need a small piece of tape which sort of half-blocks and half-covers the chamber opening. I painted an 8 mm Rem. Mag. one time, removed all the tape, repaired to the range and proceeded to sight-in. I came to a grinding halt when I couldn’t close the bolt. What the heck…
It wasn’t until I got home that I found a small piece of tape, the piece that was covering the chamber, jammed up inside the chamber and preventing a cartridge from fully seating. The lesson here is to carefully verify that all the masking tape is out of the action—no barrel or chamber obstructions—before going to the range.
Obviously you need to mask off the lenses of your scope. I simply cover the them with an over-size piece (or pieces) of tape. No need to trim them to size—paint around the tape.
I also cover the selector ring on the scope if it’s a variable power which it invariably is (pun intended). Sometimes I tape off the trigger and sometimes I don’t. As long as you don’t spray up into the trigger mechanism (fire control group, for you technophiles) you’re okay.
I don’t bother to tape off the muzzle because if you do happen to over-spray down the bore, the first bullet through will remove it. I also don’t tape off the recoil pad, but I don’t spray the rifle from the end to keep from getting paint on a non-visible part. It’s just going to rub off on my shirt anyway.
With your rifle masked off, place it on a cradle-like support such as a set of saw horses or (my favorite) over an open trash can. The idea is to hold the rifle in such a way that you can easily turn it over.
Remembering the maxim, “Less is more,” apply a nice even base coat of whatever color predominates in the region you plan to hunt. Brown and green are the usual base colors. I don’t bother with two coats because I’m going to add more paint anyway with the next step.
Here’s the creative part—the overlay. Use a leafy branch, a net, a torn-up T-shirt, anything with “holes.” Spray through the overlay in primarily diagonal directions to break up the predominantly linear shape of a rifle. Use a contrasting color from your base. My favorites are tan-over-green and dark brown-over-tan.
Accenting the camo comes next. Once again bearing in mind the “Less is more” rule, examine your rifle and see if there are any gaps.” Depending on the scheme and your whim at the moment, either spray again with the base or drape your overlay and hit it again with your second color.
A third color is to be approached carefully. It’s really easy to over-do the camo if you get wild and crazy with a third color. I like to use the “primer red” color as a third color, but very, very judiciously.
If you’re finished and your rifle looks like a bad Picasso dream, no worries. Let it dry and start over! There’s no such thing as a “wrong” camo job unless you apply snow camo to a rifle destined for the tropics.