A steady position, aiming, breath control and trigger control are the four basic rifle marksmanship fundamentals. All are important, however, trigger control has the ability to wreak havoc on the other three.
For years, the triggers found on most production rifles required the use of nearly two fingers to get the rifle to fire, as manufacturers were protecting themselves from liability in the event it was set off accidentally. Many firearm enthusiasts blame the potential for such litigation for these triggers. But rifle buyers grumbled and demanded an adjustable trigger, and slowly but surely firearm manufacturers began listening.
How a Trigger Works
In the simplest terms, when the trigger is pulled, it moves the sear and allows the hammer, which is under spring tension, to fall. On a bolt-action rifle, the striker, which is attached to the firing pin, serves as the hammer. The firing pin strikes the primer and the gun fires. Sounds simple enough, right? Here’s the fly in the ointment: The design of a trigger has some built-in detriments as well as attributes.
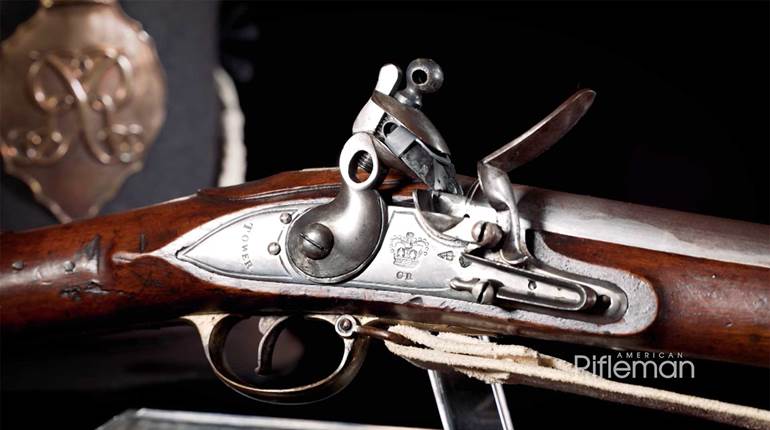
Triggers on rifles gone-by can be described as bad, but why?
Trigger Maladies
Over-travel—The movement of a trigger after the sear releases the hammer. It causes rifle movement as the trigger finger continues to speed up after the hammer falls, causing the shooter to be off of the intended target.
Creep—The movement experienced before the hammer is released. Though some rifles, like semi-autos, must have this to operate properly, this is not an attribute wanted on a bolt-action rifle. Too much creep makes trigger pull feel much heavier, causing the shooter to jerk the trigger.
Older rifle triggers were often plagued with a rough or gritty feeling. Short of stoning or installing an expensive aftermarket trigger, there wasn’t a lot of hope for these triggers.
Enter the Modern Age Adjustable Trigger
The Savage AccuTrigger was the first commercially adjustable trigger on a production rifle in modern times. This advancement made other manufacturers take notice and scramble to catch up. Some companies have, while others are still scrambling.
What to Look for in a Trigger
Most shooters are happy if their rifle trigger breaks clean at 3 to 4 pounds. The new adjustable triggers are a testament to consumers letting manufacturers know what they want. End result: Shooters are getting good, crisp, adjustable triggers. Though few of the new triggers are fully adjustable, most new rifles do allow the user to change the trigger pull at the very least.
A Trigger by Another Name
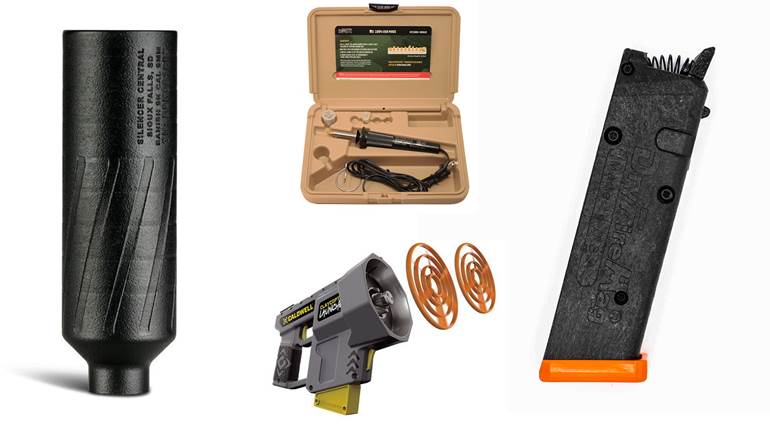
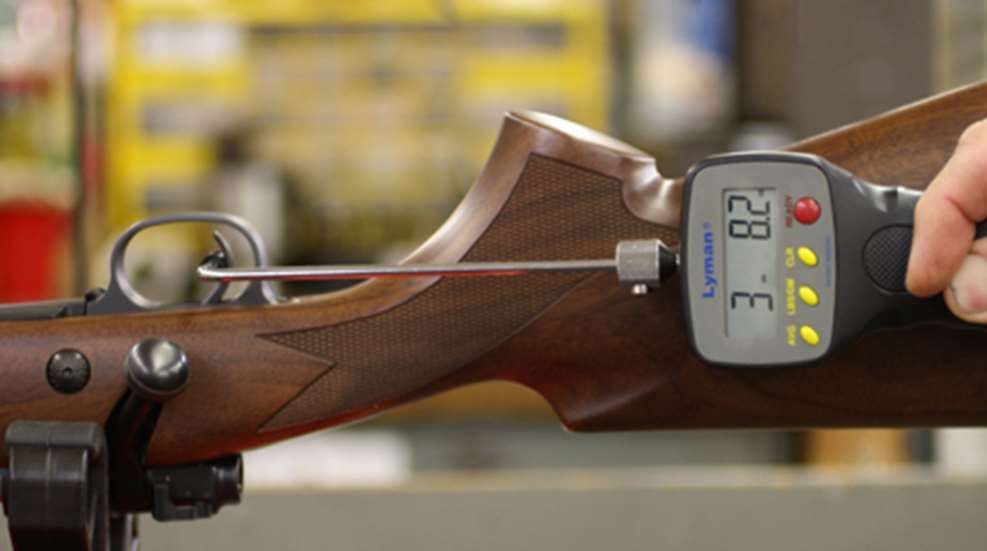
With few exceptions, triggers work the same, and once you understand the how and why of the adjustment screws, modifying a trigger is a piece of cake. Assemble the tools needed— appropriate screwdrivers or wrenches and trigger pull scale—and you are ready to adjust your way to a crisp trigger pull. Always ensure the rifle is unloaded and remove the bolt from the rifle.
A gun-cleaning cradle or vice can act as a third or even a fourth hand when disassembling or reassembling a rifle.
Warning: In a few cases, adjusting a trigger voids the warranty of the rifle. Some triggers actually have a sealant on the head of the screws to tip off any adjustment outside the manufacturer specification. Be sure to double check your warranty information or contact the manufacturer directly before attempting any adjustments.
Modern Triggers
The Savage AccuTrigger
The Savage AccuTrigger is a trigger within a trigger—a safety bar or safety sear must be fully depressed before the trigger can be squeezed. To adjust the weight of this trigger, remove trigger guard screws and bottom metal. Savage rifles equipped with an AccuTrigger are delivered with an adjustment tool that modifies the load of the spring on the rear of the trigger. By adjusting the screw in a clockwise rotation it compresses the spring and increases the trigger pull. Whereby a counterclockwise rotation relieves the spring pressure and decreases the trigger pull. Do not attempt to adjust the trigger safety bar spring.
Sounds simple? Well, there is a caveat. There is a point on any trigger, no matter the manufacturer, when it is set too light. On most triggers the rifle will not cock if set too light. Another problem when adjusting triggers is slam firing, when closing the bolt fast or pushing the safety off the rifle fires. Neither of these is good. If you are the least bit apprehensive or if you get caught in the middle of the situation, a competent gunsmith can adjust your trigger for a nominal fee.
The Remington X-Mark Pro
The Remington X-Mark Pro has a single 1/16-inch Allen head screw for adjustment, and while it can be adjusted without disassembling the rifle, according to Remington, taking the barreled action out of the stock allows more room to see what it is you are doing.
The single adjustment screw that changes the trigger pull is on the trigger itself. By turning the screw counterclockwise, it will lighten the trigger pull. Likewise, turning the screw clockwise will increase it. Over-travel and creep are factory adjusted and not adjustable by the user.
The Browning Feather Trigger
The Feather Trigger which is standard equipment on the Browning X-Bolt comes from the factory pre-set, according to Browning, at a very crisp 4 pounds, but if you need it just a tad lighter here’s the procedure.
Remove the magazine and the bottom metal screws (a 4 mm wrench fits nicely) and lift the bottom metal from the firearm. The trigger adjustment screw is located in front of the trigger. It will have some type of sealant on the screw. The adjustment screw (2 mm) turned clockwise increases the trigger pull, counterclockwise decreases it. If the trigger pull is set too heavy, the trigger cannot be pulled and must be re-adjusted. If all suits you, re-install the bottom metal and tighten the screws.
The Winchester M.O.A.
The Winchester M.O.A. trigger allows for adjustment in trigger pull and over-travel by means of 1/16-inch Allen screws. Remove the two, 5/32-inch Allen screws and remove the bottom metal. Then, carefully remove the stock. On the body of the trigger will be two screws hidden under some epoxy, which must be chipped away before adjusting the trigger. Once completed, the top screw closest to the action adjusts over-travel, the other trigger pull. Turning the bottom screw counterclockwise will decrease trigger pull, clockwise will increase trigger pull. To decrease over-travel turn the top screw in a clockwise direction. Counterclockwise will increase it.
Winchester warns of overturning screws either way; over-tightening can ruin the spring, loosening too far—the screw can fall out.
Winchester recommends using a chemical thread lock, aka Loc-tite, to keep the screws in place after adjusting. Re-install stock, bottom metal and torque screws to 35 inch-pounds for both screws.
Putting it All Together
Other rifle triggers will be adjusted similarly. If there is some disassembly involved, make sure to have the operator’s manual handy. If you acquire the rifle secondhand or if it doesn’t have one, go to the manufacturer’s website and download it.
Adjusting a trigger isn’t rocket science; work slowly and turn one screw at a time. Once you have the perfect trigger your shooting scores will improve, but be prepared: Your shooting buddies might talk you into adjusting their triggers as well.