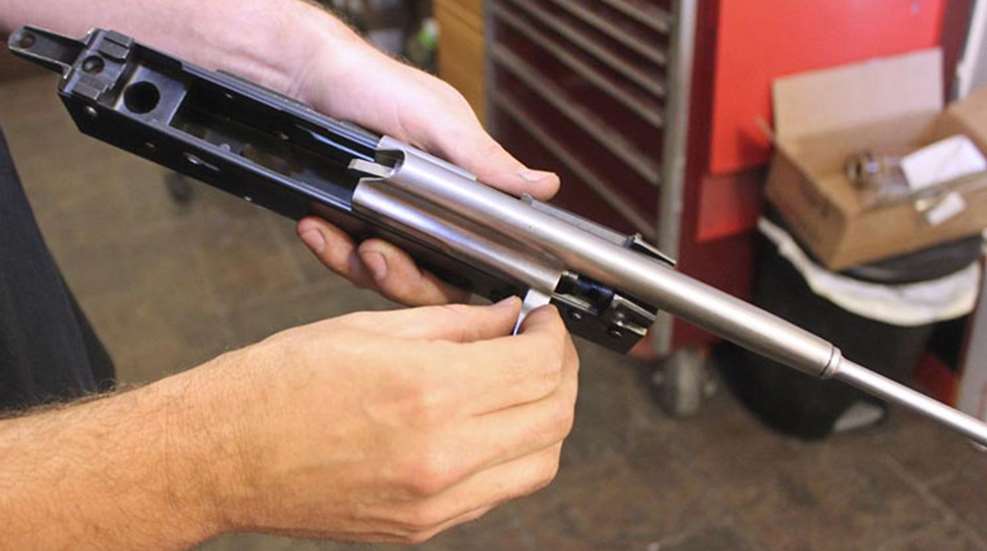
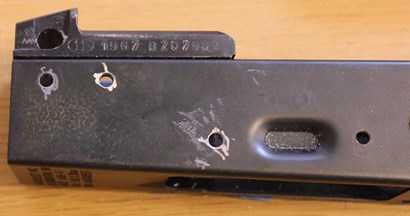
Because AK-47 components are constructed all over the world without the benefit of a standardized size guideline, there's no way to know exactly where the rivet holes for the front trunnion and rear trunnion blocks should be placed in the receiver. The rivets themselves come in different sizes and styles as well. It’s typical with both unfinished receiver flats and factory finished receivers that rivet holes will need to be drilled for the trunnions.
The easiest way to go about drilling the holes is to use bare trunnion blocks. Because the barrel of this rifle was populated ahead of the receiver, the front trunnion was removed from the barrel for this portion of the build. 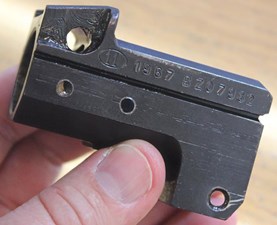
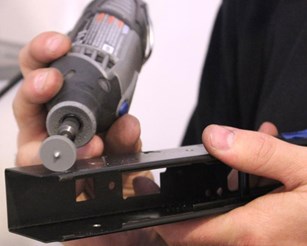
The front trunnion is secured in a jig which is then clamped into the drill press. The trunnion’s rivet channels are aligned with the drill bit so that it will pass through the channels without damaging the trunnion. With the jig clamped in place, the receiver is then slipped over the stationary trunnion, drilled and then removed. This process is repeated six times. The new rivet holes are then de-burred using a small hand-held grinder. 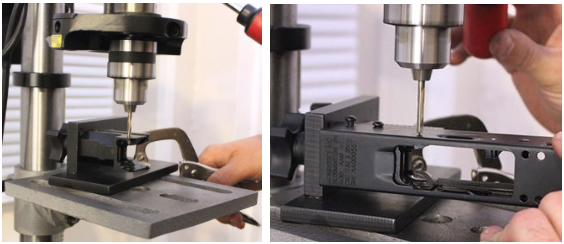
A similar set of steps are required for the rear trunnion block. A jig holds the trunnion in place so four rivet holes can be drilled at the rear of the receiver and then deburred. 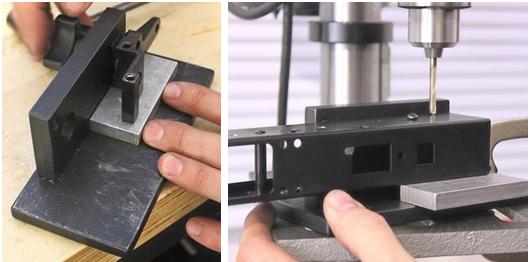
It's important to pay attention to rivet size and style. The front trunnion in this kit was designed to accept four short straight-neck rivets (front and center) with two short swell neck rivets at the back. To accommodate the swell neck rivets it was necessary to dimple the receiver’s rivet holes in those two positions for a proper fit. The rear trunnion is held in place by two long rivets that pass all the way through the block and receiver. 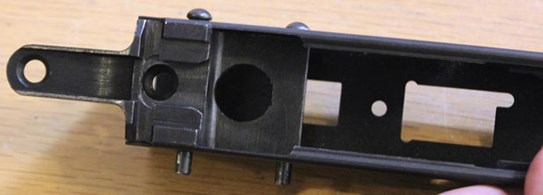
The six front trunnion rivets were pressed using a combination of hand held and hydraulic press riveting tools. A bit of painters’ tape helps to protect the rivet heads from getting scratched in the process. 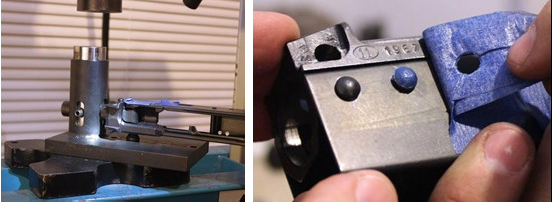
The sheet metal trigger guard is secured to the bottom of the receiver with five rivets, two on each side of the magazine release and one in front of the trigger opening. The five rivet holes were cut into the receiver at the factory. All four of the magazine release rivets can be pressed at the same time using a support block while the fifth rivet is pressed separately. 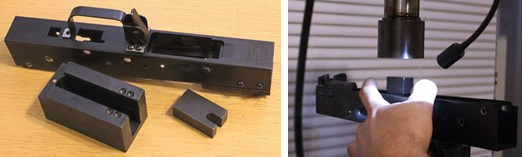

The rear trunnion rivets require yet another jig to help form uniform, rounded rivet ends that match the rivet heads in shape and size. 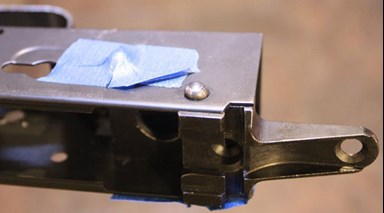
The optional WASR style sight rail plate was riveted in place on the left side of the receiver to allow for optics to be mounted to the rifle. With that, the riveting work for the receiver is complete. 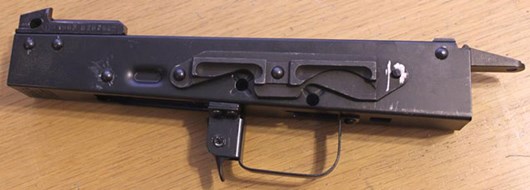
With the magazine release in place, the magazine well is ready to be fitted to a magazine. It’s best to use a metallic Eastern Block magazine (not a U.S. polymer magazine) to check the fit of the magazine well. Generally speaking, if the Eastern magazine fits properly then most other AK type magazines will fit as well. Depending on the receiver, fitting the magazine well can be a slow, time consuming process of filing, checking, and filing some more. In this case, the Atlantic Arms receiver's magazine well was ready to go with just a few minutes of work. 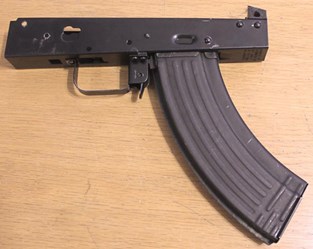
The internal rails are checked for proper fit with the bolt and the stainless steel bolt carrier. 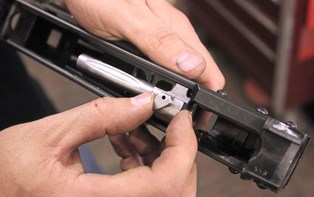
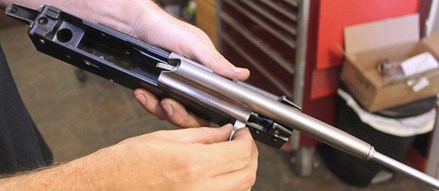
The receiver is ready for the barrel to be pressed back into the front trunnion block. The headspacing is verified again for good measure and then the barrel pin is pressed back into place. 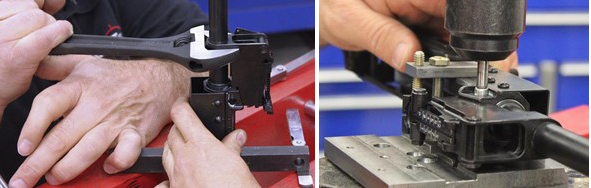
The barrel and receiver population is complete and the rifle is ready to be fully assembled for the first time. 
With the gas tube and the complete bolt carrier group in place, Gary "tuned" the rails to the bolt carrier by tapping the carrier with a rubber mallet as it moved back and forth. This helped to smooth out the movement of the carrier in the receiver. 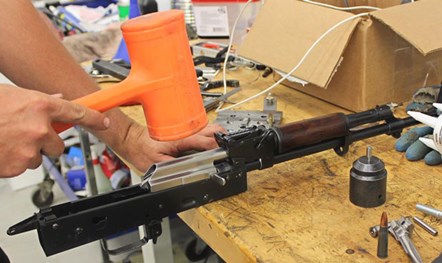
To complete the rifle for its initial set of bench checks and test firing, the Polish wooden furniture is installed. This allows all of the kit’s original components to be checked for proper function. It also gave us a chance to see how the Polish rifle looked when it came off the assembly line in 1967. The Bakelite grip and wood shoulder stock are screwed into place and the firing mechanism is installed inside the receiver. 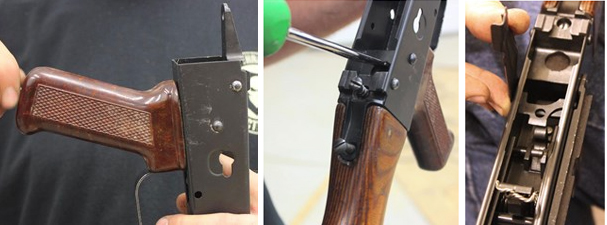
With just one more detail to attend to, a small grinder is used to carve a notch for the safety selector lever in the right side of the receiver. The lever locks into this notch when it's pressed down into the Fire position. 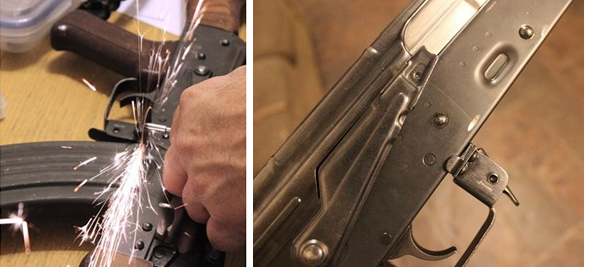
The freshly minted AK is ready for its first battery of tests, which it passed with flying colors. Mike and Gary took the rifle to their preferred test range and fed it a healthy helping of imported steel-case ammunition. The custom rifle fed and fired like it was supposed to and kept steel gongs ringing out to 200 yards. 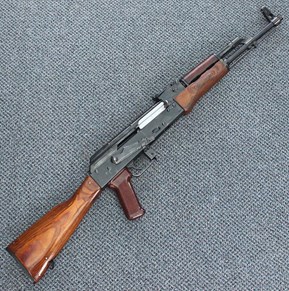
Continue Reading "Build Your Own AK":
Build Your Own AK-47: Introduction
Build Your Own AK-47: Part 1--Selecting Components
Build Your Own AK-47: Part 2--Populating the Barrel
Build Your Own AK-47: Part 3--Populating a Factory-Built Receiver
Build Your Own AK-47: Part 4--Bending and Welding a Receiver Flat
Build Your Own AK-47: Part 5--Refinishing and Reassembly
Build Your Own AK-47: Part 6--At the Range
Build Your Own AK-47: Conclusion
Most Popular