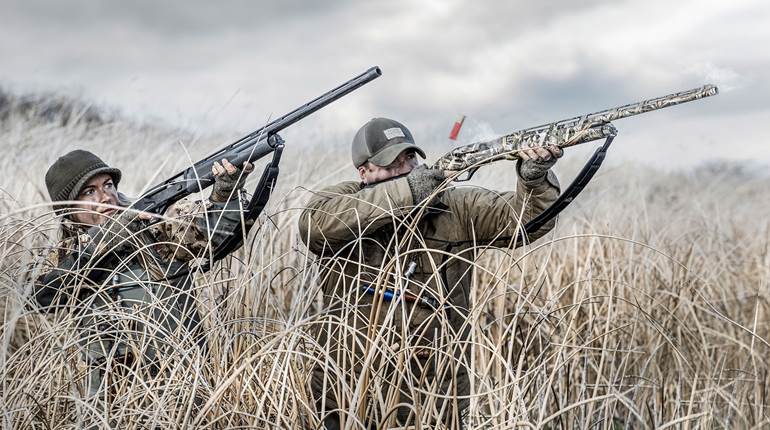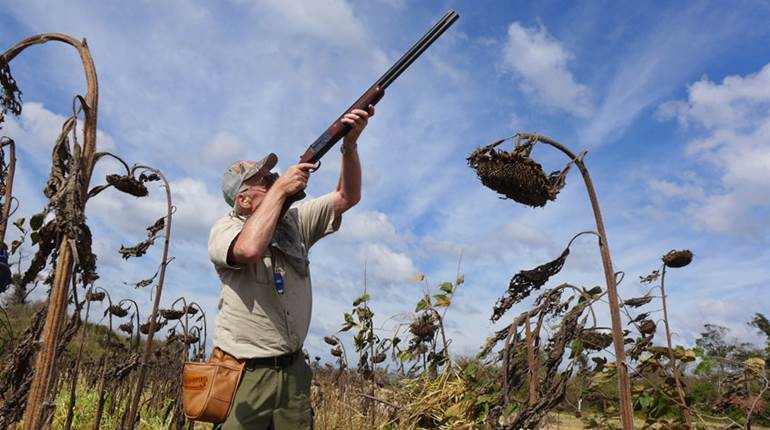
No matter how well any of us handle a shotgun while trying to bring down a feathered or clay target, there’s always room for improvement. Even for those who are well aware of the following pointers, you may not put these basics into play for every shot. But, if your shooting averages on doves, ducks, pheasants, grouse, quail or clays could stand some improvement, you may find these five tips very valuable. And they are easy to practice at home.
No. 1: Move Your Feet
When a novice lines up for a shot at an incoming dove, duck or crossing clay target, he or she usually sets the feet up for where the bird first appears. Instead, you should move your feet immediately to set your body’s natural point of aim where you intend to pull the trigger. Depending upon the scenario, where you will pull the trigger might be a guess, but not too much of one. For example, on an incoming dove we can see that the bird is going to be passing on our right side, so the immediate reaction should be to move your feet (and thus your body) to the right. In most cases you need only move your front foot, pivoting on the rear, or vice versa, moving the rear foot and pivoting on the front.
What happens if you don’t move your feet? First, you are going to run out of swing. When that happens, the swing stops, or at least slows down, which nearly always results in a miss. Second, it is typical to roll the shoulders, rather than keep them square, when the feet are not properly placed. For a right-handed shooter that means the right shoulder dips down—especially on a left-to-right crosser. This takes the gun’s muzzle(s) below the flight path of the bird. Let’s call this the “line.” While we might be programmed to always think lead, keeping the gun on the “line” of the bird is at least equally important.
So, moving your feet toward the area where you are going to pull the trigger cannot be overemphasized, and it will improve anyone’s shooting.
No. 2: Mount The Gun
Perfecting the gun mount is another key to success, and a good gun mount means a lot more than simply not catching the shotgun’s butt on your clothing. Working the two hands in concert with one another is critical. Typically, the hand on the grip (the strong hand) wants to take more control. When that happens, it takes the muzzle(s) down. Assuming you had the muzzle close to the bird’s flight path initially, the muzzle dipping means that muzzle goes below the flight path of the bird. If that happens, you have to get the muzzle back up and, thus, on to the bird’s flight path again. The smoothness you are trying to create has been lost.
A second common mistake is taking the stock to the shoulder first. If you start the stock to the shoulder first, it often results in the muzzle being behind the bird. Then you have to catch up.
So, try getting the hands to work in unison, as well as starting the swing (muzzle moving) at the same time—or just a tad later—as starting the stock to your shoulder. The idea is there will be no muzzle dipping or jerking, rather a smooth move of the muzzle tracking in front of the bird as you complete the gun mount. At this point don’t dally. The great Marquis de Ripon, who shot exceedingly well in England and Scotland more than 100 years ago, advised at this point of the motion, “Don’t check,” meaning don’t check the lead or aim—point and pull the trigger. I’ll add to his advice by suggesting, “Cheek, but don’t check,” meaning place your face solidly on the stock.
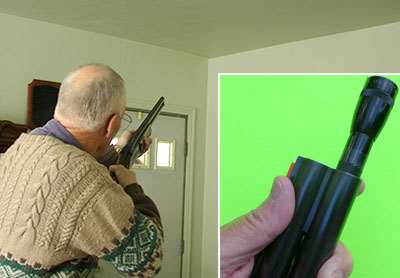
How can you practice this? Obviously, the comfort of your own home is the easy answer. Making doubly certain the gun is unloaded, point the muzzle of the unloaded gun where the ceiling and wall converge (like a corner). Practice your gun mount over and over, both hands working in unison, without dipping the muzzle. Perfect this move, and then start the muzzle moving along the wall/ceiling juncture, at the same time blending in the mount to the shoulder. Practice this over and over until you have programed the muscle memory. To top off this exercise, insert a Mini Maglite or other small flashlight into the gun’s muzzle. Turn it on and adjust to the light’s most narrow beam. Usually this takes a wrap or two of tape around the light’s body to make a snug fit in an open-choked 12-ga. muzzle. The light will show how your muzzle is following the wall/ceiling seam and whether you dipped the muzzle.
No. 3: Turn, Don’t Swing
Traditionally, most of us have referred to the shotgun moving to a bird as a “swing.” Let’s try to change tradition and start calling this move a “turn.” What’s the difference? A swing is with the arms. A turn is from the ankles up—the arms just go along for the ride. Most of us don’t turn, even those of us who know better. Turning on every shot presented is just about impossible as it seems natural for us to want to use only our arms.
But when we use only our arms, the shoulders cannot stay square or parallel. For a right-handed, right-eye-dominant shooter, the right shoulder comes down—taking the muzzle away from the line of the bird toward the end of the swing—at or near trigger-pulling time. We have already talked about this in relation to footwork, the muzzle coming away from the “line,” but the same phenomenon occurs when we swing with only the arms. The muzzle moves down and away from the line at the end—again, at trigger-pulling time. So sometimes we see what appears to be a perfect lead, but there’s no puff of feathers or shattered target. Again, while lead is critical, staying on the line of the bird is at least as critical if not more so. Turning allows the shoulders to stay square and level, making it easier to stay on the “line” of our target.
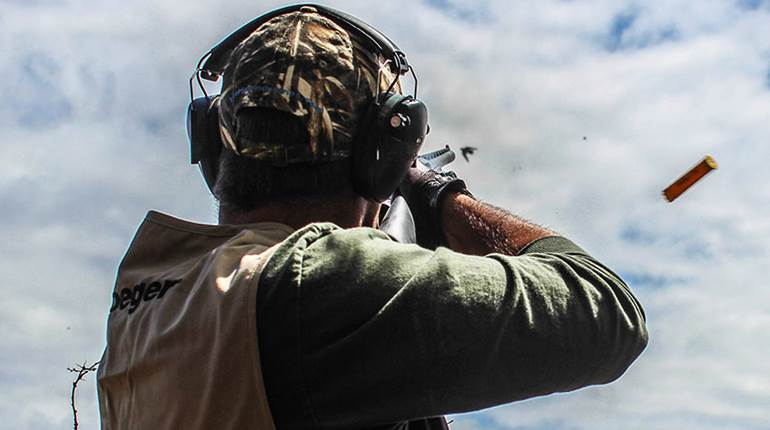
No. 4: Focus Hard On The Target
Hard focus on the target is not easy to accomplish, at least on a consistent basis. Some shooters have a knack for this. Others need to really work on hard focus to the point where it becomes more natural. Working on hard focus? How do we do that?
As you read this page, pick out one letter, a period or a question mark, whatever. Work on staring at it until that letter becomes a bit clearer and everything else blurs into your periphery. That’s hard focus. There are other ways to train our eyes for this. If you have a ceiling fan, use a magic marker to put a black dot on one of the fan blades. Turn the fan on to its slowest speed. Now zero in on that black dot with your eyes. You are training your eyes to hard focus on a moving target.
In his book Moment of Truth John Shima talks about soft focus. This is the type of vision you use while driving a car. You are not staring at anything, but you see everything, especially fast movement, such as a bird crossing in front you or any other moving object. You are using soft focus as you watch the sky for a dove or duck or as you move ahead toward a dog on point.
In both cases we need to change from soft to hard focus as our target appears. Say it is a dove at 20 yds. Try and zero-in on that bird’s eye. If it’s a decoying mallard—same thing—zero-in on the eye. If the quarry is a flushing grouse, pheasant or quail, pick out some small part of the bird—again zeroing-in with your hard focus. If the bird in question is 30 or more yards away you probably can’t see the bird’s eye (I can’t) so maybe zero-in on the bird’s head. The key here is not looking at the whole bird but picking out a relatively small part of it—that’s hard focus. On clays, use hard focus on the front edge of the bird.
Why does hard focus help? Shooting is largely hand/eye coordination. The better trained your eyes and the more precisely they come into play, the easier it is to connect.
No. 5: Stay In The Gun
We can also call this tip performing “proper follow through.” To help with staying in the gun, Billy Straub told me that while attending George Mason University on a shooting scholarship the team would practice this follow through or staying-in-the-gun principle by shooting at a piece of the target they had just broken while it was still in the air. If they could hit that small piece of target, or even if they missed, they knew they were staying in the gun on the original target.
Why stay in the gun? Number one, doing so helps your brain better build a memory bank of what’s successful (or not) with the mental sight picture. That memory bank can take in lead, line, distance to the bird, speed of the bird and more. Eventually, with more and more experience, we can get to the point where our brain knows exactly how to make a successful shot on a 20-yd. dove floating or speeding, a 30-yd. pintail wings cupped, feet extended or one of these pointy tails cruising along with a tailwind. If we come out of the gun immediately after pulling the trigger—even if the bird comes down—we are cheating our brain of the milliseconds longer it will have to memorize that sight picture had we stayed with our follow through a bit longer.
Coming out of the gun early can create other problems as well. Those in the habit of coming out quickly, every now and then, will come out a millisecond before pulling the trigger, which does not bode well for shooting consistency. Previously I suggested “Cheek but don’t check.” Coming out of the gun can also mean the cheek-to-stock weld is broken exactly at the critical moment of pulling the trigger. For a right-handed, right-eye-dominant shooter, it is easy to lose that cheek weld on a left–to-right crosser as the stock could more easily leave the cheek.
Putting It All Together
Consistently hitting clays or feathered targets is no easy task. So before you head out on your next bird-shooting venture, think about the aforementioned five tips and remember that they should not be put into practice as separate steps. Each should be in sequence, but the end result should appear to be as smooth as a ballet move with no jerkiness.
And, remember, all five can be safely practiced at home with an unloaded gun.