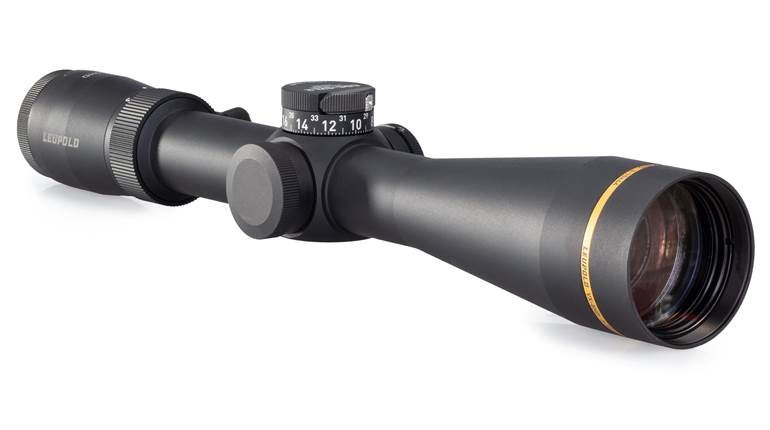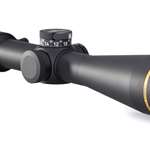
Anyone who can operate a screwdriver can mount a scope. There are a few caveats, however, to ensure the new sight is and stays where it's supposed to be. Here's how to mate your scope to your rifle and get it on paper.
Everything in the assembly-screw threads, bases and rings-needs to be thoroughly degreased. For this, use brake cleaner, or another aggressive aerosol solvent such as Birchwood Casey's Gun Scrubber. Clean all of the parts down to the metal. Also, be sure to clean the inside of the scope rings where they meet the scope.
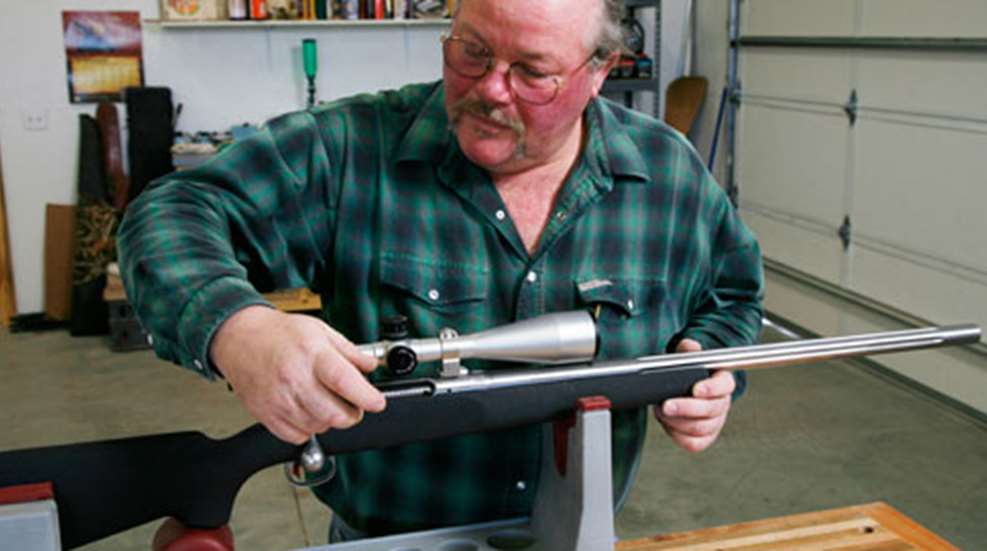
Verify that all the parts fit properly before you start spreading thread-locking compound. Dry mount the base(s) to the receiver. It isn't necessary or desirable to cinch them down yet. Make sure that the bases are level across the top and that the correct screws are in their respective holes. Some mounts have screws that are longer than the others to accommodate thicker parts of the receiver. Insert one of these in a shallow portion of the receiver, and you probably won't be able to move the bolt.
Once you are satisfied that everything fits correctly, apply a small amount of medium strength thread-locking compound to the base screws. Do not use a permanent thread-locking compound, you might want to remove this base someday. Remove one screw at a time from the dry fit and put just enough of the compound to fill the first two or three threads on the screw. This is not a case where "If a little is good, a lot is better." Any excess thread-locking compound is going to have to go somewhere, and it probably won't be where you want. Replace the screw, but don't tighten it. Repeat this for the remaining base screws. Once all are in with the thread-locking compound, tighten each one in turn. Be careful here; these screws are small, and can easily break if you get too enthusiastic with the driver. If you have one, use an Some use an inch-pound torque wrench set at 30 pounds per inch.
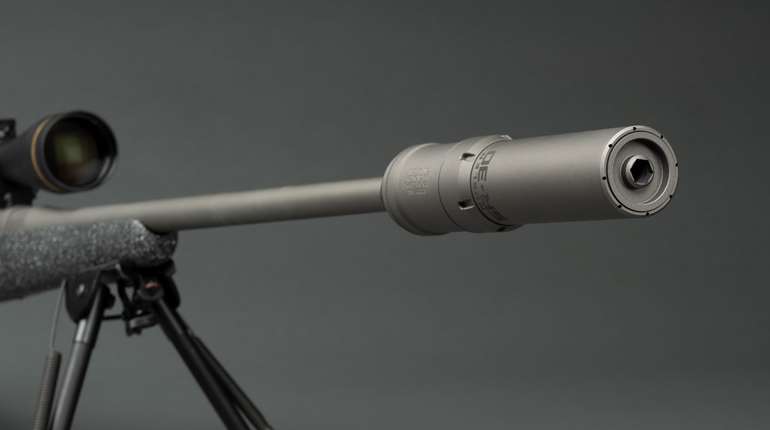
Most rings are screw-clamped to the base, and for these you'll need to set the scope into the rings before attaching them to the base. To ensure that the scope doesn't shift in the rings under recoil, I put a small amount of powdered rosin on my finger and lightly coat the inside of the rings. All you need is enough to give the inside of the ring a look of light rust. Gobs of rosin don't do any good and can cause misalignment. Keep the ring screws loose enough that you can move the scope within them. Attach the ring/scope assembly to the base and tighten the screws sequentially. While not necessary here, many shooters use thread-locking compound on magnum cartridges.
At this point you are ready to square the reticle and set the eye relief. The easiest way to do this is in a gun vise like the one from Tipton. Level the rifle both vertically and horizontally, then place the scope in the rings and attach a crosshair level. Adjust the scope until the bubble is square and carefully attach the top rings and lightly tighten the screws. Without moving the rifle, get on it as if you were shooting, and carefully adjust the scope fore and aft until it is at the midpoint of the eye relief keeping the scope square with the level. Once the scope is set, carefully tighten the screws sequentially, fore and aft and side to side. Keep in mind, however, that levels do not always achieve the perfect results. Operated correctly, they can square the reticle to the rifle, but many shooters cant their rifles slightly when mounting and this can give the appearance of an off-square reticle
If you don't have a vise and levelers, you can also use sand bags as if you were shooting at the range. Without moving the rifle, get on it as if you were shooting and carefully get the crosshairs straight and square. Tighten the screws and wipe off any rosin that may have fallen from the rings during installation with a dry rag. Solvents or water will create a sticky mess.
If you have access to a bore sighter, great. All you have to do is adjust the scope reticle to coincide with the center of the grid. If you don't have a bore sighter, no problem. Simply pick out something about 100 yards away, and with the rifle in the rest or vise, remove the bolt and sight it so that object is in the center of the bore. Then, without disturbing the rifle, carefully adjust the scope reticle so that it's on the object sighted in the bore.
At the range, start with a large target at 25 yards such as a 2-foot by 2-foot piece of cardboard to catch all the shots. Adjust the scope to be dead on at 25 yards. When you move out to 100 yards, all you should need is some fine tuning to complete the sighting in of your rifle.
Timesaver Tip
Before adjusting the scope reticle make sure both elevation and windage knobs are in the middle of their range. That way you will have the maximum amount of adjustment available in the scope. How do you do that? Run each knob to full stop in one direction, and count the number of clicks it takes to go to full stop in the opposite direction. Divide that number of clicks in half and set the reticle there.