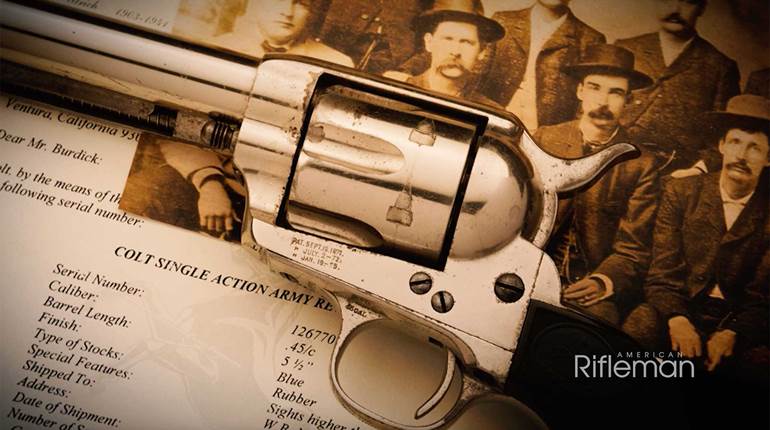
One hundred sixty-three years after its introduction, the single-action (SA) revolver remains a very popular tool for those of us who want some lightning in our fists. There are several reasons why this is true. First, the SA revolver is among the strongest and most robust handguns extant. They can be very accurate. The SA revolver is just as handy to carry today as it was at its introduction. SA revolvers are often the first choice for backwoods and wilderness travelers because of their reliability and simplicity, and more than a few prefer it for concealed carry despite its comparative slowness in delivering a follow-up shot.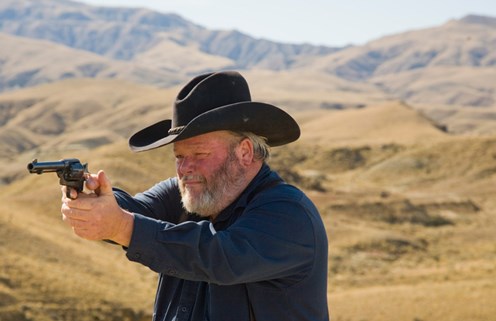
It should be no surprise that after more than 1 1/2 centuries we have developed some techniques to maximize its effectiveness. From methods and conditions to carry to shooting, making follow-up shots and reloading, those who carry an SA revolver do not feel they are giving up much compared to their fast-firing semi-automatic cousins. Let’s examine how to make the best of your single action.
Hang on!
As with any handgun, effective handling of the piece begins with the grip. When it first came out, the SA revolver was grasped with the master hand and pointed toward a target. Sights were miniscule, and the thought of the day was that in an emergency there wasn’t much time to aim anyway, so just point the gun toward the target and have at it. Very few of the pistoleros of that time used a support hand, and then it was usually used only for a long or precise shot.
Today most shooters use both hands when shooting most any handgun—thank you, Jeff Cooper. The reason we use both hands is to maximize the contact with the pistol. The more contact your hands have with the piece, the more you can control it. But what exactly does this mean?
The strong hand grips the revolver in a more-or-less typical fashion. Critical to this is keeping the trigger finger in a straight line with the pulling of the trigger. With pistols and double-action revolvers, the mantra dictates that the pistol must be as high as possible in the hand to minimize the torque imparted when the gun is fired. For single actions, we already know there will be significant torque, and the piece will recoil in a rotary motion in the hand—in no small part because of the curved, plow-like grip frame profile. Better to have a straight and relatively light trigger pull while letting the piece recoil in such a way that we can quickly recover and prepare for a follow-up shot.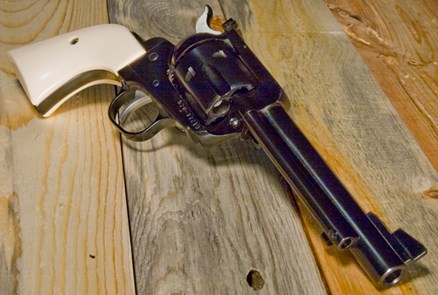
The support hand (left hand for righties; right hand for lefties) serves strictly a secondary support function, in that it serves to control the movement of the piece in the primary hand. Make no mistake, the revolver is going to move—the more powerful the cartridge, the more movement will occur. However, by maintaining the position of the revolver in the primary hand and absorbing the recoil via the elbows does allow for a quicker recovery and ability to deliver a faster follow-up shot.
For the support hand to do its job, it must have as much contact with the revolver and primary hand as possible. To accomplish this all you do is envelop the grip of the revolver and the primary hand with your secondary hand. All of the fingers of the secondary hand are under the trigger guard. This is very important: DO NOT extend the index finger of the support hand along the side of the frame! If the tip of the finger extends past the cylinder it will be hit by high-pressure and hot ejecta escaping from the barrel-cylinder gap. If you are shooting something like a .357 Mag., it will be unpleasant. However, if you are shooting anything like a .44 Mag. or better, you can lose the end of your finger.
The thumb of the support hand goes into the V formed between the thumb and index finger of the primary hand. You don’t need a death grip, but you do want it to be a firm grip to offer the most support for the primary hand.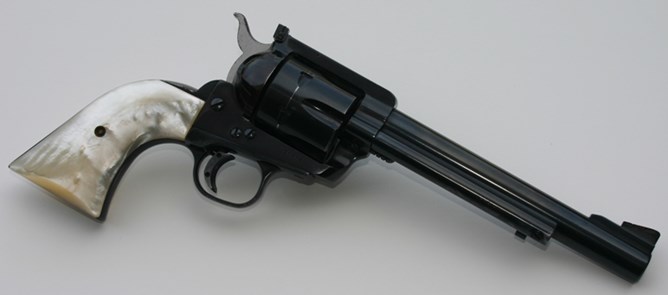
Another Round?
Often a follow-up shot is needed. You may have missed with the first shot (horrors!), or perhaps the target needs another round to settle things. Resist the natural tendency to remove the support hand and cock the revolver with the primary thumb. Many shooters—especially those with smaller hands—will find themselves repositioning the revolver in their primary hand to carry out this administrative chore. That means, of course, they will need to reposition the revolver back to where it was in their hand for the next shot.
A better and more efficient way is to simply use the thumb of the support hand to cock the revolver. There is no need to reposition the gun in the hand since the support thumb is already in a perfect position to execute the task. Too, you do not need to lower the revolver to cock it again. It is a simple matter to keep the piece on target and carry out the cocking process with the support thumb.
More Ammo!
One of the criticisms of the SA is that it is excruciatingly slow to reload. Well, yeah, it is if you take it out of action, empty each chamber, then load each chamber, etc. Here is the correct way to load an SA revolver.
First you need to determine whether your particular revolver is safe to carry with all the chambers of the cylinder loaded. All Colt SA revolvers need to have the chamber under the hammer empty. It’s actually quite easy. If your revolver is made by Ruger after 1973, or if it has been refitted at the factory with a transfer bar, it is safe to carry all six chambers loaded. Too, any Freedom Arms revolver or Magnum Research SA revolver is safe to carry with all the chambers loaded. If you have any doubt, with the hammer down and the cylinder empty, hold the revolver up to a light background and look in the gap between the rear of the cylinder and the recoil shield on the frame. Above the base pin that passes through the center of the cylinder will be a chamber indexed into the firing position. If there is a pin protruding from the recoil shield face, you must keep the hammer down on an empty chamber to safely carry this gun.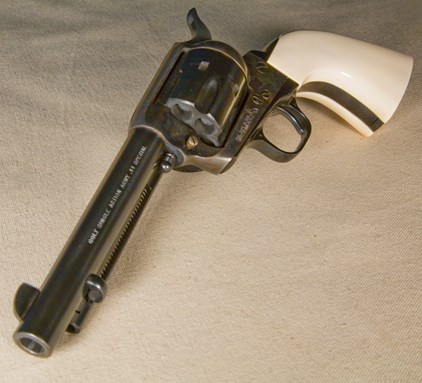
If your gun is a “five-shooter,” you’ll load five rounds and lower the hammer on an empty chamber. How do you do that? Well, the wrong way is to simply load five and then turn the revolver around and find the empty chamber from the front. Do that, and I’ll guarantee you will at some time point a loaded revolver at your head—definitely not smart and the mark of an amateur, to say the least. The correct way is to load one chamber, skip the next one and load the remaining four chambers. This next part is critical: Pull the hammer back to full cock, and it will always fall on an empty chamber.
Here is another tip: Any time you pull the hammer to half-cock, when you are ready to lower the hammer, pull it back to full cock and then ease it down. If you pull it back just enough to clear the half-cock notch and lower it, the bolt will rub on the cylinder and leave a white ring on it—definitely the look of someone who does not know how to handle their six-gun. Note that the newer Rugers do not have a half-cock notch. Simply opening the loading gate causes the cylinder bolt to drop out of the way for loading and unloading.
But what about replacing spent cartridges? Simple enough in the field; open the loading gate, put the hammer at half-cock if needed, and remove and replace spent cartridges one at a time. If you are unfortunately in a fight, get behind some cover and perform the same. And if you are in a fight, don’t worry about the empty chamber; fill ’er up! You can always deal with administrative chores after the fight has concluded.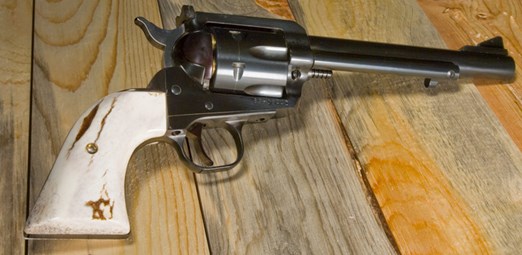
If your SA revolver is chambered for an auto-pistol cartridge, you can carry spare ammo in said pistol’s magazines. To load you revolver, use your thumb to strip rounds from the magazine and start them into the cylinder as if you were pulling candy from a dispenser. Hat tip to Gunsite’s Ed Head for this tip.
Shuck it!
You need to be able to carry your SA revolver while doing other things. Personal preference plays a lot in this, but here are some thoughts. Holsters are, for the most part, limited to belt, shoulder and chest rigs. There is also a pommel holster, but since we no longer travel primarily by horse (sadly) we have little need to mount our revolvers on our horse.
Belt holsters are by far the most popular. You can get them in a wide array of configurations; everything from quick draw rigs with the holster positioned several inches below the belt line and often including a tie-down thong for your thigh (not recommended for daily carry) to high-ride holsters to help conceal your piece and even an inside-the-waistband holster.
Choosing between leather and synthetic is a subject for a different article. My preference is leather, so that’s what I know. Many holsters for SA revolvers use a thong loop or a tab of leather with a hole in it to hook over the hammer. This is very secure, provided that you remember to use it. For rough country or on horseback, an auxiliary retention device is a great idea.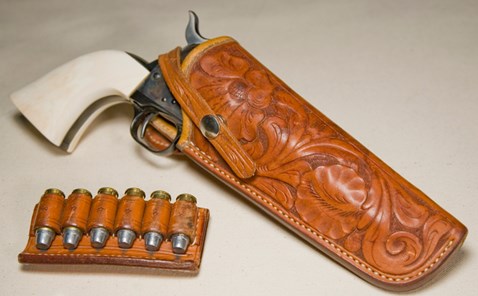
However, if a speedy draw may be required, a strap with a snap located on the holster body is virtually just as secure and much quicker to deploy. Two styles that I use are a 120 holster replicating the old Lawrence 120 holster. Another almost identical holster is the Tom Threepersons holster. This style is made by several makers; I have examples made by El Paso Saddlery, Simply Rugged Holsters and Ringler Custom Gun Leather.
Another way to carry your SA revolver is a chest rig. Chest rigs are sometimes called “tanker holsters” because so many tank commanders wore them. The holster is positioned just off center of the sternum. They are quite popular with anglers in bear country, as well as bowhunters in the same kind of country—where legal; check local regulations before carrying a handgun while bowhunting.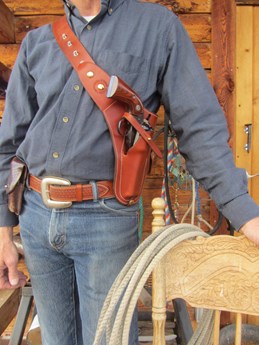
There is one more holster to consider. Von Ringler’s Wyoming Combination Holster is designed to be three holsters in one—a belt, shoulder or chest rig—depending on how you wear it. It, too has found favor with those who pack a handgun in bear country.
Carry Confidently!
Despite its age, the SA revolver is still doing well. Its strength and reliability keeps it popular. An SA revolver gives up nothing to practical accuracy. Simple to operate, most beginners get the hang of it fairly quickly. My first handgun was an SA revolver, and it was the pathway toward my unabashed love for handguns. I still have it and would never consider cutting it loose.
For those who think the SA revolver is slow and outdated, visit a cowboy action match some time. You’ll be amazed at how fast these thumb-busters can sling lead. Reloading may not be as quick as a magazine exchange, but it can be pretty quick once you practice it for a while. You never need concern yourself that you are under-armed with an SA on you.
Additional Reading:
How to Load a Single-Action Revolver
Single-Action Self-Defense
A Look Back at the Single Action Army


