Gallery
Baker Shotgun
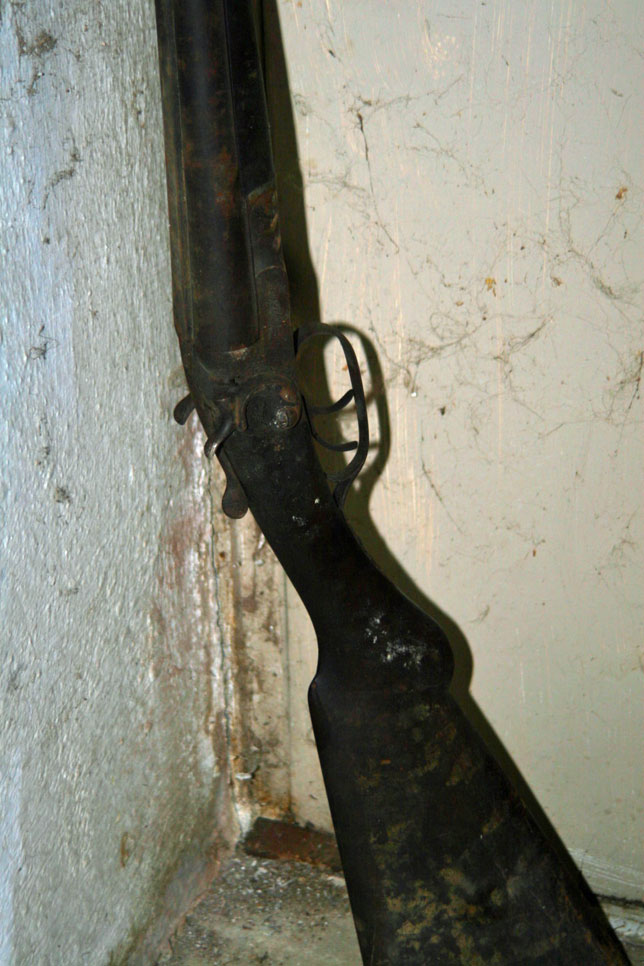
The old Baker shotgun as it was first discovered in the basement. The shotgun had a Damascus (wire twist) barrel, which is not safe for shooting modern loads, not that I would want to in this condition. It was found to have been in a house fire. Therefore, it is now a parts gun.
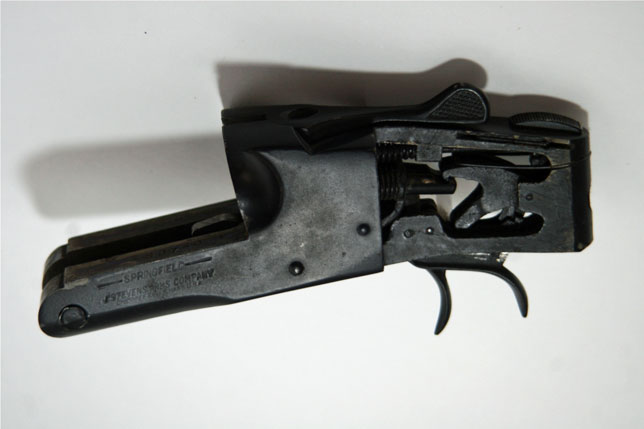
Stevens 315
After knocking the dust off the other, I recognized the second shotgun was a Stevens 315, sans stock and forearm. The receiver and barrels had been painted with black spray paint.
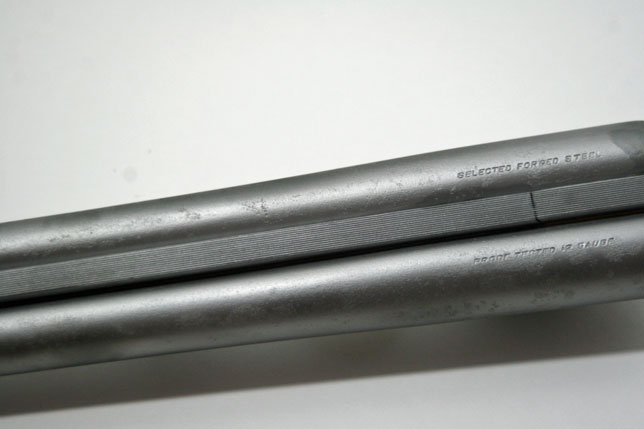
Surface Pitting
The paint did little to protect the surface of the barrels, though surprisingly the bores were nearly spotless. Removing these deep pits would make the shotgun barrels too thin and unsafe to fire. I decided to leave the barrel as is, pits and all.
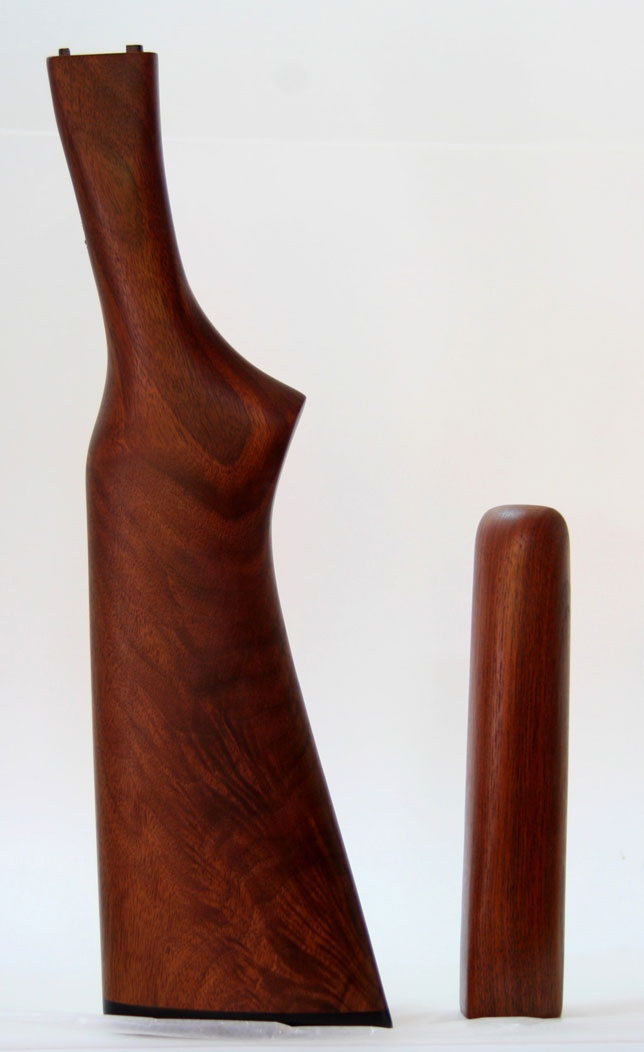
Stock
I was in need of a stock and forearm. A quick email to Boyds’ Industries ended the search. The folks at Boyds’ ensured me that they had the correct stock and forearm needed and within a week it was delivered. The stock bolted in place with no fitting needed, though firearms vary and may require minor fitting.
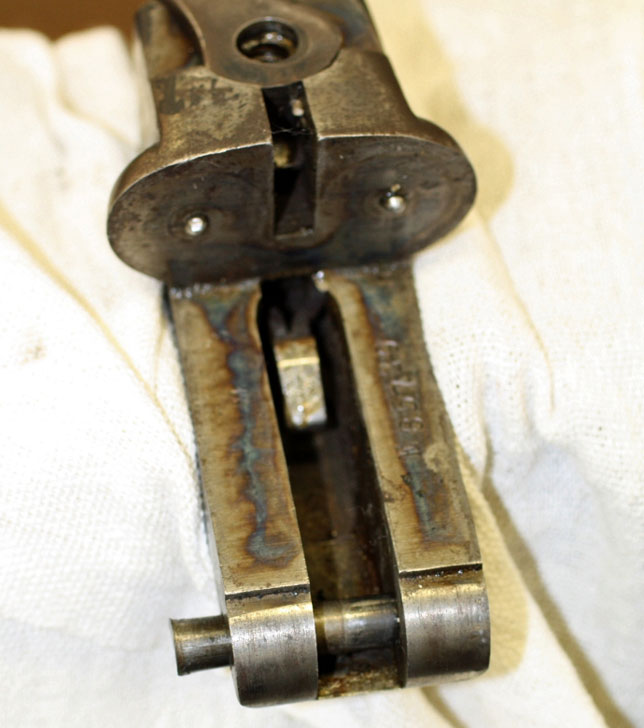
Paint Removal
The receiver’s color case was still visible, so instead of refinishing it, I opted to strip the paint and leave the original finish. I used ordinary paint stripper and was careful to paint it on and immediately wipe it off to prevent getting the residue inside the action. The hinge pin was loose, so I rotated it 90 degrees and pressed it back into place.
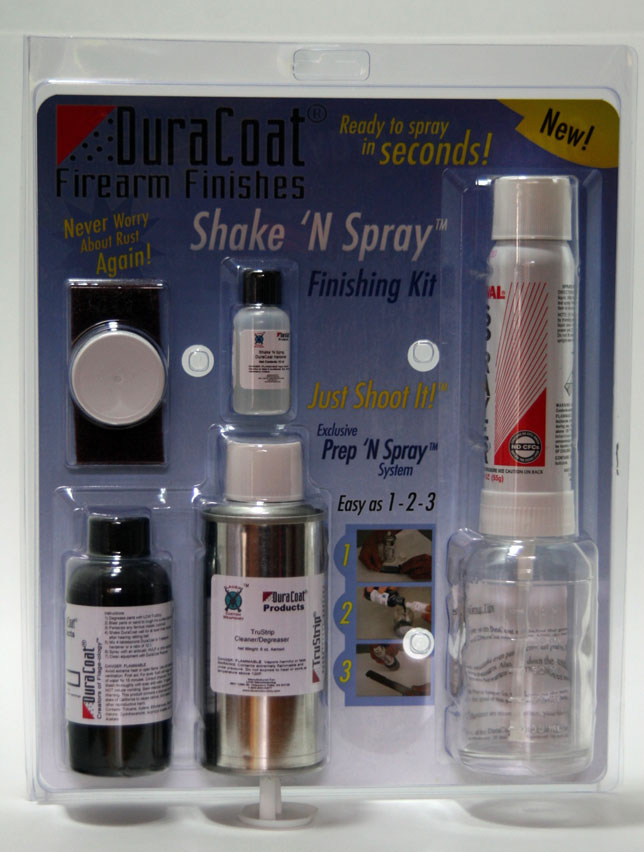
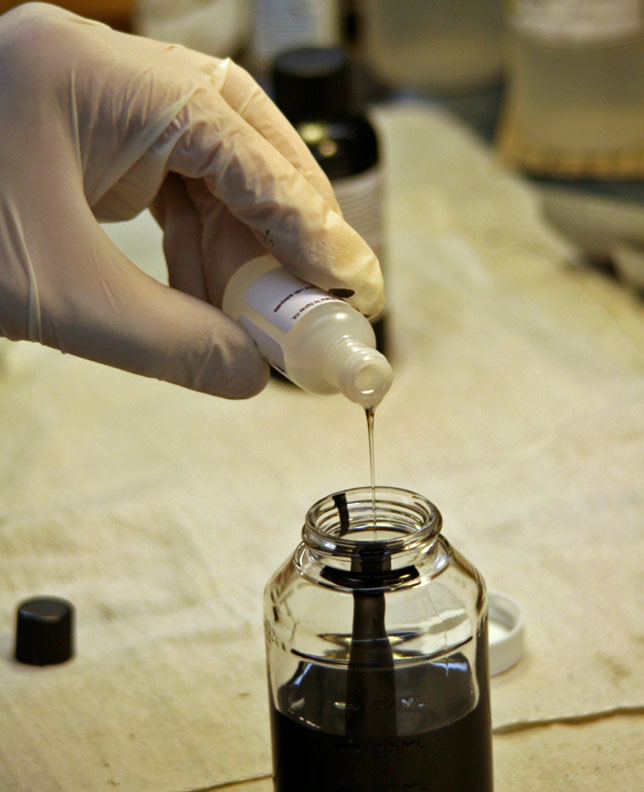
Shake ‘N Spray
Before embarking on such a restoration, ensure that the cost of supplies and labor is worth the rate of return. Have the firearm appraised before beginning any restorations since self restorations usually do more to harm the value of a firearm than increase it. In the case of the Stevens, the cost of having the barrels blued was more than the entire shotgun was worth. So instead of bluing the barrels, I decided to finish them with the DuraCoat Shake ‘N Spray kit. This self-contained kit is pretty straightforward as is the application, but you should still take time to familiarize yourself with the instructions, especially the preparation of the metal and mixing of paint.

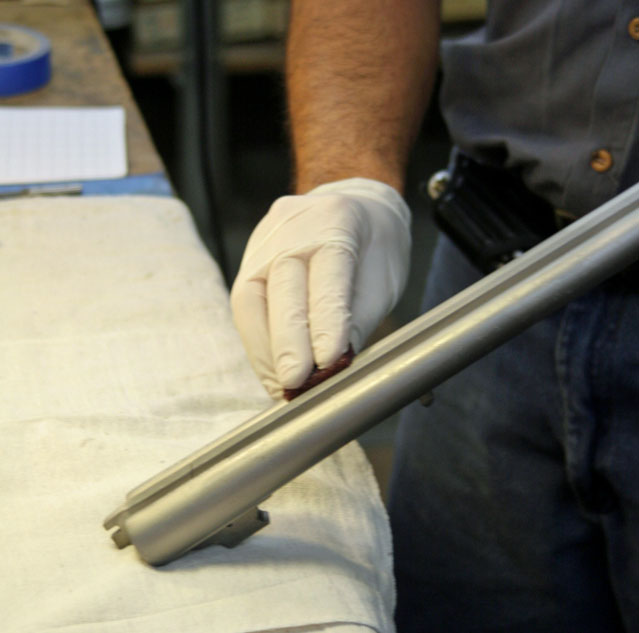
Degreasing
The Shake ’N Spray kit contains degreaser and a scouring pad to ensure the paint adheres to the bare metal, but denatured alcohol can be used in a pinch. I also used rubber gloves to keep from contaminating the degreased barrels.
Clean Everything
After using the scouring pad, it is imperative to remove any residue created from scouring the barrels.

Follow Directions
Mix the paint exactly as stated on the directions, including shaking the two-part paint.
Curing Time
The paint is two part, which requires proper hardening before using the firearm. The manufacturer recommends three to four weeks for it to fully cure, though reassembly and light use can begin after 24 hours of curing.
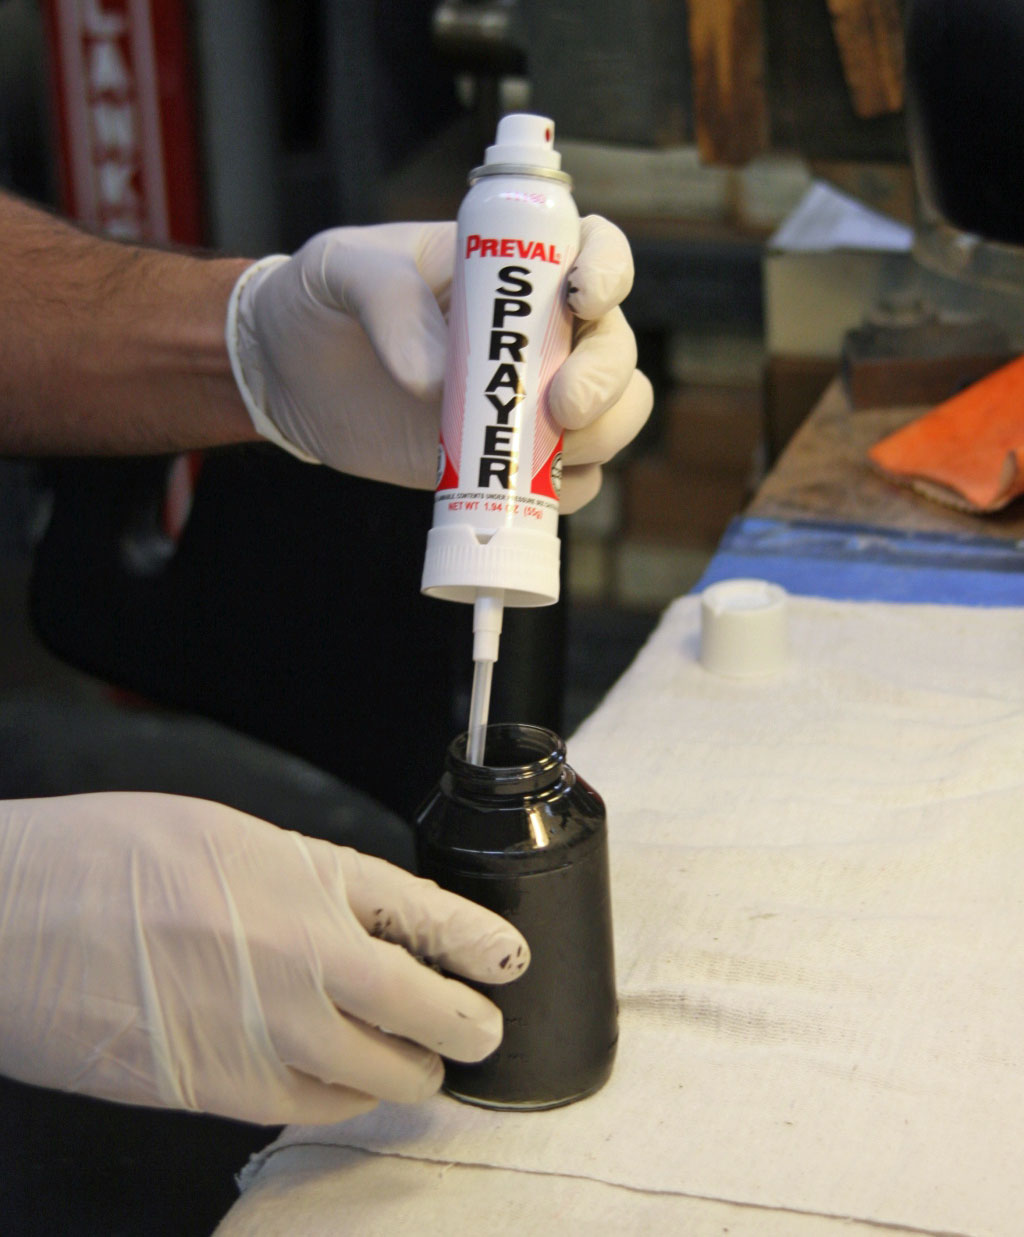
Spray it On
Unlike other kits, the Shake ‘N Spray has a self-contained sprayer included and needs no other propellant. A cheap nylon spray gun handle used for aerosol spray cans—available at home improvement or hardware stores—is handy when spraying to help control the paint and prevent your finger from cramping.
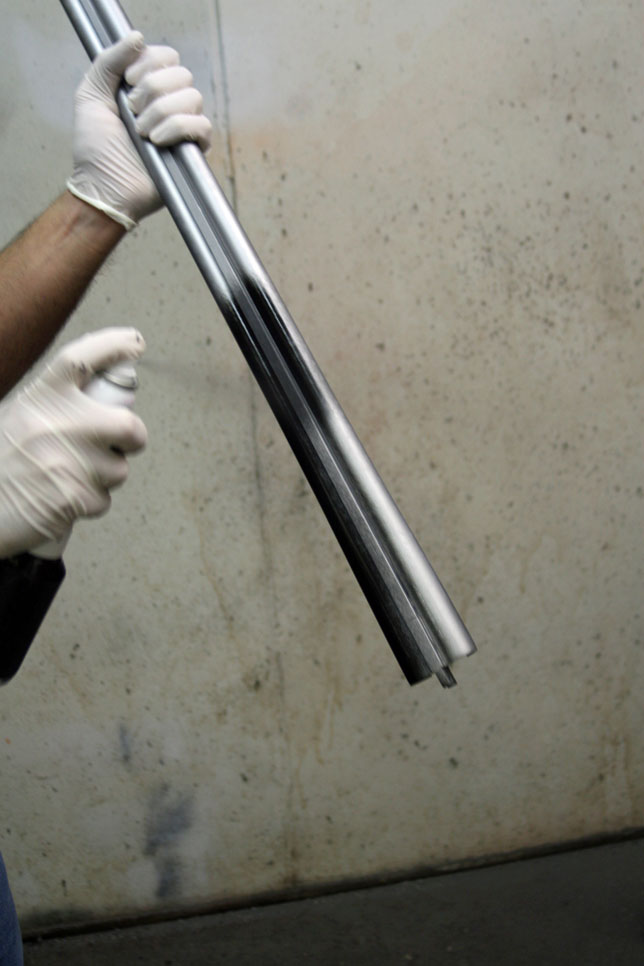
Light Coats
The paint covers well and is ready for the next coat in about five minutes. Hold the paint sprayer about 8 to 10 inches from the barrels in a slow, sweeping motion while spraying. Follow through with your spraying motion to prevent runs. Several light coats, instead of one heavy coat, are preferred and also help prevent runs. Spraying the barrel lengthwise covers the barrels more uniformly.
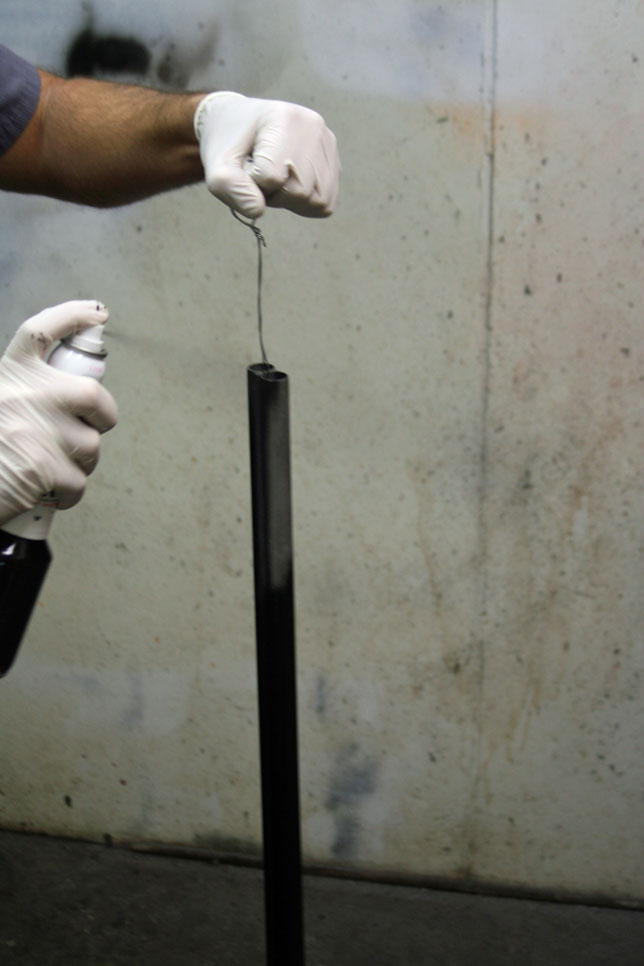
Letting it Dry
I used a wire to suspend the barrels and aid in hanging while letting the paint dry between coats.
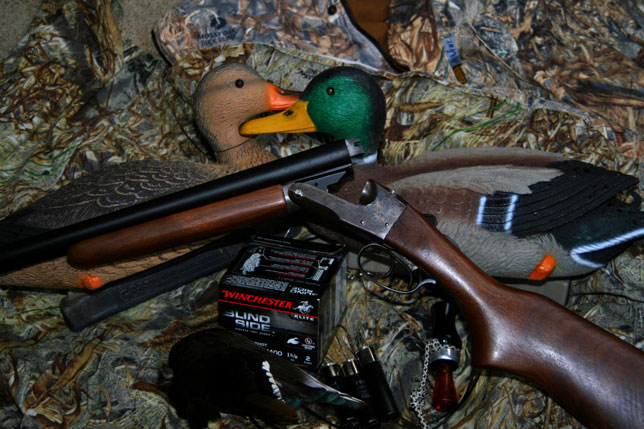
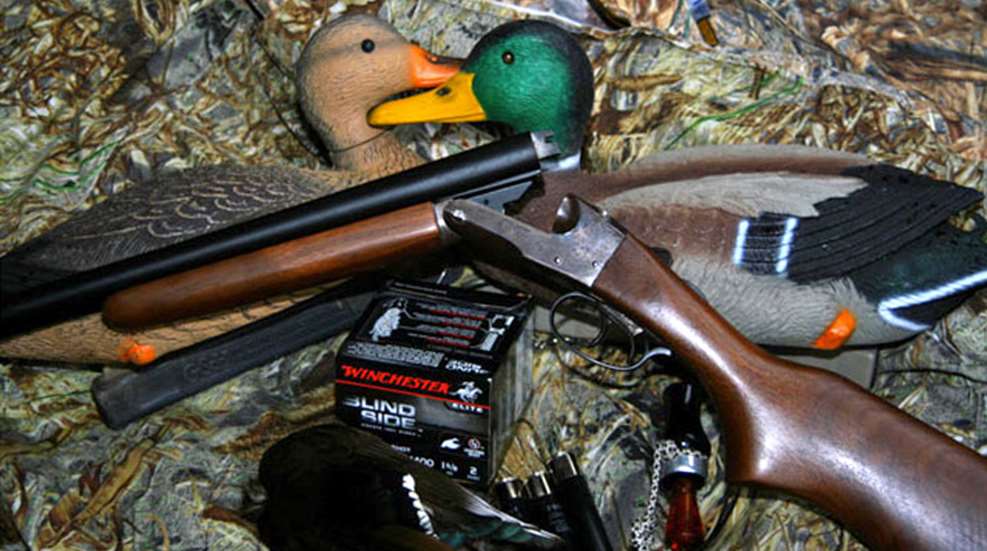
The Finished Product
A utilitarian shotgun is ready for the field once again.